You’re three hours into a Claude Code session.
The feature works. The tests pass. All that’s left is the picture at the top — a featured image, a hero illustration, something to make the thing look finished.
So you ask for it. Plainly, the way you’d ask a teammate sitting next to you:
“Generate an image of a minimalist line-art lighthouse on a dark navy background.”
And Claude Code apologizes.
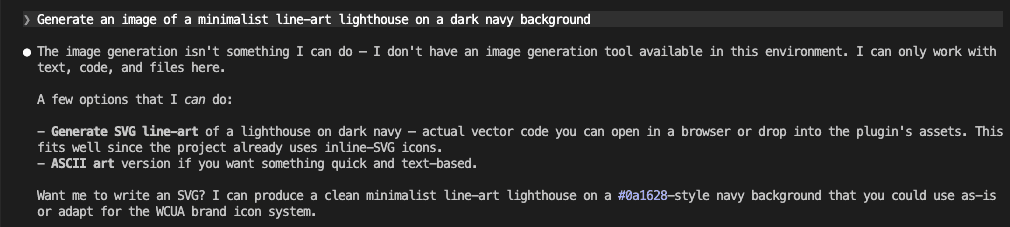
It offers to write you an SVG. Or some ASCII art.
Helpful — in the way a hardware store is helpful when you walked in for a sandwich.
I’ve done this more times than I want to admit — alt-tabbed to Codex for a quick image, got sidetracked tweaking the prompt, and came back to Claude Code ten minutes later having forgotten what I was about to commit. That little shrug is the whole problem in one frame. The capability you want lives one tool over, in Codex. The usual move is to alt-tab away to go get it — and the flow you spent three hours building quietly evaporates the moment you leave the window.
By the end of this post, that same sentence — no command, no tool-switch — produces a real PNG sitting neatly inside your project.
And the way it gets there opens a door bigger than any single image.
.
.
.
Why Claude Code Can’t Make Images (And Codex Can)
Let’s be fair to Claude Code first.
The limitation is a deliberate product boundary.
Claude Code is a coding harness — it edits files, runs commands, reasons about your codebase, and wires things together. Picture generation was simply never wired into that toolset. The model underneath can reason about images perfectly well; the harness around it just has no tool to make one.
So Claude does the honest thing and tells you.
You can feel how badly people want that gap filled.
Search around and you’ll find a small industry of “how to generate images in Claude Code” guides — an MCP server here, an external CLI there, a paid wrapper somewhere else. When that many workarounds exist for one missing capability, the demand is obvious. And so is the native answer, which is still no.
Codex took the other road.
In April 2026, OpenAI shipped gpt-image-2, a purpose-built image model, and made it the default for image work in Codex — a clear step up from the version it replaced, with sharper output and the ability to reason about a layout before it draws. Within weeks the older DALL-E models were retired from the API entirely, which left the new model as the whole story.
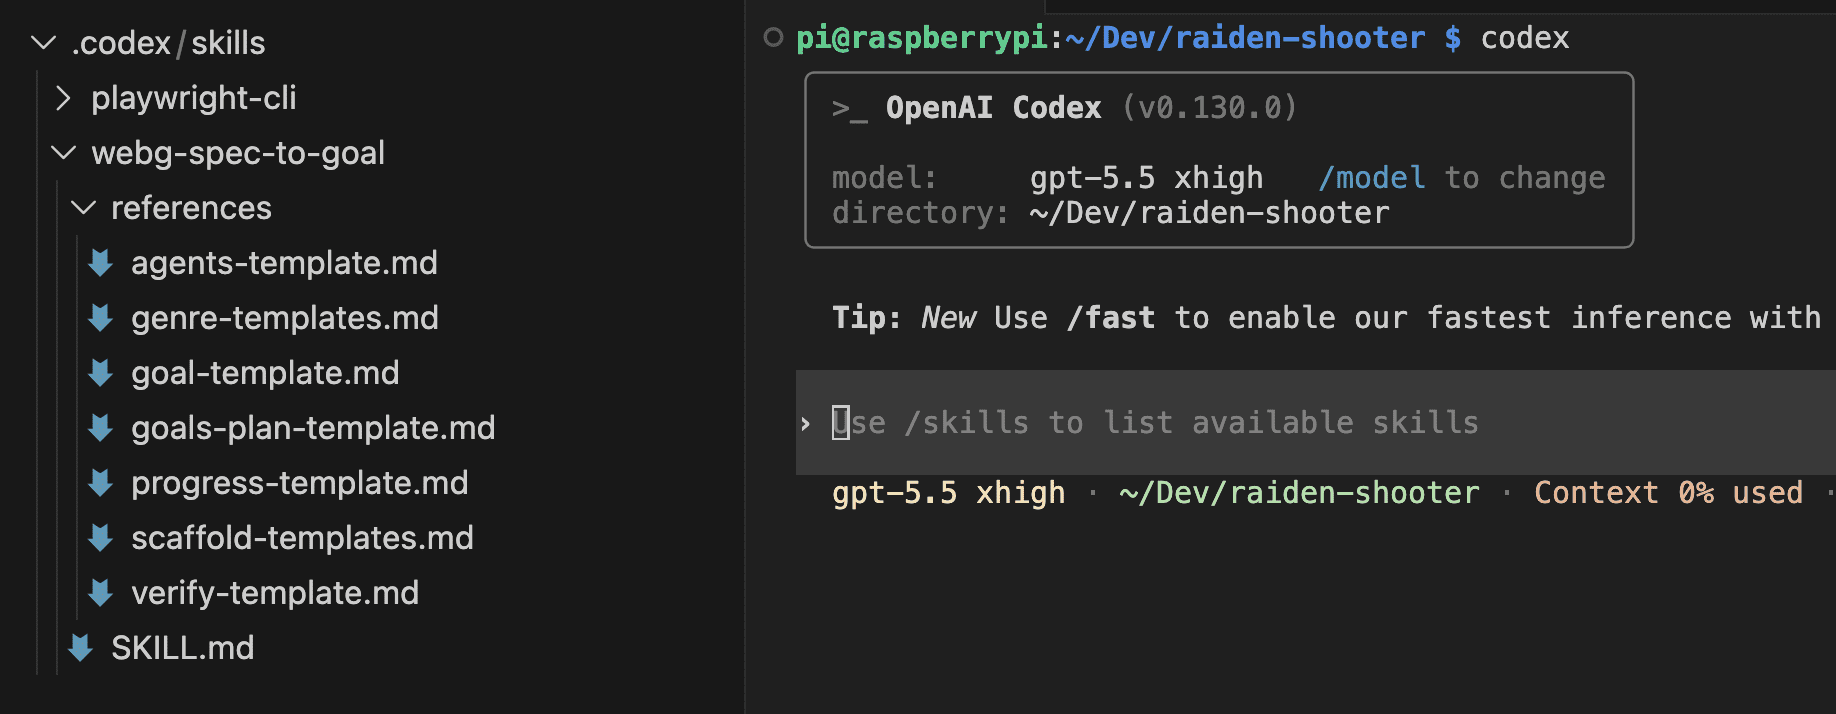
Codex exposes it through a built-in skill you trigger with $imagegen.
You describe what you want, Codex generates it, sizes it, and saves it.
Native.
So here’s the state of Claude Code image generation in mid-2026: the thing you want exists, it’s excellent, and it’s sitting in the tool next door. Keeping Codex open in a second terminal works — but it drags back the exact switching tax I wrote about all the way back in Claude Code vs Codex: Why I Use Both (And You Should Too).
Copy a path, switch windows, lose your place, switch back.
There had to be a way to borrow the capability without leaving home.
.
.
.
The Bridge Already Exists — And It Already Works
There is.
I’ve written about it before.
Back in April I covered Codex Reviews My Code Inside Claude Code — But I Don’t Trust It Blindly — OpenAI’s official Codex plugin that runs Codex inside a Claude Code session. That post used it for code review. But the plugin reaches well past review — it’s a general bridge to Codex, and one of its commands, /codex:rescue, can hand an arbitrary task to Codex and let it run.
Which left me poking at an obvious question: if the plugin gives me Codex inside Claude Code, and Codex has $imagegen… can I get a real image generated without ever leaving Claude Code?
So I tried it.
I called /codex:rescue and told it — in so many words — to use $imagegen for the lighthouse.

Codex woke up, took the task, and got to work.

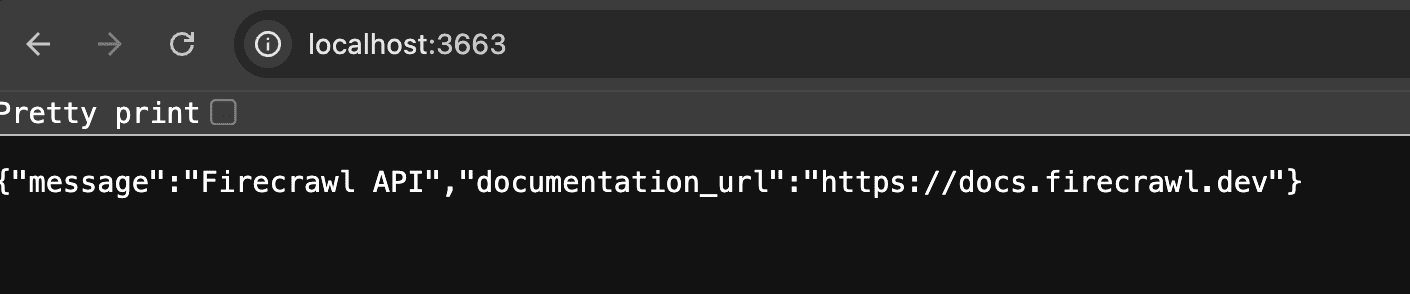
A couple of minutes of waiting while Codex did its thing in the background, and a finished image existed — without a single window switch. The terminal I was working in never lost focus. The session I’d spent three hours building never broke.
It worked. Here’s what came out:

A real image, generated by gpt-image-2, without leaving Claude Code.
Proof of concept — done.
.
.
.
But You Have To Know The Magic Words
Here’s where the proof-of-concept stops being something you’d actually want to use day to day. Two frictions — and they’re the whole reason this post has a part two.
Friction one: it only fires when you summon it by name.
/codex:rescue is a command you have to remember and type, phrased just so. Ask for the image the way a human naturally asks — the plain sentence from the very top of this post — and nothing happens. Claude Code tells you it can’t make images and offers you that SVG again. The capability is reachable, but only if you already know the secret handshake. Forget the handshake and you’re back at the shrug.
Friction two: the file lands wherever Codex feels like dropping it.
Run the rescue route and the image shows up loose at the root of your project, sitting right alongside your config and your docs.
One stray PNG next to your project files is no crisis.
But picture a real working afternoon: a hero image for the landing page, two illustrations for a docs page, a placeholder avatar, a quick thumbnail to test a card layout. Five generations, five files scattered across your project root. By the third experiment I had four stray PNGs sitting next to my CLAUDE.md. I caught myself doing a manual cleanup and thought: this is exactly the kind of chore a script should handle.
There’s a sharper trap hiding in that route, too.
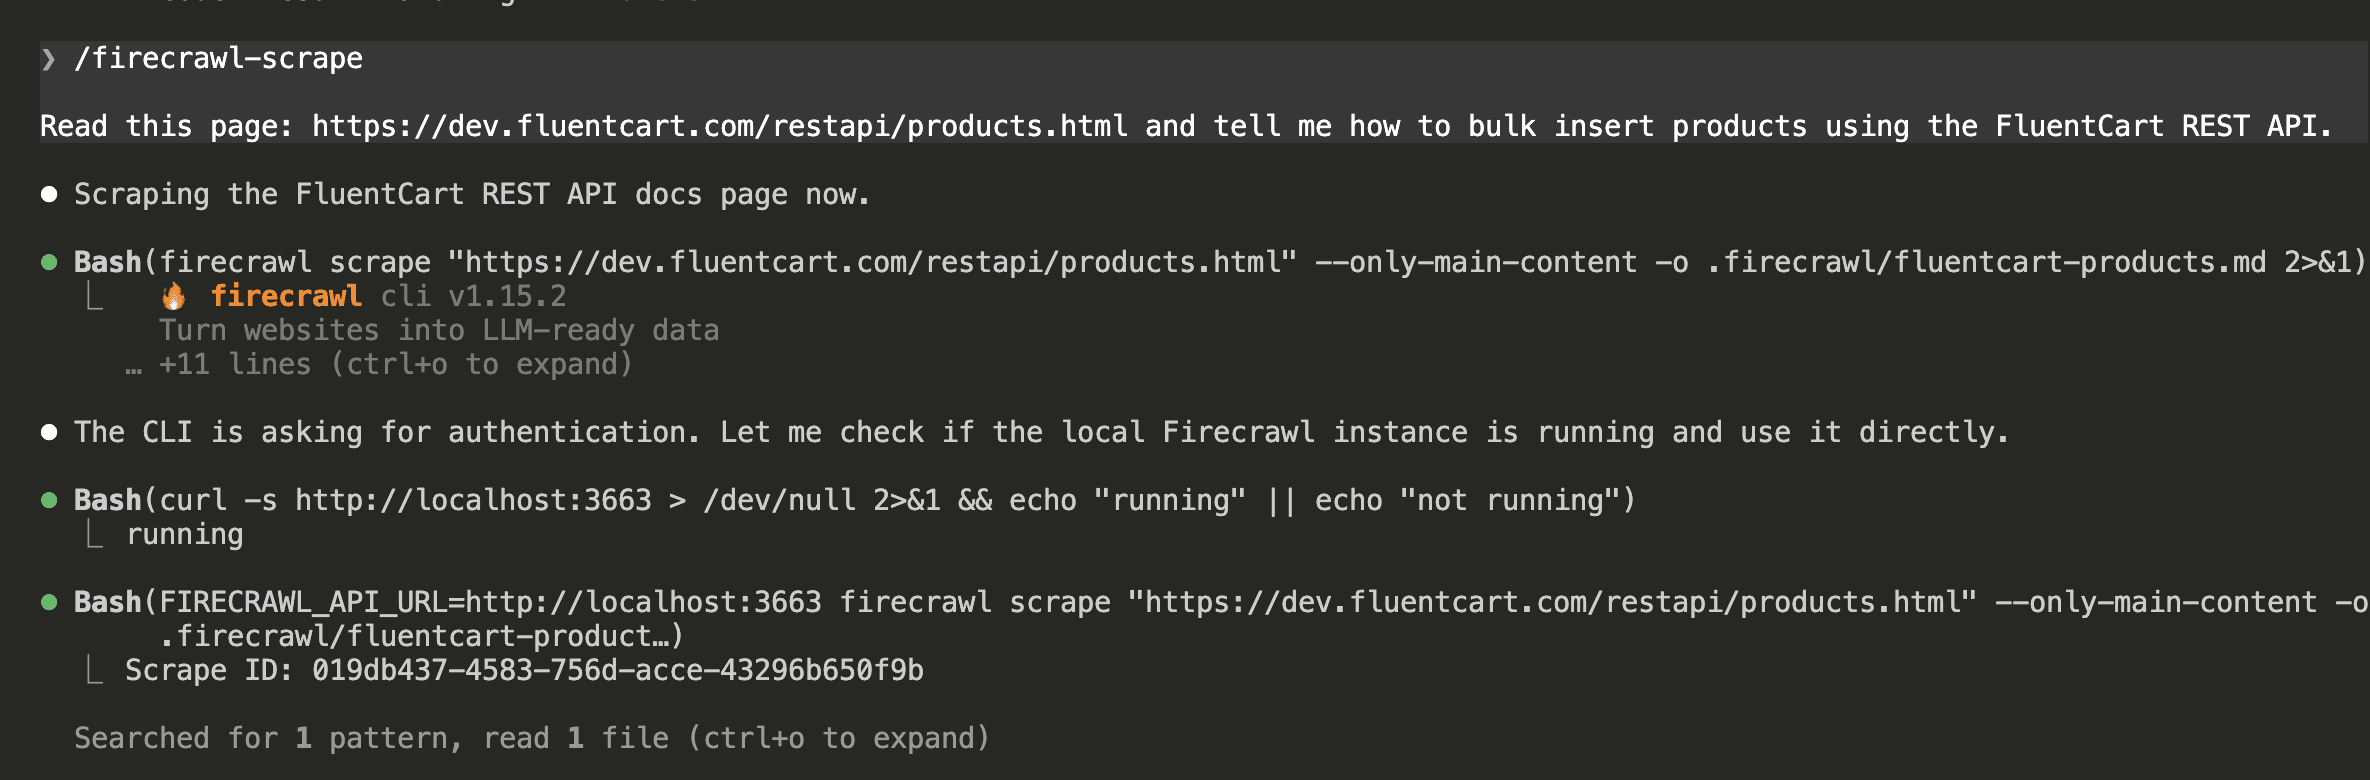
The first time I tried scripting this myself, I stared at a blank output for a solid ten minutes before I realized the shell had eaten the dollar sign. The $imagegen token starts with $, so the shell quietly expands it to nothing before Codex ever sees it — the command runs fine, no image appears, and nothing tells you why.
So here’s the scoreboard after the experiment: the capability is real and it runs in-session, but reaching it means knowing a command most people won’t, and using it means cleaning up after it. That’s exactly the kind of rough seam worth wrapping once — so you never feel it again.
.
.
.
The Fix: Say It In Plain English, Get A Tidy File
This is the part I want you to steal.
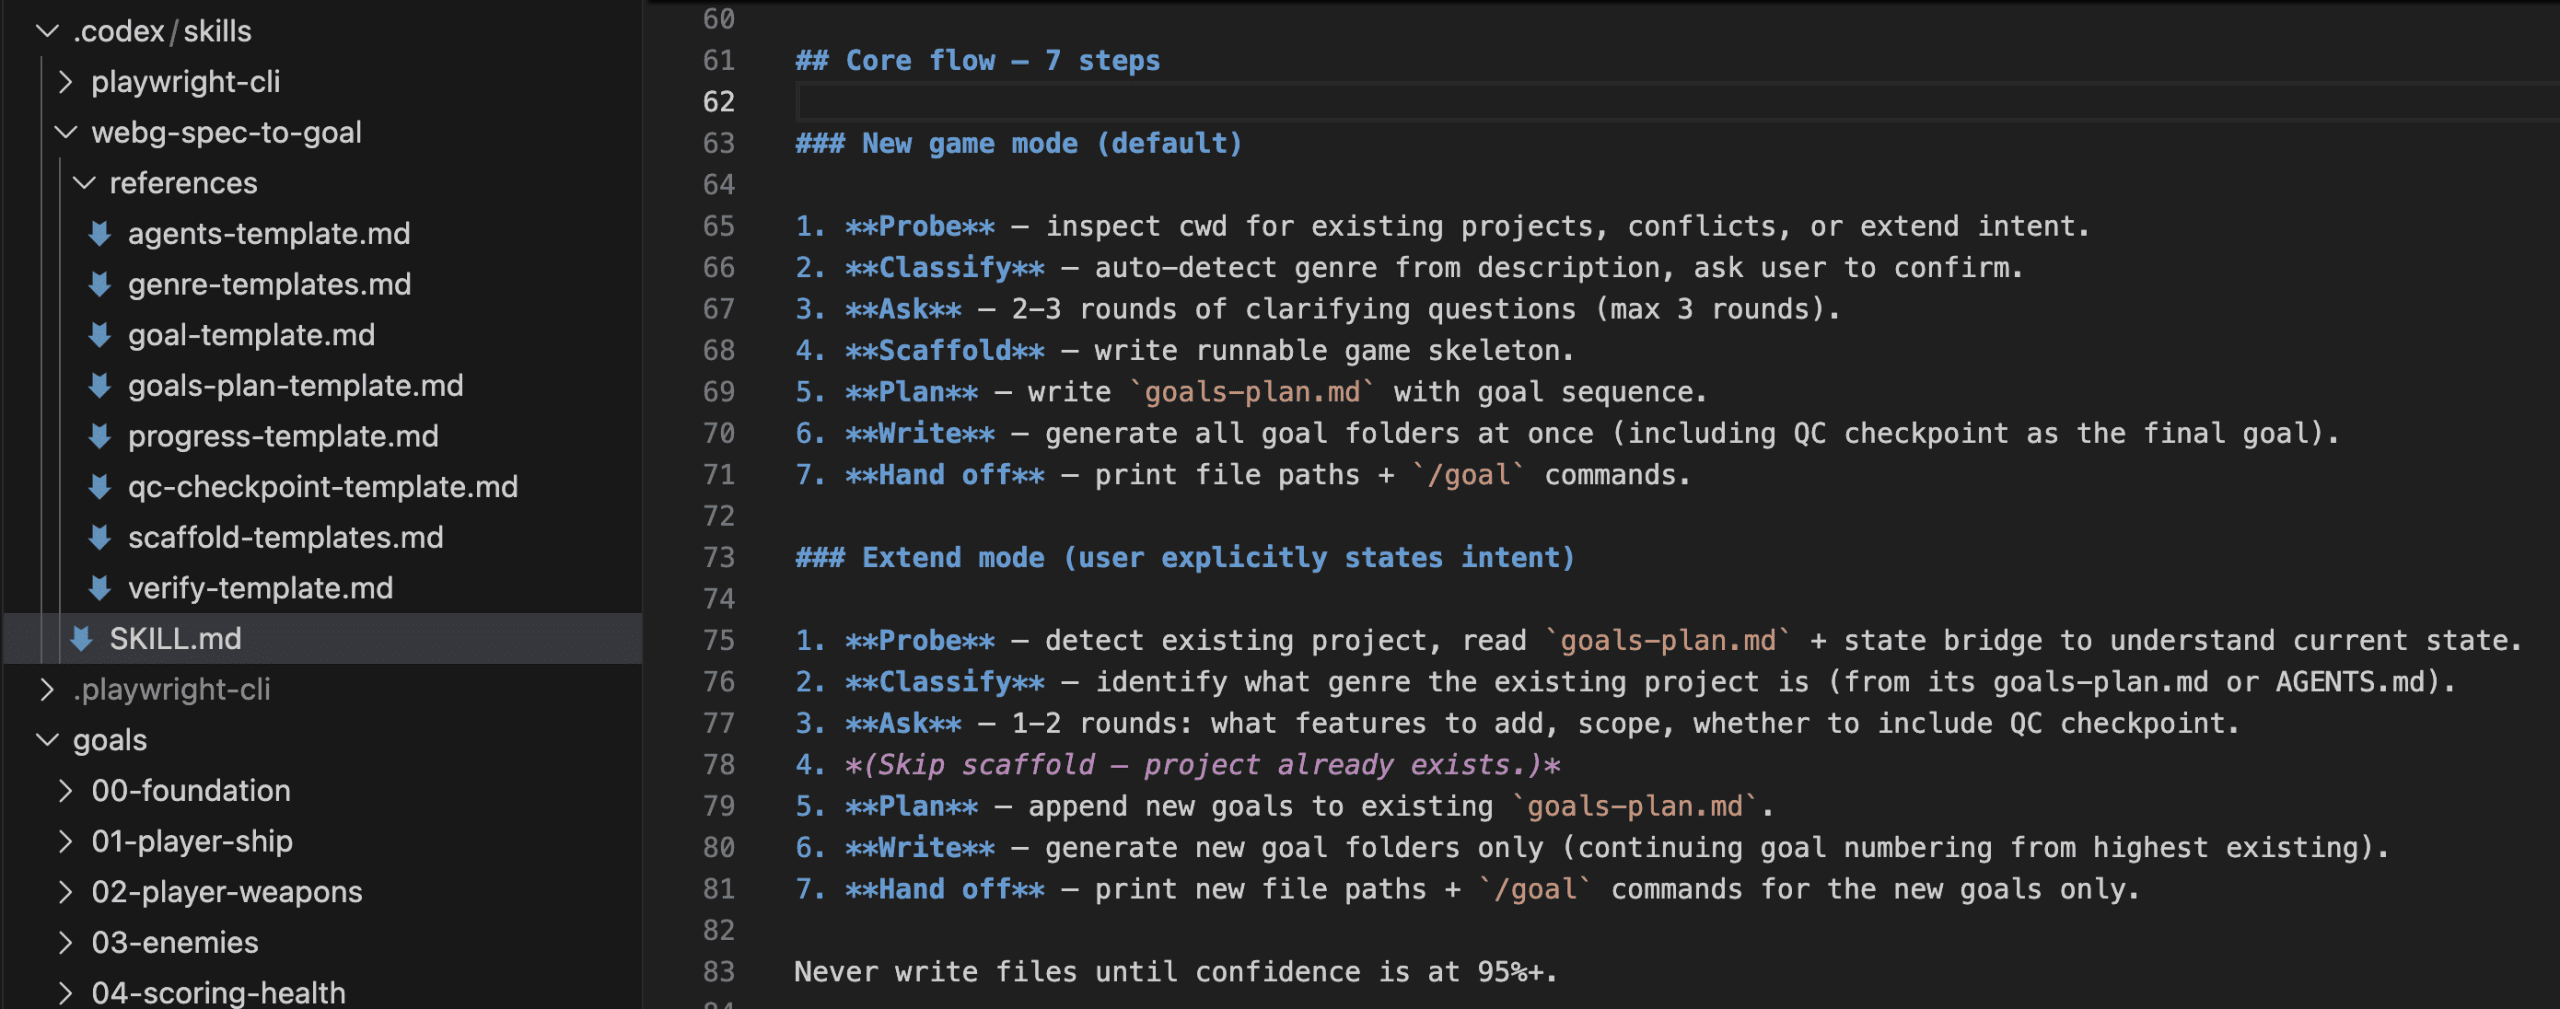
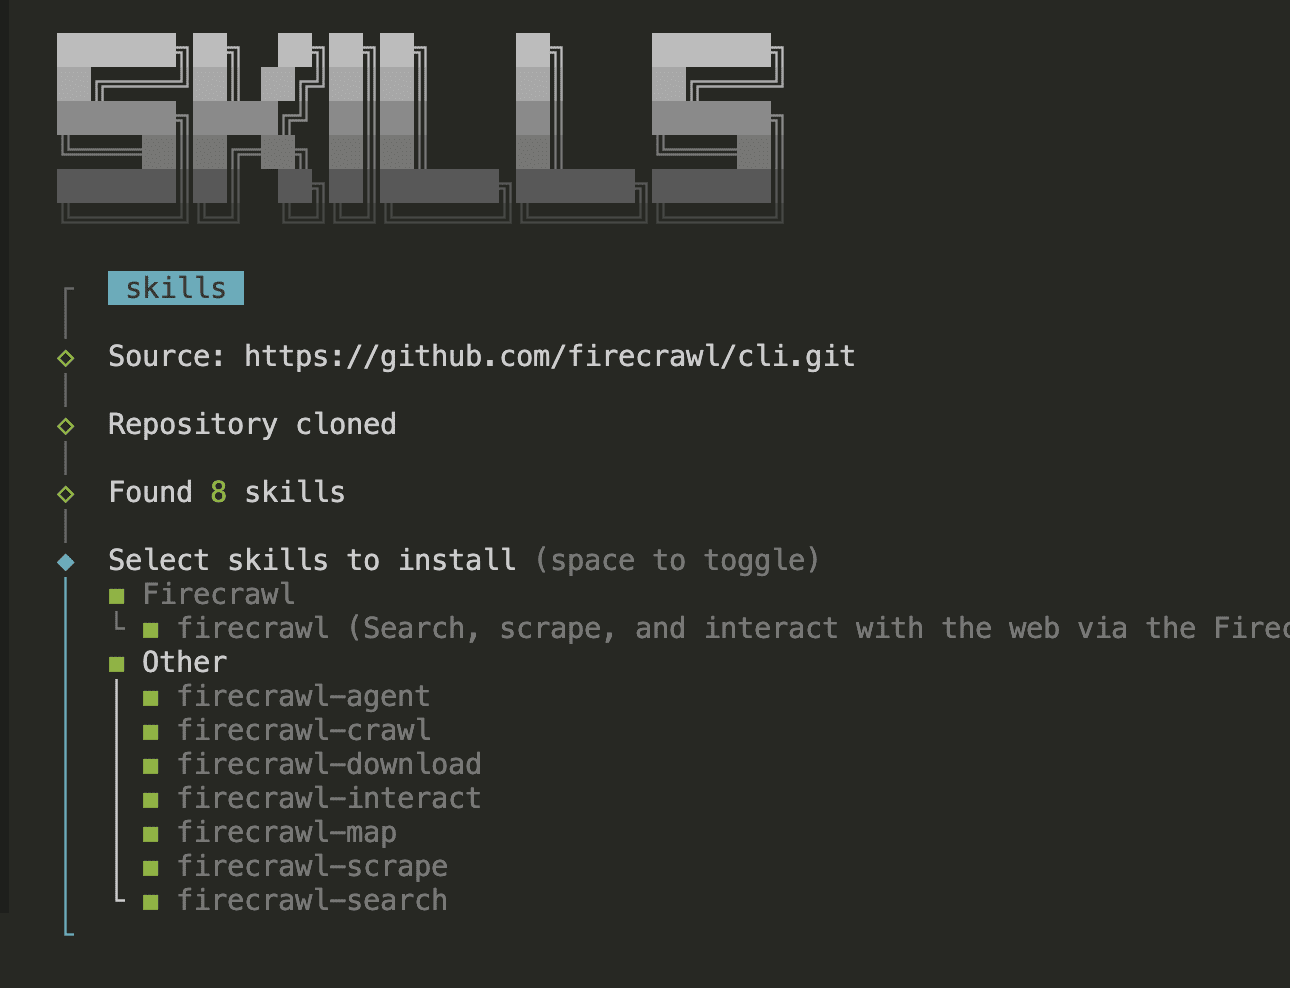
I built a small skill — codex-imagegen — that wraps the whole messy path into something that responds to how you’d actually ask.
Install it, then type the same natural sentence you’d have typed anyway.
No /codex:rescue.
No command to memorize:
Generate an image of a minimalist line-art lighthouse on a dark navy background.
I half-expected to have to type /codex-imagegen the first time. Instead I just asked for the image the way I normally would — and watched Claude load the skill on its own. That was the moment I knew the wrapper was worth building.
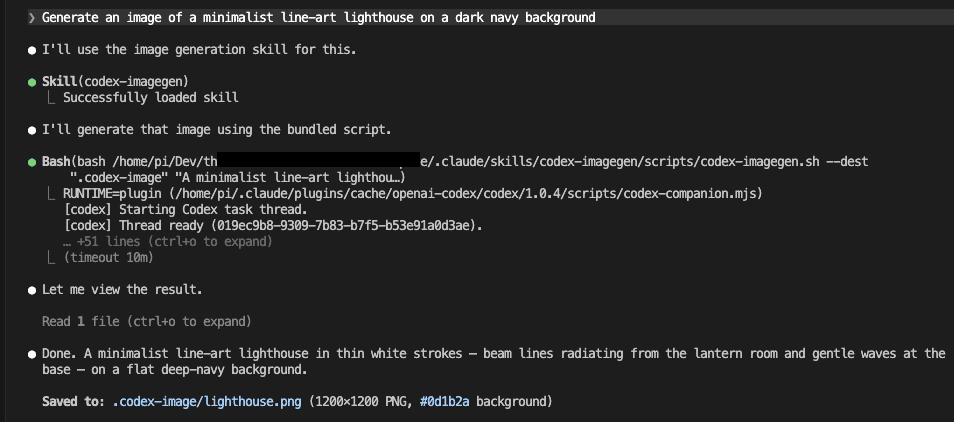
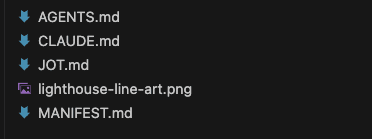
Same words that earned a shrug two sections ago. This time: “Successfully loaded skill,” the plugin runtime picked automatically, and a finished PNG — 1200×1200, flat navy #0d1b2a — saved to .codex-image/lighthouse.png.
No handshake.
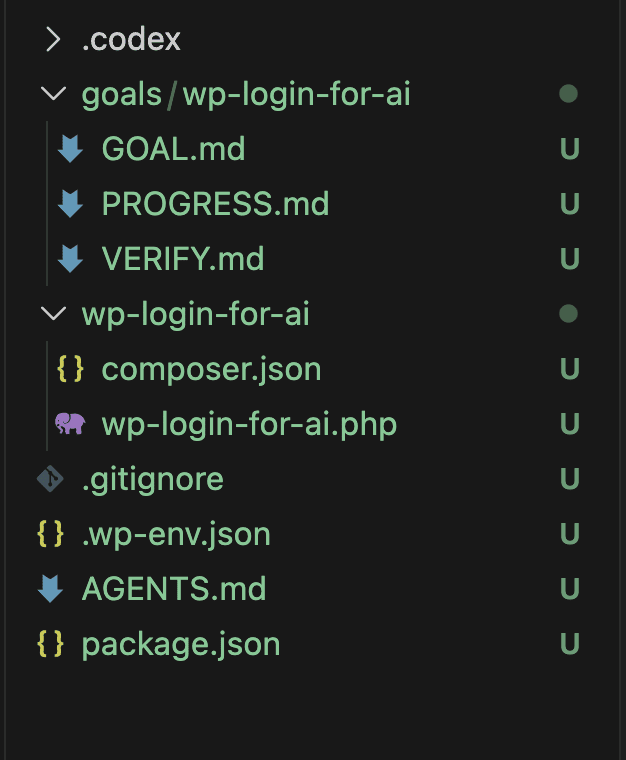
And look where the file went.

Instead of cluttering your project root, the image lands in .codex-image/ — its own corner, out of the way, easy to find later.
For readers new to skills: a skill is a small, reusable capability you teach Claude Code once and trigger by describing what you want. (I wrote a whole series on them, starting with Claude Skills: Your “I Know Kung Fu” Moment Has Arrived (Part 1 of 3).)
Here’s what the skill handles so you don’t have to:
| Without the skill | With codex-imagegen |
|---|---|
Remember and type /codex:rescue with the right phrasing | Ask in plain English; the skill triggers on intent |
| Fish the file out of the project root | Lands organized in a .codex-image/ folder |
| Works only when the plugin is set up just so | Uses the plugin if present, falls back to the Codex CLI if not |
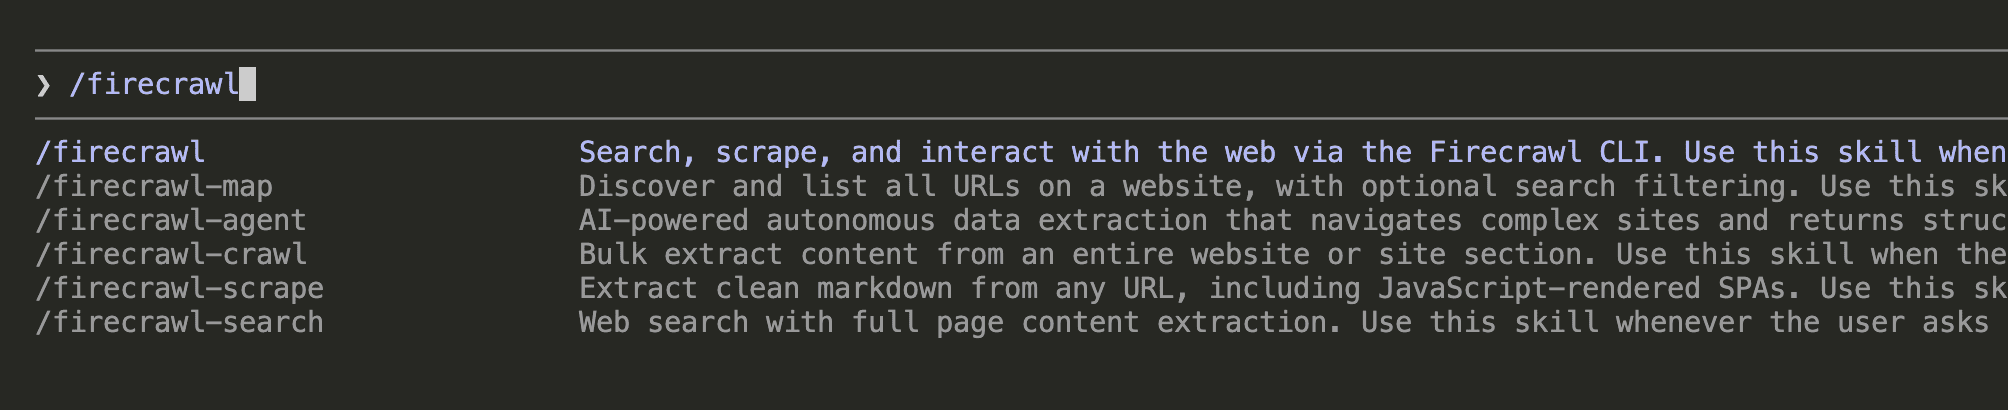
If you’d rather be deliberate, the explicit slash form /codex-imagegen "your prompt" is there too.
Most of the time you won’t reach for it — plain language is the point.
That fallback matters more than it sounds. It means the skill works on a teammate’s machine that only has the Codex CLI, or on a server with no plugin installed, with zero changes on your end. And the shell-eats-the-dollar-sign trap from earlier? Never reaches you. The script handles that token safely every single time.
One quiet bonus: Codex keeps a local cache of every image it generates and never cleans it up. The skill tidies that cache behind the scenes after each run, so the folder doesn’t quietly balloon to hundreds of megabytes while you’re not looking.
.
.
.
What This Unlocks: An Image Generator Other Skills Can Call
Here’s where it gets interesting — and why I think the natural-language trigger matters more than the convenience.
Because the skill responds to plain intent instead of a hard-coded command, it stops being something only you invoke. It becomes a building block other skills and workflows can lean on.
Picture a publishing workflow that notices a finished post has no featured image, writes a prompt from the post’s own title, calls codex-imagegen, and drops the result in the right folder — no human in the loop. Or a project scaffolder that fills in placeholder icons and hero art as it sets up a new repo, instead of leaving you a wall of empty boxes to fill later. Or a slide-deck skill that generates a custom illustration for each section as it builds the outline, so the deck arrives already looking like someone designed it.
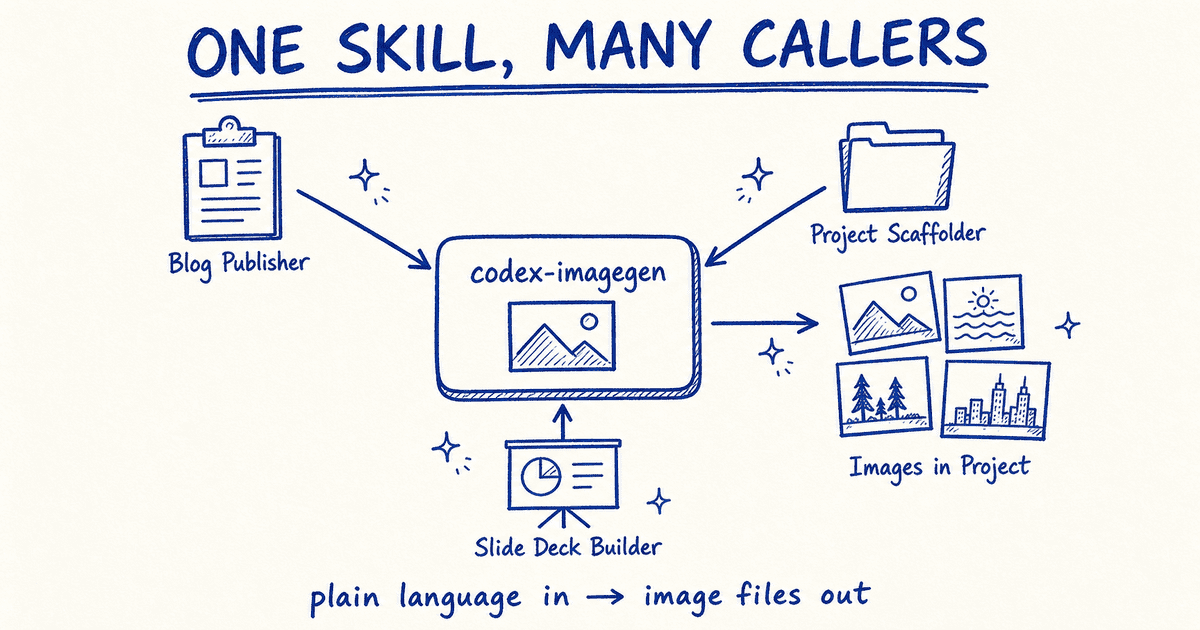
In every one of those, image generation is no longer a thing you stop and do by hand. It’s a step another skill takes on your behalf, mid-flow, because the door is now wide enough for a machine to walk through.
The principle underneath: a capability wrapped as a natural-language skill becomes composable.
One skill can hand off to another, and image generation turns into a primitive your automations reach for — rather than a manual detour you take by hand. None of that works if the only way in is a command a human has to remember to type.
I’ve been building exactly this kind of skill-calls-skill workflow, and it deserves its own post to do it justice. I’ll walk through a real one soon — if you don’t want to miss it, subscribe.
.
.
.
Install It (It’s Open Source)
The skill is open-source, in my agent-skills collection. Two ways in, depending on your setup.
For Claude Code, install the packaged plugin:
/plugin marketplace add nathanonn/agent-skills
/plugin install codex-imagegen@nathanonn-agent-skills
For any other agent — Codex, Cursor, Copilot, or Claude Code itself — use the open Agent Skills CLI:
npx skills add nathanonn/agent-skills --skill codex-imagegen
One prerequisite: the skill rides on Codex, so you need either the Codex plugin in Claude Code or the Codex CLI installed locally (npm i -g @openai/codex, then codex login). Auth runs off your OpenAI account. If neither runtime is present, the skill tells you exactly what to install rather than failing silently.
And because it ships in the cross-agent collection, the same skill works outside Claude Code too. Same plain-language trigger, in whichever agent you happen to be living in that day.
.
.
.
The Harness Gap Keeps Closing
Step back and the trend line is hard to miss.
A year ago, the honest answer to “Claude Code or Codex?” was both, in two terminals. Then the Codex plugin let one tool review the other’s code in a single session. Now a small skill lets Codex generate images inside Claude Code — and not as a command you summon, but as something Claude reaches for the moment you simply ask.
The move worth internalizing: when your main tool can’t do something, you don’t always have to switch tools or wait for a feature to ship.
Sometimes you borrow the capability from the tool next door and wrap the seam so cleanly that you — and your other skills — stop noticing it was ever a seam. The Codex plugin opened that door. A skill that triggers on plain language walks the rest of the way through it.
Claude Code image generation went from impossible here to just ask in the span of one small skill.
That’s the whole shift — a feature that used to require leaving the room now happens without you breaking stride.
So install it, open your next project, and ask for the image you need — in plain English, the way you’d ask anyone. Watch it land in your project a couple of minutes later. Then go build the rest of whatever you were making, and tell me what came out.