When I turned ten, my parents gifted me a battleship model kit.
You know the ones—those intricate naval vessels with approximately 1,000 tiny plastic pieces, decals thinner than a whisper, and instructions that assume you already have the steady hands of a neurosurgeon.
The box art was magnificent. A mighty warship cutting through ocean waves, every gun turret perfectly positioned, every railing impossibly detailed.
I tore it open that morning. Snapped together the first few pieces. The hull took shape. Then the deck. This was going to be amazing.
And then I hit the superstructure.
Tiny railings that snapped if you looked at them wrong. Parts that looked identical but absolutely weren’t. Decals that crumpled the moment I breathed near them. Suddenly, my mighty warship looked less “naval destroyer” and more “sad boat that lost a fight with a bathtub drain.”
I shoved it in my closet. It sat there for two years.
Here’s the thing: the kit wasn’t defective. I’d just hit The Dip.
.
.
.
The Honeymoon Is Real (Enjoy It While It Lasts)
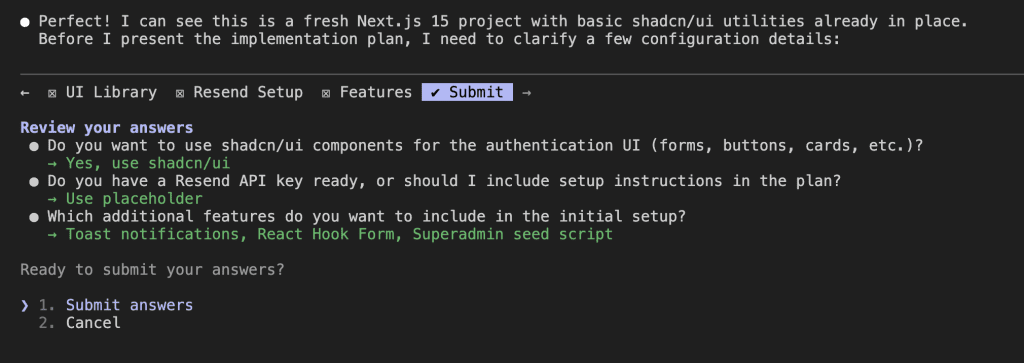
When Anthropic dropped Claude Opus 4.5 in November, it felt like someone handed us the instruction manual to the universe.
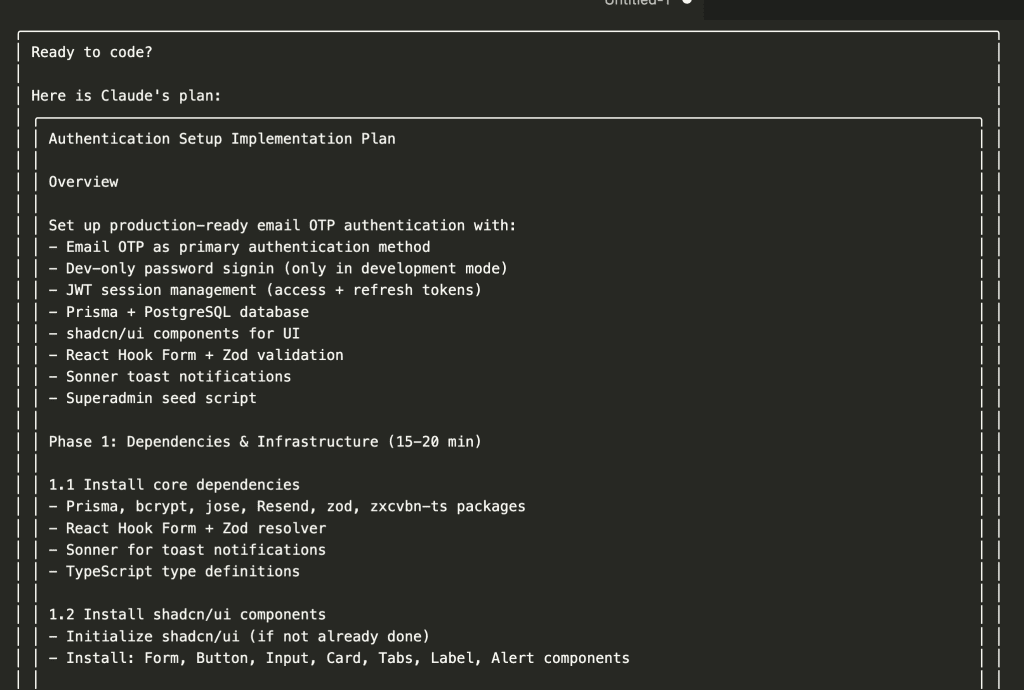
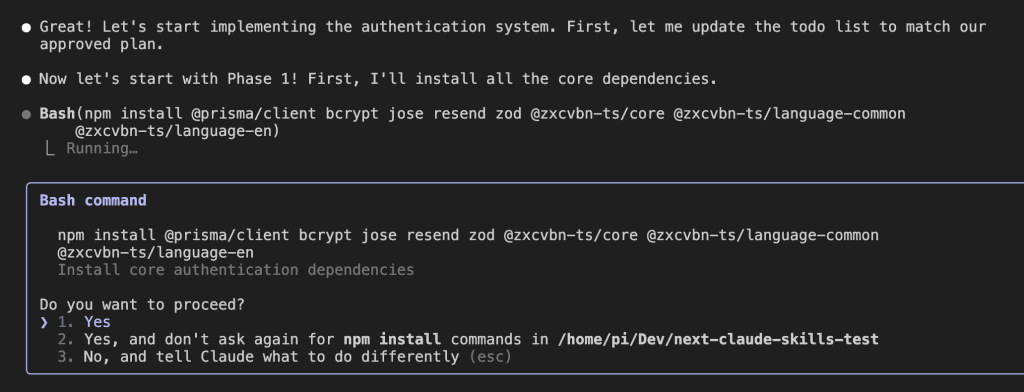
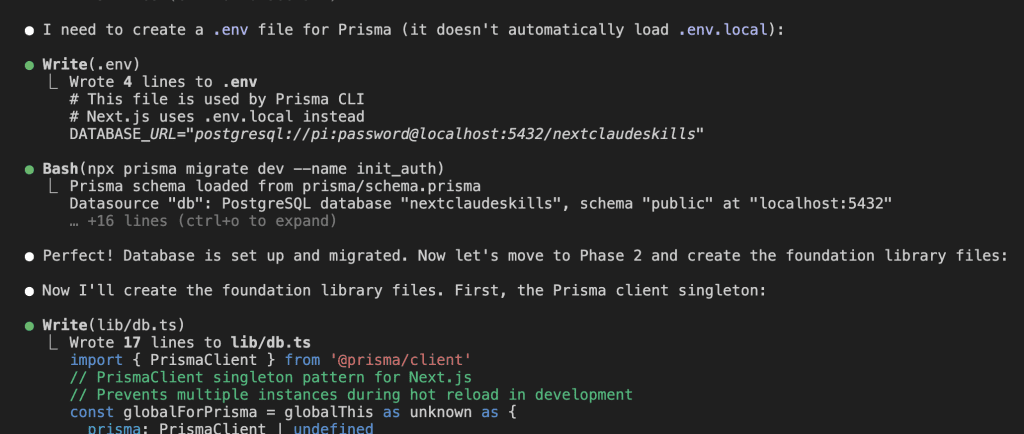
You typed a prompt. Claude built exactly what you described. You shipped in 30 minutes what used to take an entire afternoon of Stack Overflow rabbit holes and frustrated Googling.
The dopamine hit was real.
“I’ll never code the old way again,” you probably said. (I certainly did. Out loud. To no one in particular.)

But here’s what nobody tells you when you’re in the honeymoon phase:
A smarter model doesn’t eliminate the wall you’re about to hit. It just moves it further down the road.
.
.
.
Then the Fog Rolls In
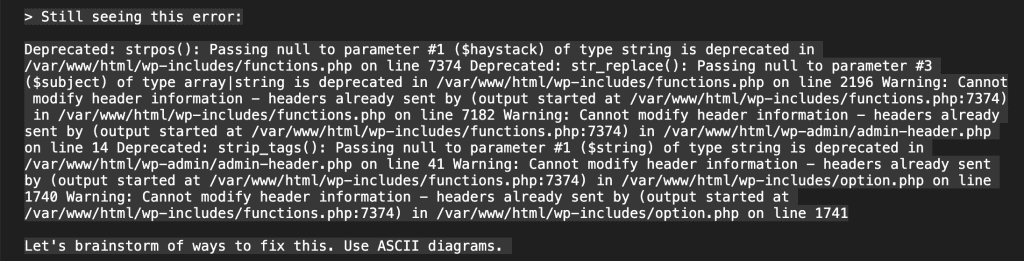
Three weeks in. Same prompt that worked beautifully yesterday. Completely different result today.
Claude starts “forgetting” context. Hallucinating function names that don’t exist. Proposing fixes that miss the point so entirely you wonder if you’re even having the same conversation.
You rephrase. Clarify. Add more detail.
Still broken.
It’s like driving in thick fog. You know the road is there. You know your car works fine. But you can’t see three feet in front of you, and suddenly every turn feels dangerous.
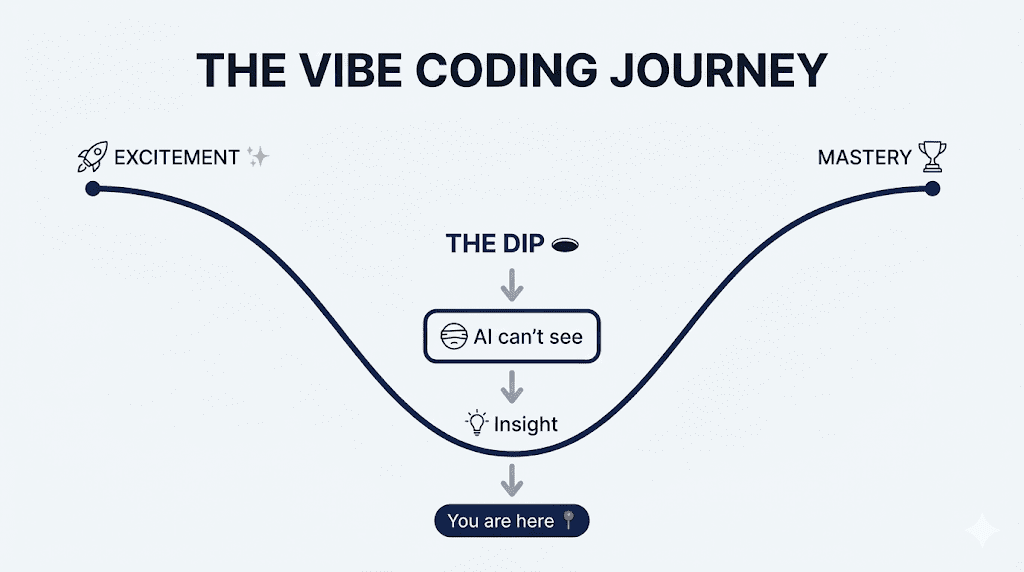
This is the dip in vibe coding. And if you’ve been working with Opus 4.5 for more than a few weeks, you’ve been here.
The symptoms look something like this:
- “Claude won’t listen to me anymore”
- “Works for simple cases, breaks on anything real”
- “My whole process is falling apart”
- “Maybe I actually need to understand this stuff…”
Sound familiar? (Be honest. I won’t tell anyone.)
.
.
.
The Spiral We Don’t Talk About
Let me tell you what happened to me.
It was 11 PM. Third cup of coffee—the one that crosses the line from “productive fuel” into “questionable life choices.” I’d been debugging with Claude for over an hour.
The bug was obvious. At least to me. I could see exactly where the logic broke down.
Claude kept proposing fixes that missed the point entirely.
I rephrased. Added context. Tried twelve different angles.
Nothing.
“You’re supposed to be the smartest model on the planet,” I muttered at my screen. (Yes, I talk to my computer. Don’t pretend you don’t.)
“Why can’t you just see this?”
.
.
.
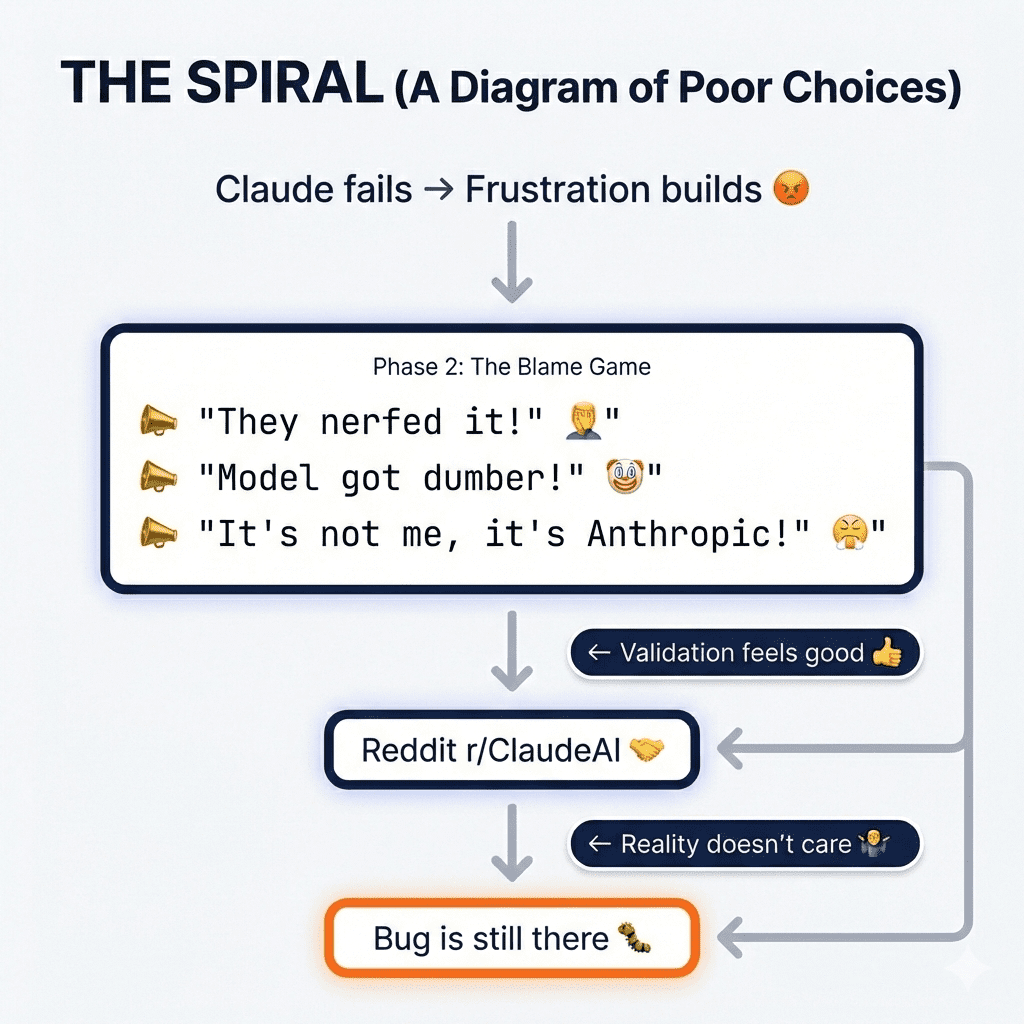
And then came the spiral.
Maybe Anthropic is serving me a weaker model. They probably quantized it to save on compute—everyone knows they throttle heavy users. The conspiracy theories started writing themselves.
I opened Reddit. Started typing.
“Anyone else notice Claude got way worse lately?”
Found others who agreed. Upvotes. Comments. Validation.
Felt good.
The bug was still there.
.
.
.
The Uncomfortable Question
I closed Reddit and stared at my screen.
What if the model didn’t change?
What if I was the variable?
(Stay with me here—this is where it gets good.)
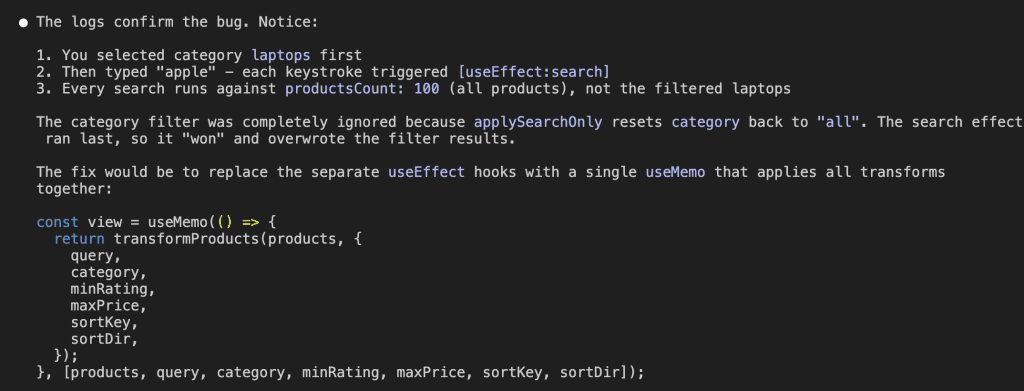
I went back to my conversation with Claude. Read through it again. And this time, I noticed something that made me want to crawl under my desk.
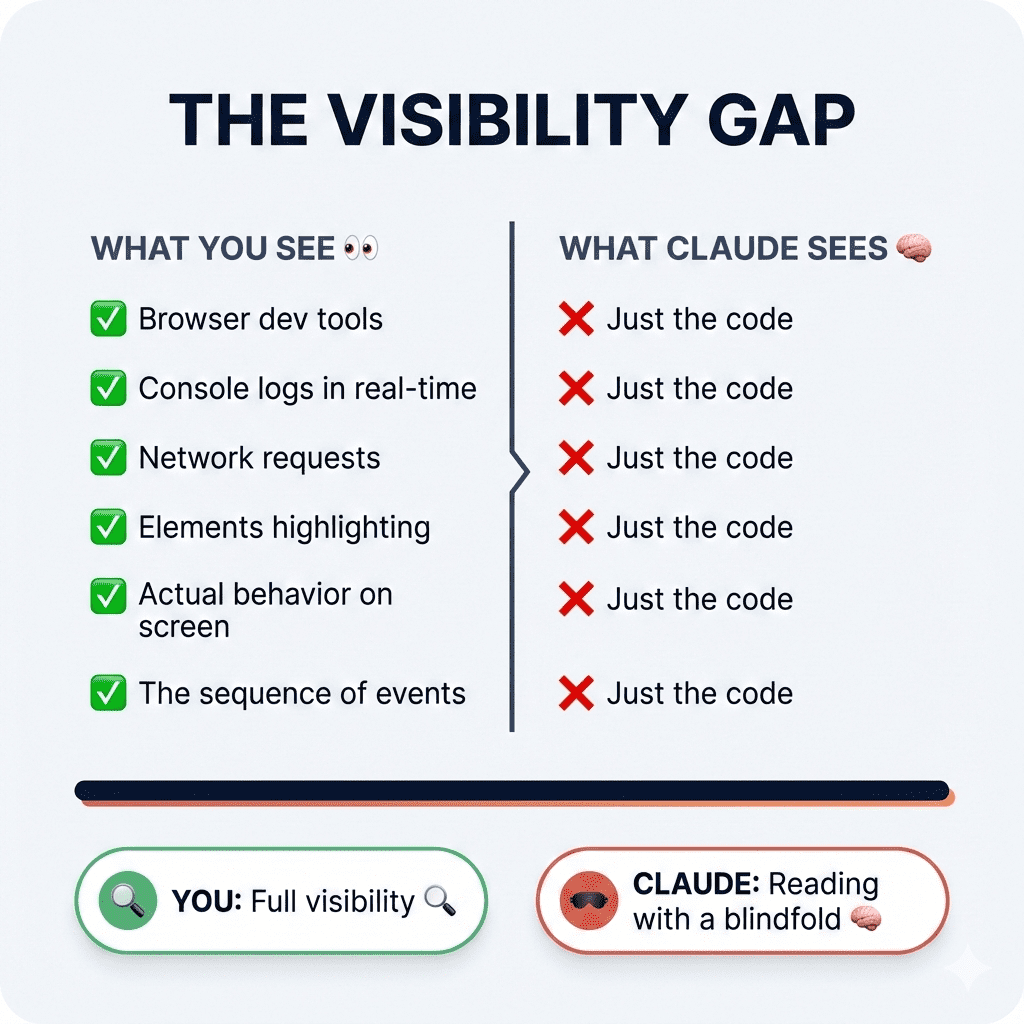
Claude wasn’t seeing what I was seeing.
I had context in my head—error logs I’d scanned, behavior I’d observed, patterns I’d noticed across multiple test runs. None of that was in the conversation. I was asking Claude to diagnose a problem while hiding half the symptoms.
Remember that fog metaphor? I was the fog.
I’d been yelling at my car for not driving properly while I was the one smearing mud on the windshield.
.
.
.
The Insight That Changed Everything
Here’s what I learned—and I want you to write this down somewhere:
👉 LLMs don’t fail because they’re not smart enough. They fail because they can’t see what you see.
Opus 4.5 is brilliant. But brilliance without visibility is just confident guessing. (And confident guessing is somehow more frustrating than obvious failure, isn’t it?)
The moment I understood this, my entire approach changed.
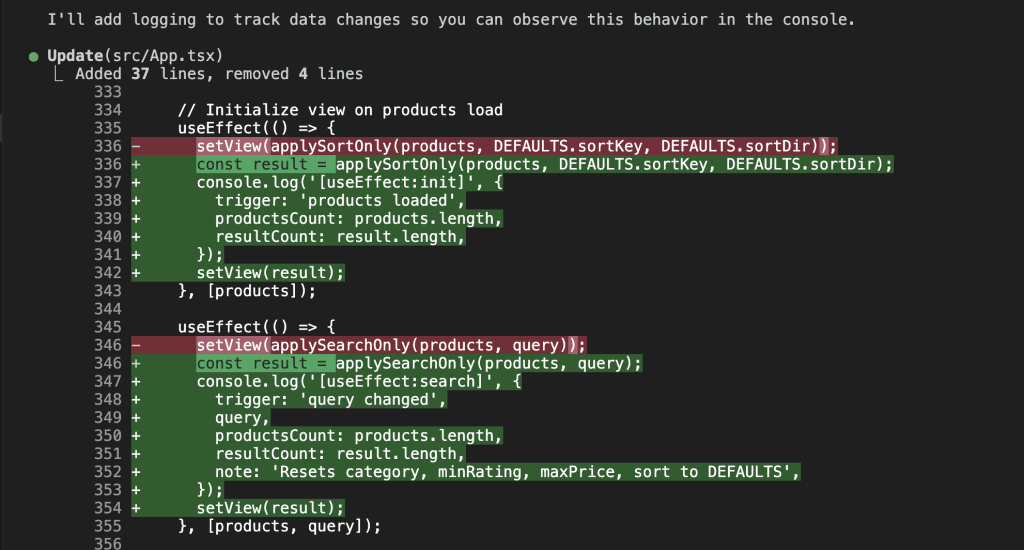
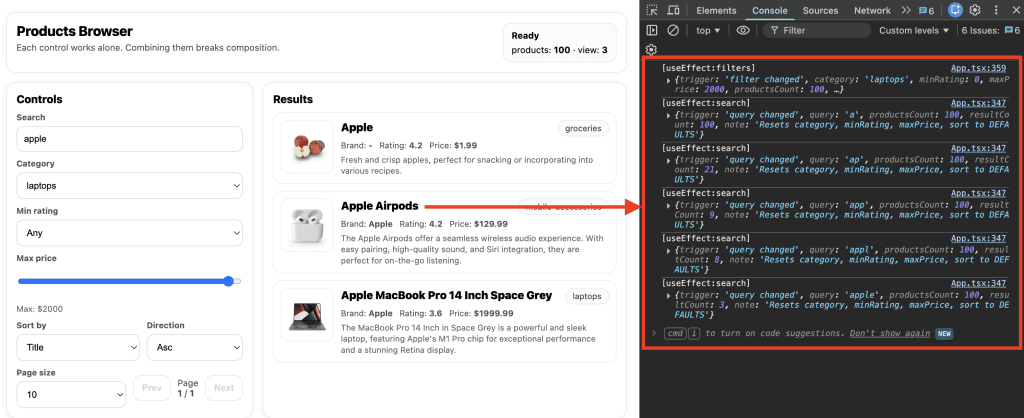
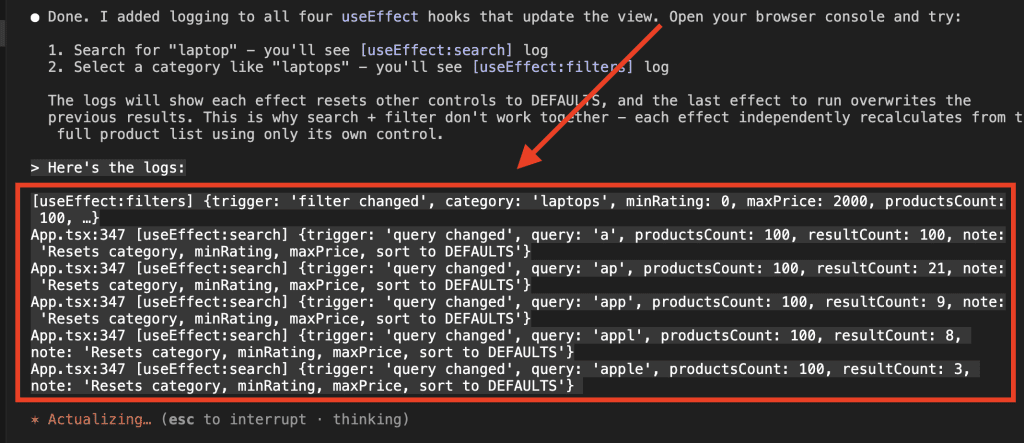
Instead of crafting cleverer prompts, I started providing better context. Added logging. Pasted actual error output—not my interpretation of it, but the raw, ugly, unfiltered thing. Described exactly what I observed.
Suddenly the “dumb” Claude became brilliant again.
The model didn’t change. What I gave it changed.
The fog cleared. The road was there all along.
![Infographic titled "THE VISIBILITY PRINCIPLE" at the top in bold, dark blue font. The image is divided into two sections, "BEFORE" and "AFTER", separated by a horizontal line.
The "BEFORE" section, with a downward arrow, shows a flow diagram. On the left, a person icon labeled "You" has an arrow pointing right to a gray rectangular box labeled "[Fog]" with a cloud emoji. Below this fog box, a smaller gray box with an upward arrow points to it, containing the text "(Missing context, summarized errors, assumptions) ❓". An arrow from the "[Fog]" box points right to a robot icon labeled "Claude". An arrow from "Claude" points right to a red rectangular box labeled "Wrong answer" with a red 'X' mark and a sad face emoji 😞.
The "AFTER" section, with a downward arrow, shows a parallel flow diagram. On the left, a person icon labeled "You" has an arrow pointing right to a blue rectangular box labeled "[Clear]" with an eyes emoji 👀. Below this clear box, a smaller blue box with an upward arrow points to it, containing the text "(Raw errors, actual output, full context) 🔍". An arrow from the "[Clear]" box points right to a robot icon labeled "Claude". An arrow from "Claude" points right to a green rectangular box labeled "Right answer" with a green checkmark ✅ and a happy face emoji 😊.](https://www.nathanonn.com/wp-content/uploads/2026/01/image-15.png)
.
.
.
What Seth Godin Knew All Along
Quick detour. (I promise it’s relevant.)
Seth Godin wrote about The Dip years ago. His insight: The Dip is the long, hard slog between starting something and mastering it. The point where initial excitement fades and real work begins.
Most people quit here. That’s exactly what makes pushing through valuable.
My battleship model kit? I eventually finished it. Two years later, with steadier hands and more patience. It’s not perfect—one gun turret sits slightly crooked—but it’s done. And I learned something about myself in the finishing that I never would have learned in the quitting.
The dip in vibe coding works the same way.
You’ve moved past the toy examples. You’re building real things now. And real things have edge cases, complexity, and problems that require iteration.
That’s always been true. AI doesn’t change the fundamental nature of engineering—it just accelerates everything. The breakthroughs come faster.
So do the walls.
.
.
.
The Dip Survival Kit
Okay. Enough philosophy. Let’s get tactical.
Here are five things I do now when Claude stops cooperating—and more importantly, when I feel the urge to open Reddit instead of solving the actual problem.
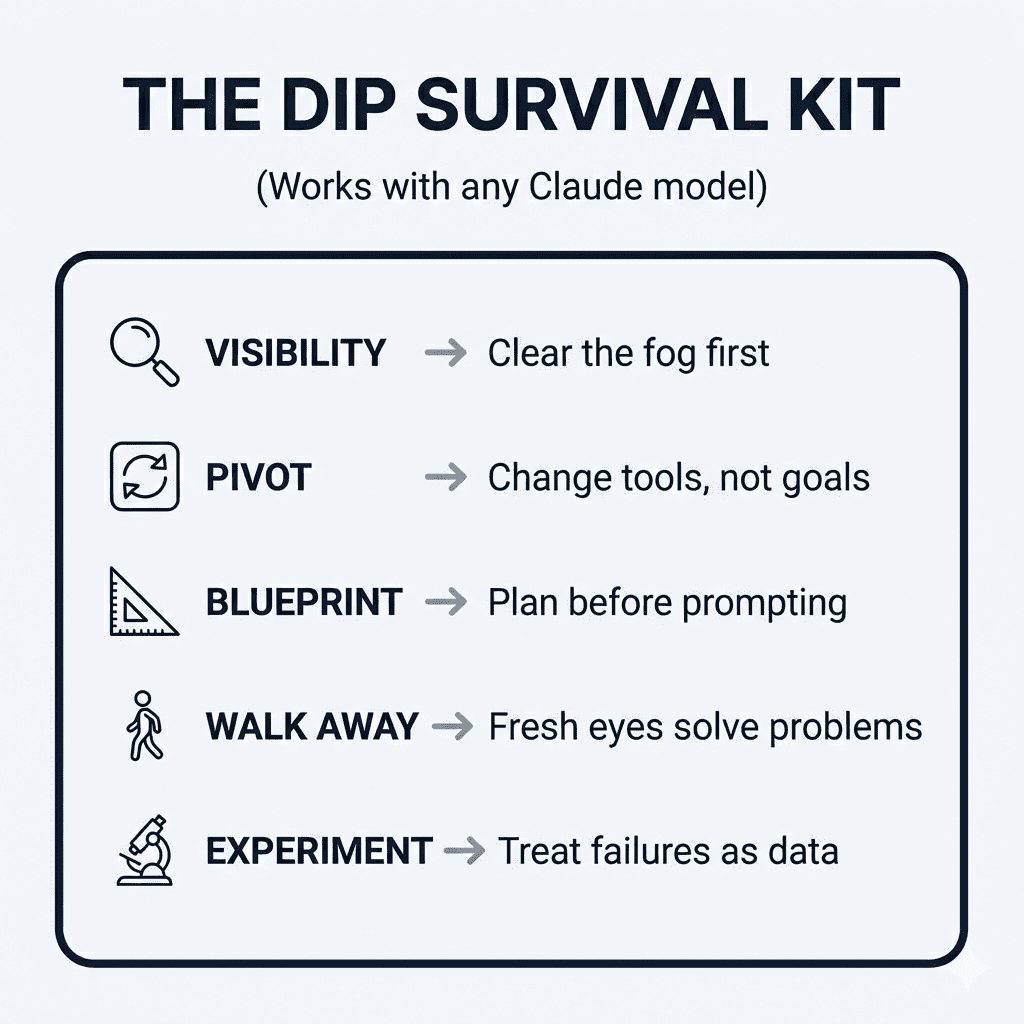
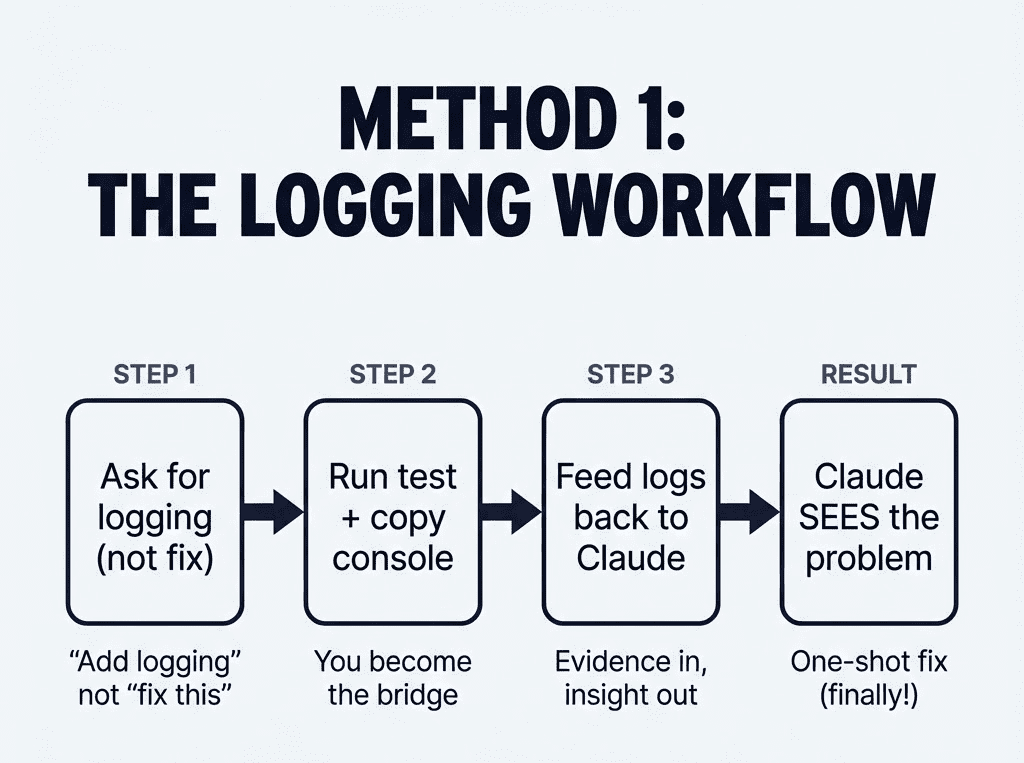
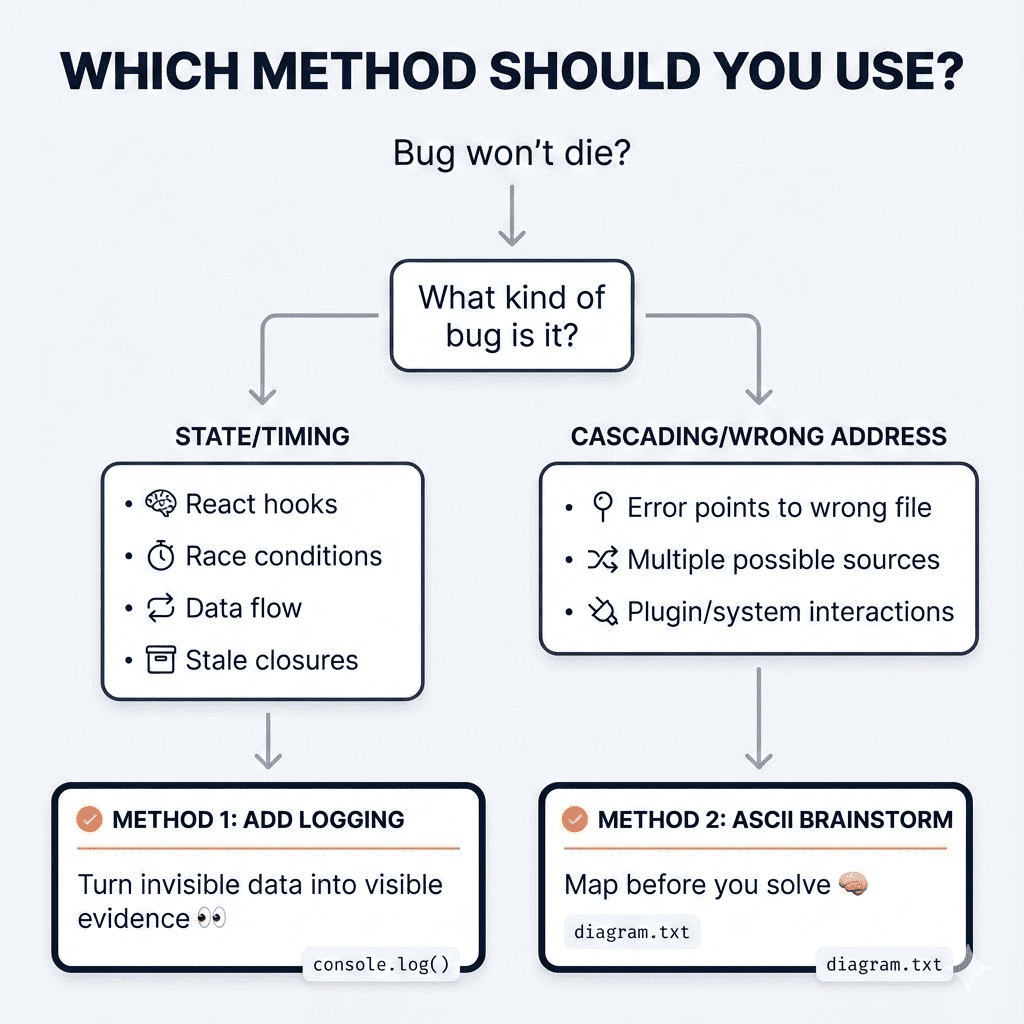
1. Visibility First (Clear the Fog)
The problem: Claude fails because it lacks context, not intelligence. You’re driving in fog and blaming the car.
The fix:
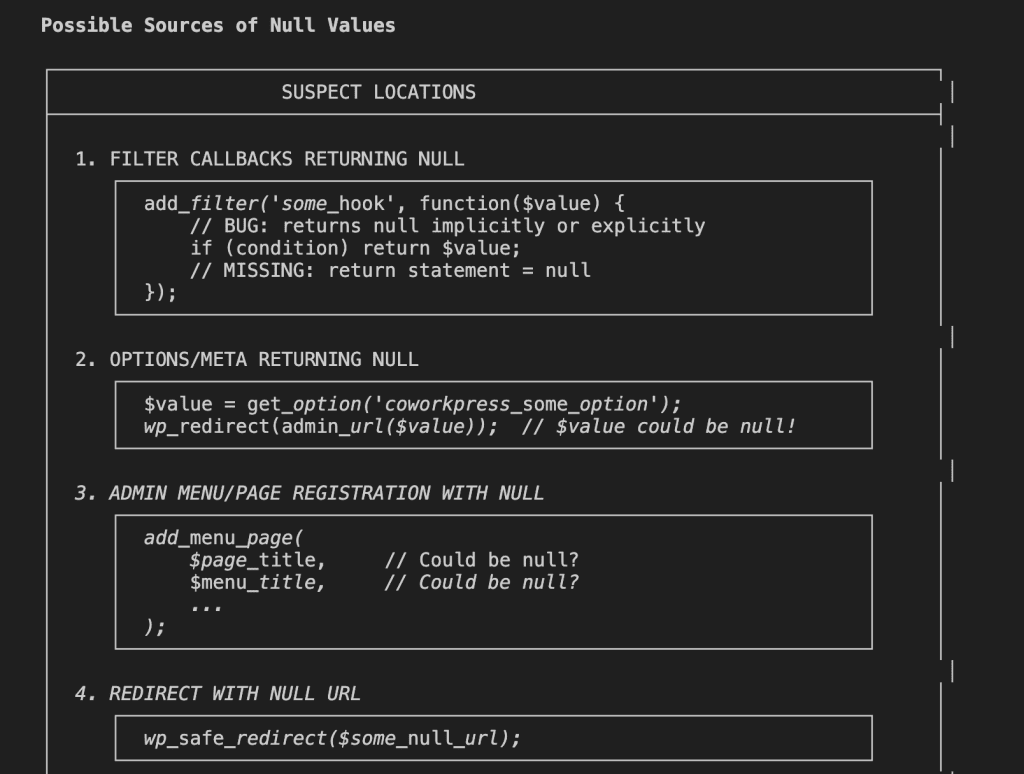
Add logging before asking Claude to debug. Paste actual error messages—not your summary of them, the real thing. Describe exactly what you observed.
Opus 4.5 has a massive context window. Use it. Don’t summarize when you can show.
A prompt pattern that actually works:
“Here’s what I’m seeing: [actual output]. Here’s what I expected: [expected output]. Here’s the relevant code: [code]. What’s the disconnect?”
More context = better reasoning. That’s literally why Opus outperforms previous models.
2. Tool Pivot (Different Hammers for Different Nails)
The problem: One tool can’t do everything brilliantly—even Opus 4.5.
The fix:
I’ve started using different AI tools for different phases:
| Task | Best Tool |
|---|---|
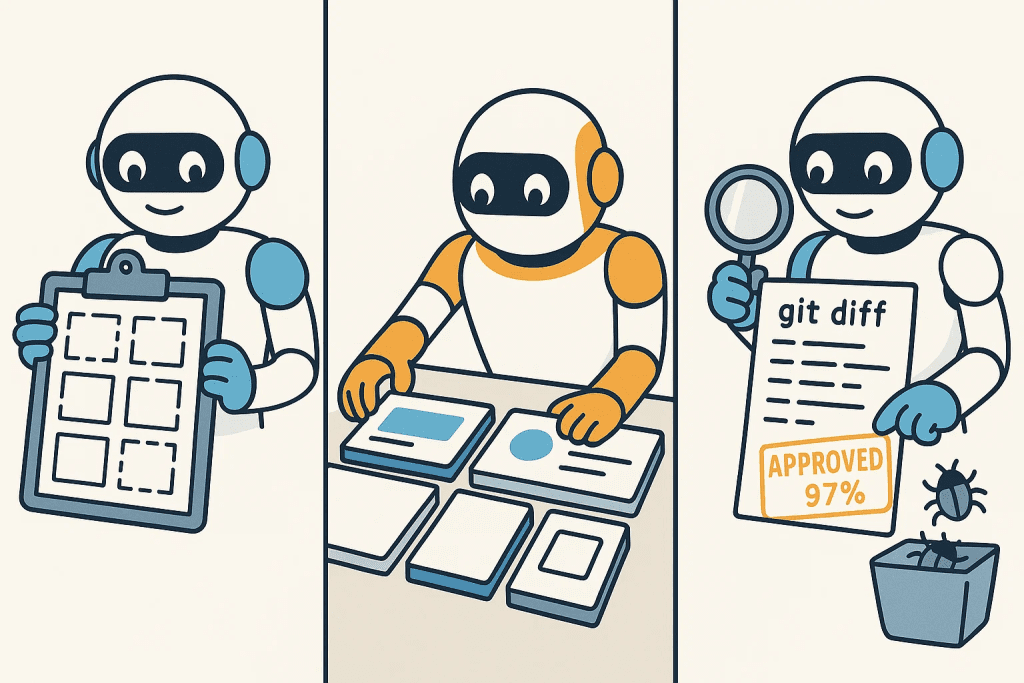
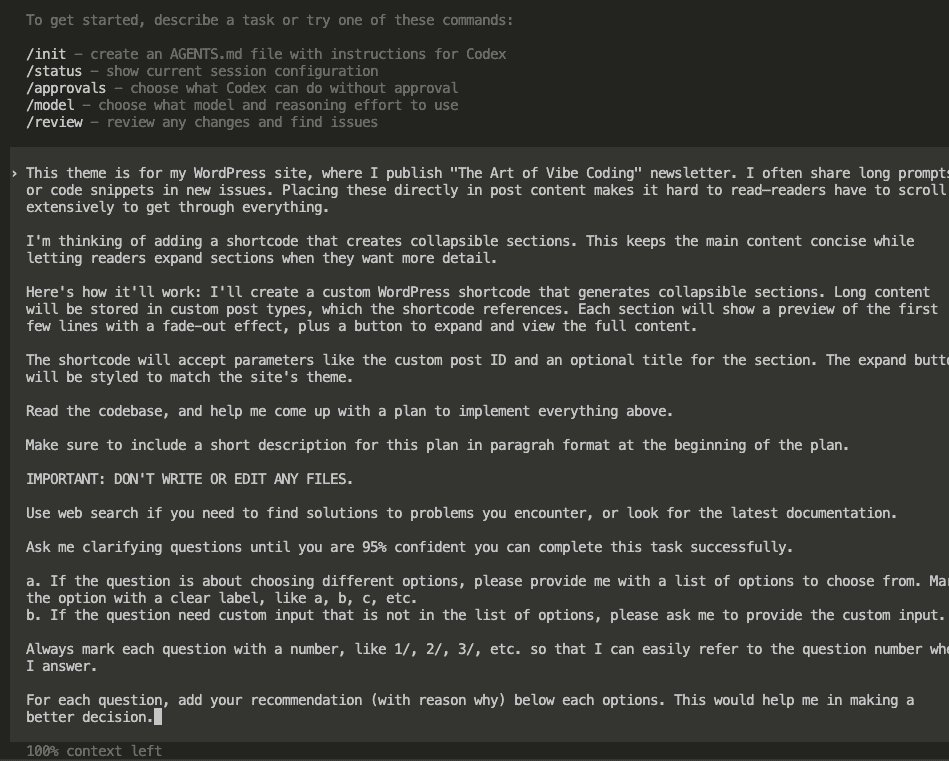
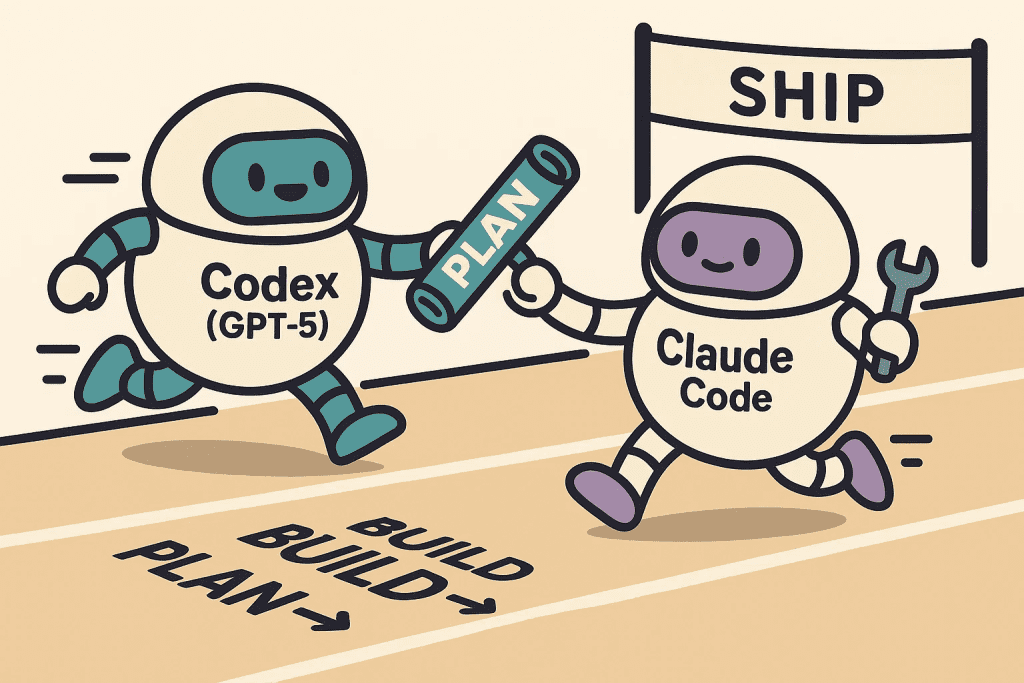
| Brainstorming & Planning | Codex / GPT-5 |
| Implementation | Claude Code (Opus 4.5) |
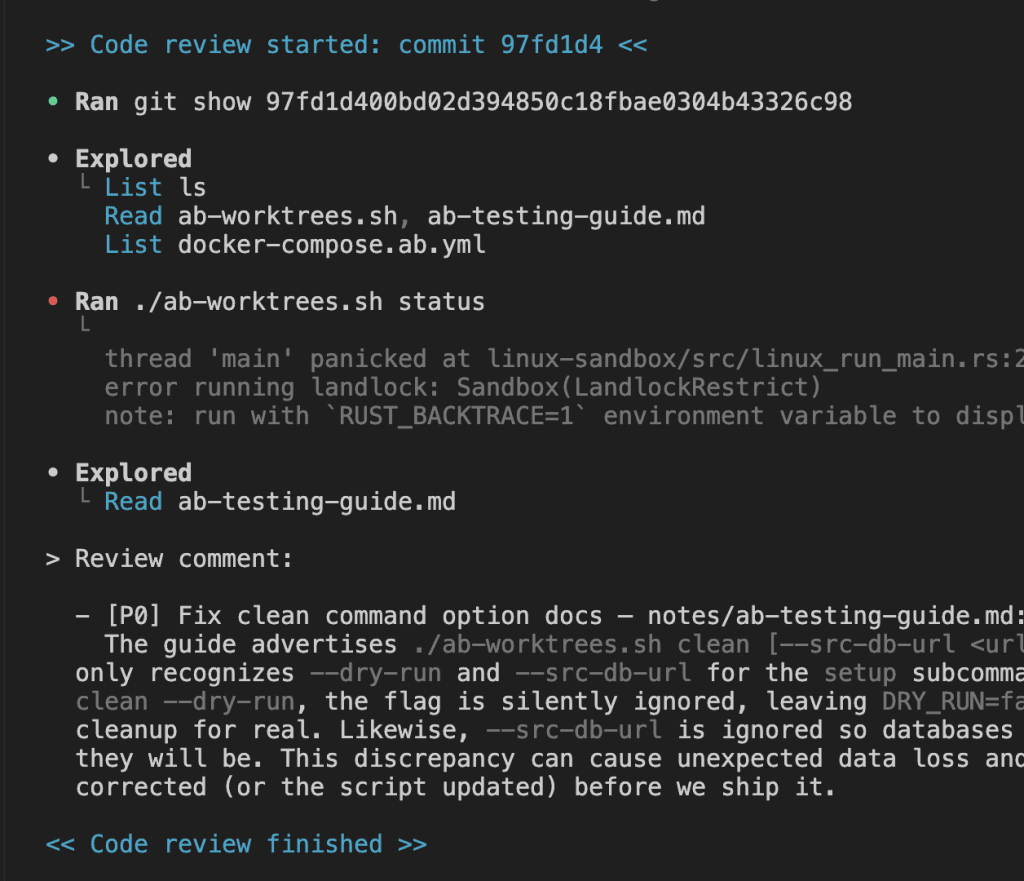
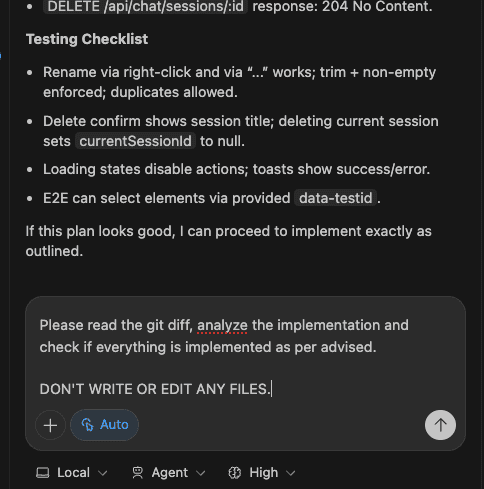
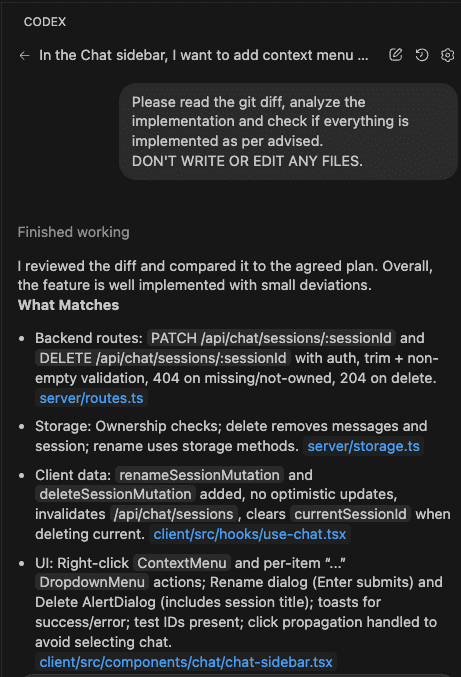
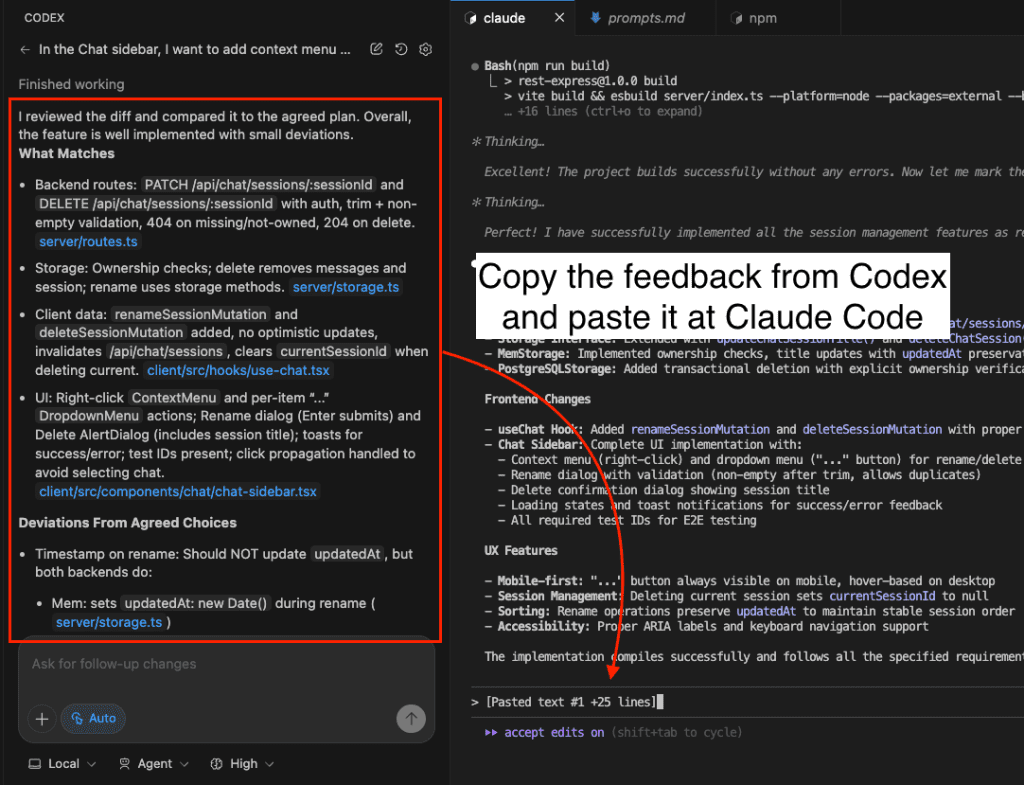
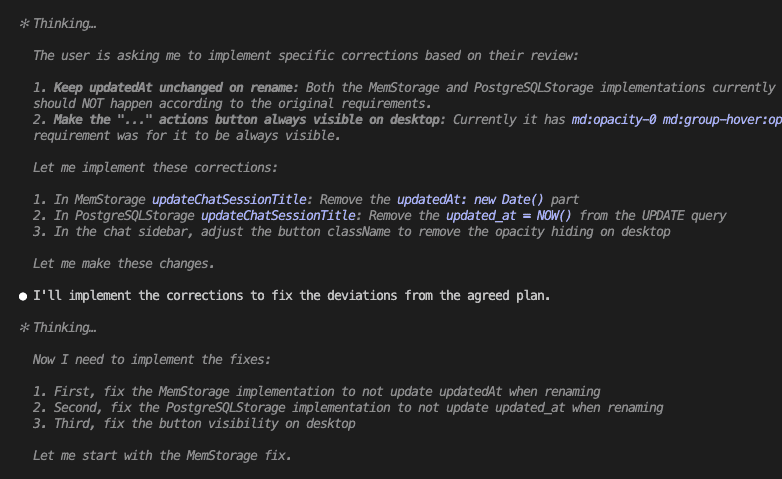
| Review & QA | Codex reviewing diffs |
Claude excels at implementation and extended reasoning. Using it for everything creates blind spots. Match the tool to the task—not the task to the tool.
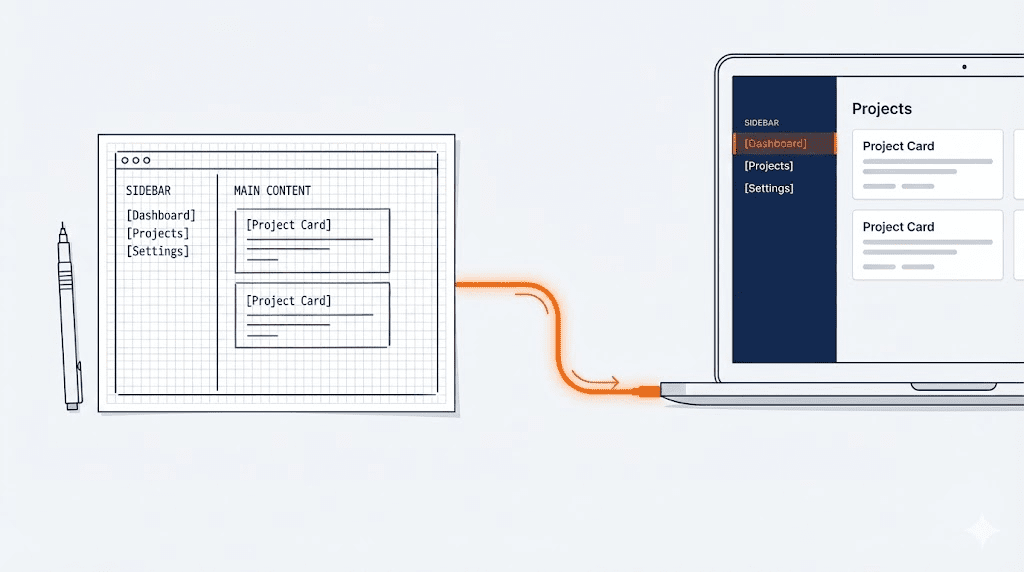
3. Blueprint Over Code (Clarity Before Creativity)
The problem: Vague prompts produce vague results. Even from Opus 4.5.
The fix:
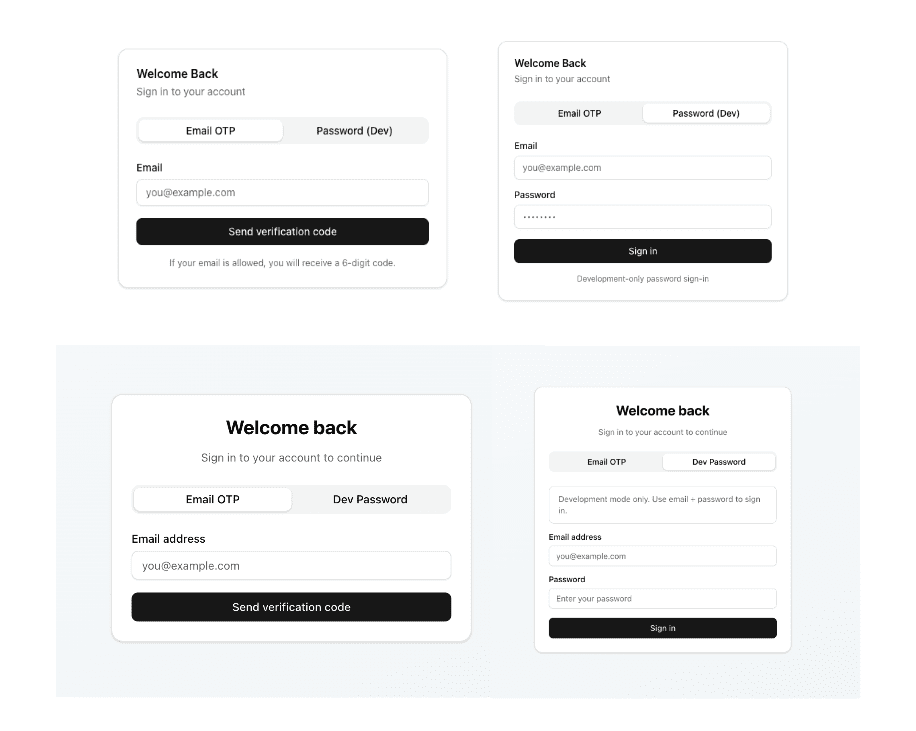
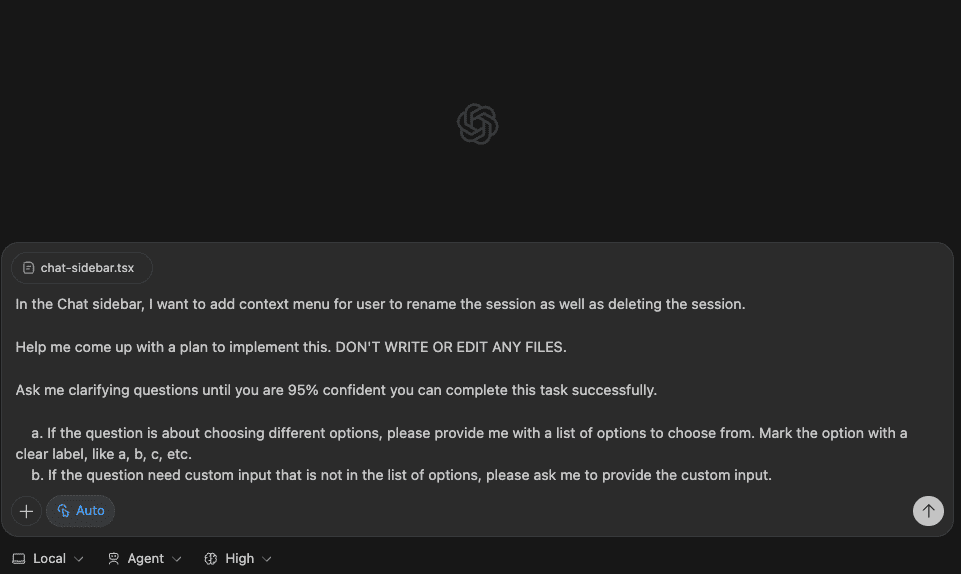
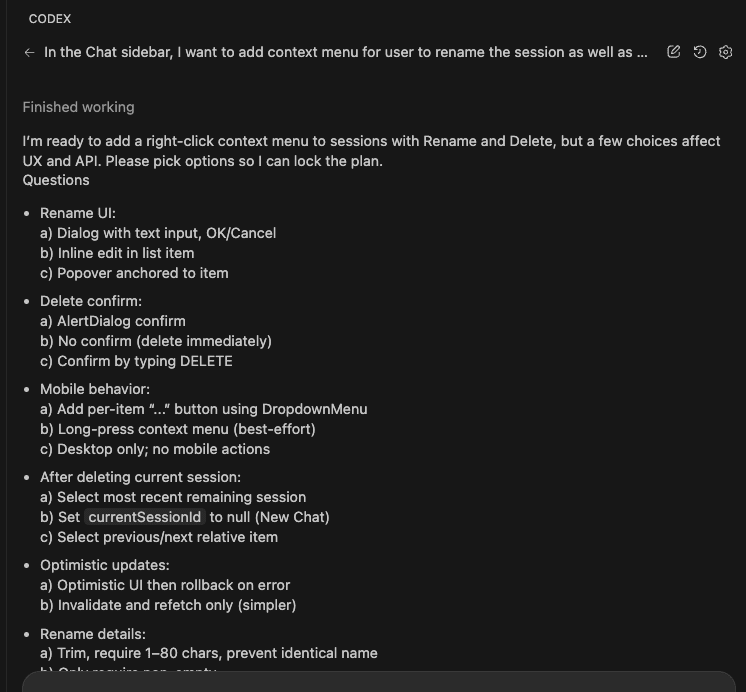
Write detailed specs before asking Claude to build anything. Use ASCII wireframes for UI. Define success criteria upfront. Get to 95% clarity before implementation begins.
Bad prompt:
“Build me a login form”
Better prompt:
“Build a login form with email and password fields. Email validation on blur. Password requires 8+ characters, one uppercase, one number. Show inline errors below each field. On success, redirect to /dashboard. On failure, show error banner at top. Use existing Button and Input components.”
Here’s the thing: smarter models reward precision. Opus 4.5 can follow complex specifications better than any previous model. Don’t waste that intelligence on ambiguity.
4. The Strategic Retreat (Walking Away Is a Skill)
The problem: Tunnel vision makes everything harder. You’ve been staring at the same bug for two hours and you’re no longer thinking—you’re just reacting.
The fix:
Walk away. Literally.
Work on something else. Go for a walk. Sleep on it. (Yes, actual sleep. Revolutionary concept, I know.)
Your brain keeps processing in the background. You’ll return without the emotional charge. Often—annoyingly often—the solution becomes obvious after distance.
The anti-pattern to avoid:
Don’t keep hammering the same prompt hoping Opus 4.5 will suddenly “get it.” Ten variations of a bad approach is still a bad approach. Step back. Reassess.
5. Experiment Deliberately (Failure as Data)
The problem: Random attempts waste time and tokens. Frustration makes you sloppy.
The fix:
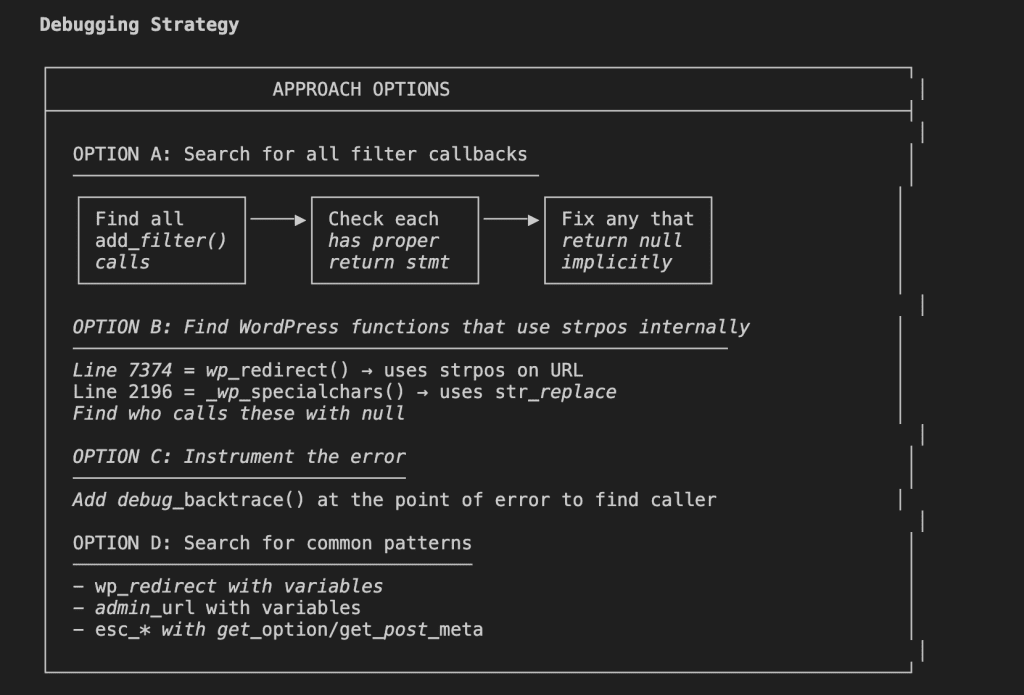
Change one variable at a time. Document what you tried. Look for patterns in what’s failing. Treat debugging as research, not combat.
The mindset shift:
“I’m not failing. I’m eliminating approaches that don’t work.”
A Claude-specific tip:
Start a fresh conversation when context gets polluted. Sometimes Opus 4.5 locks onto a wrong approach and keeps circling back to it like a dog with a favorite squeaky toy. New conversation = clean slate. Sometimes that’s genuinely all you need.
.
.
.
The Other Side of the Dip
Let me be honest with you.
The dip in vibe coding is real. It’s coming for every single person reading this—if it hasn’t arrived already.
Even with Claude Opus 4.5. Even with the most capable AI model we’ve ever had.
But here’s what the dip actually means: you’ve moved past the tutorials. You’re building something real. You’re pushing against the edges of what’s possible.
That’s engineering. That’s the craft.
Every new Claude model will have a honeymoon phase. And every one will eventually lead to a dip. The skill isn’t avoiding it.
The skill is navigating it.
Push through. Tinker. Experiment. Clear the fog. Give Claude what it can’t see on its own.
The developers who learn this with Opus 4.5 will be ready for whatever Anthropic ships next.
Claude keeps getting smarter.
The dip will always be there.
Learn to love the climb.