You’ve built the perfect authentication system.
It took months. Every edge case handled. Every security hole plugged. Production-tested across three different apps.
And now you’re starting project number four.
Time to rebuild it. Again. From scratch.
Because that’s how AI works, right? It gives you a solution, not your solution.
Wrong.
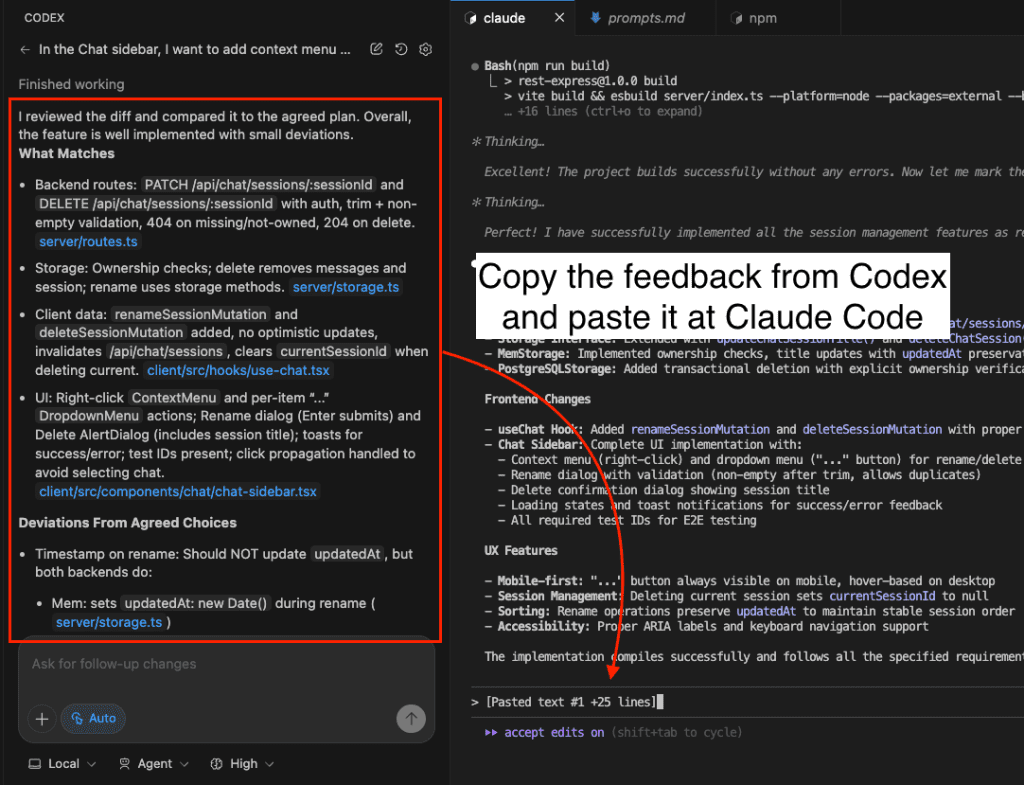
Last week, I showed you how Claude Skills changed everything – letting you replicate YOUR exact patterns across every project.
Today, I’m going to show you exactly how to create your own Claude Skills.
By the end of this article, you’ll know how to turn any feature into a reusable skill that Claude Code can deploy perfectly every time.
.
.
.
The Secret: It’s Not About Code, It’s About Documentation
Here’s what most developers get wrong about Claude Skills.
They think it’s about copying code files. Dumping your lib/auth folder into a skill and calling it done.
That’s not how it works.
Claude Skills aren’t code repositories.
They’re implementation guides that teach Claude your specific patterns, your architecture decisions, your way of solving problems.
And the key to creating a powerful skill?
Comprehensive documentation that captures not just WHAT your code does, but HOW and WHY it works.
Let me show you exactly how I turned my authentication system into the Claude Skill I demonstrated in Part 1.
.
.
.
Step 1: Let GPT-5 Document Your Implementation (10 Minutes)
This is counterintuitive, but stay with me.
I don’t use Claude to document my Claude Skills. I use GPT-5.
Why? Because GPT-5 is meticulous. It’s the senior architect who notices every pattern, every decision, every subtle implementation detail.
Here’s my exact process:
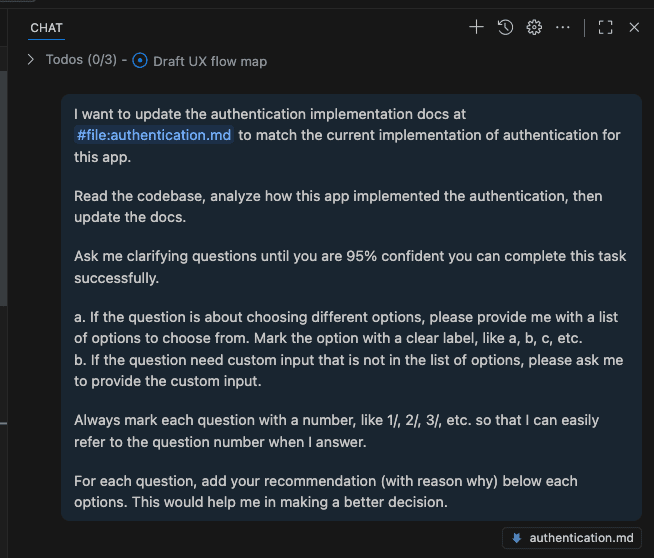
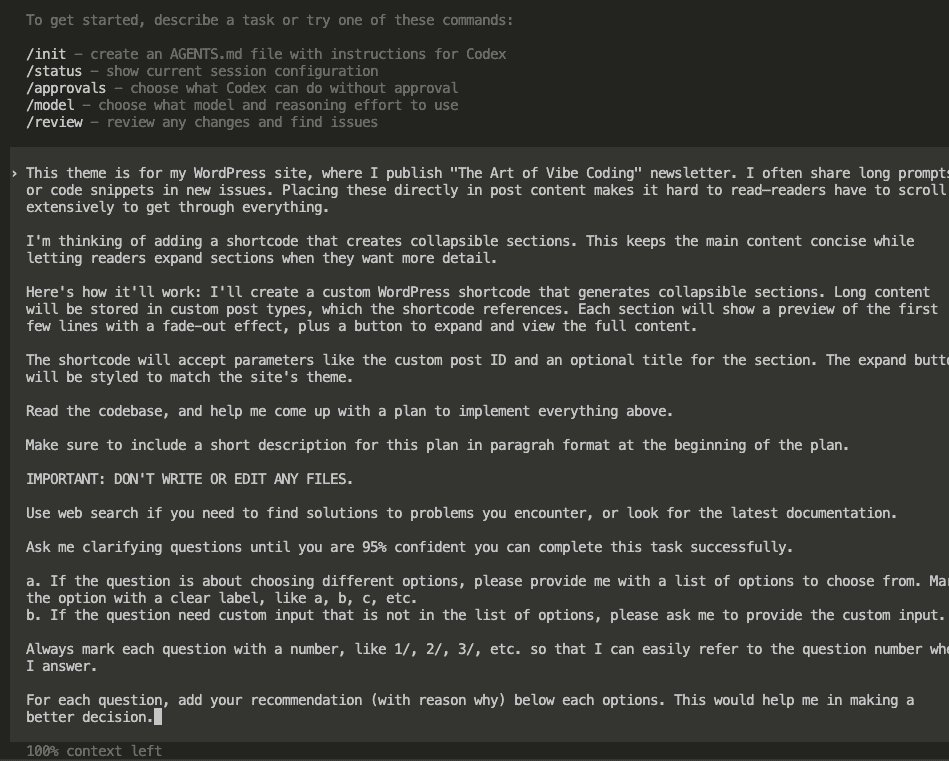
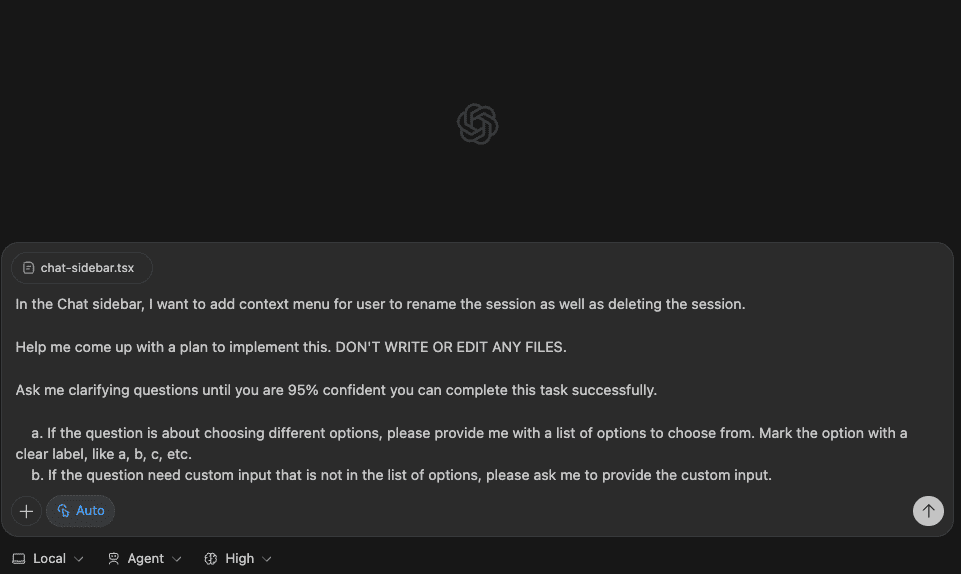
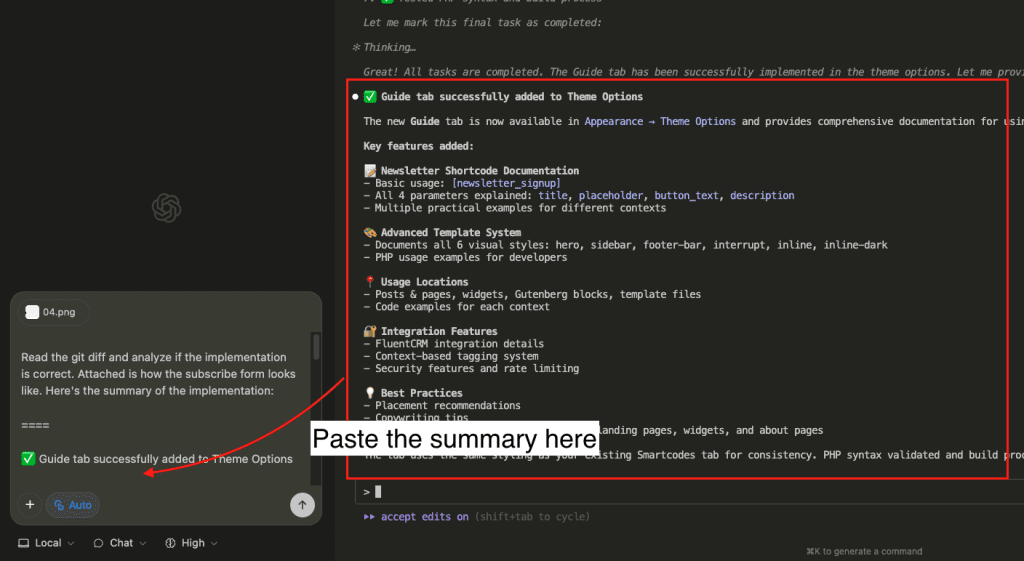
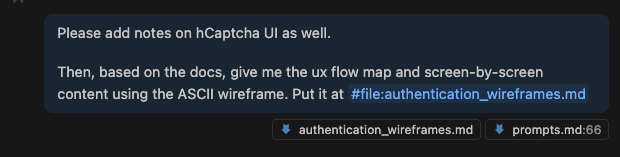
I give GPT-5 this prompt:
I want to update the authentication implementation docs at
#file:authentication.md to match the current implementation of authentication for
this app.

Read the codebase, analyze how this app implemented the authentication, then
update the docs.

Ask me clarifying questions until you are 95% confident you can complete this task
successfully.

a. If the question is about choosing different options, please provide me with a list
of options to choose from. Mark the option with a clear label, like a, b, c, etc.
b. If the question need custom input that is not in the list of options, please ask me
to provide the custom input.

Always mark each question with a number, like 1/, 2/, 3/, etc. so that I can easily
refer to the question number when I answer.

For each question, add your recommendation (with reason why) below each
options. This would help me in making a better decision.
Notice the key elements:
- 95% confidence threshold (forces thoroughness)
- Structured question format (speeds up the process)
- Recommendations included (leverages GPT-5’s analysis)
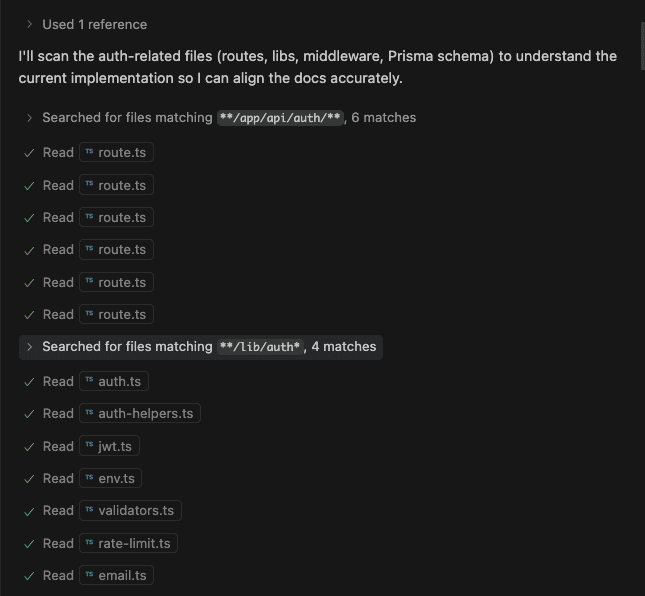
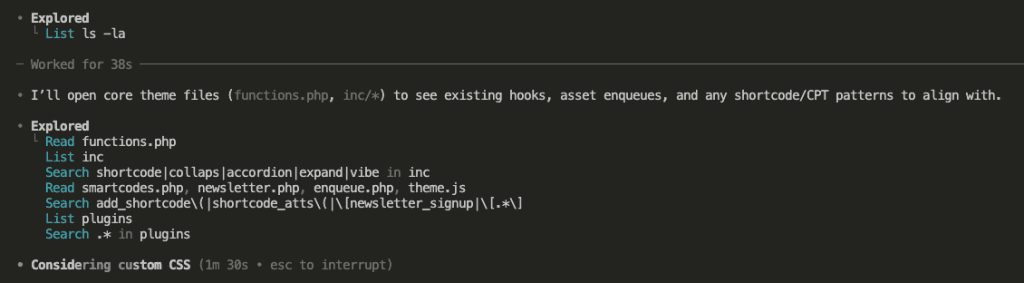
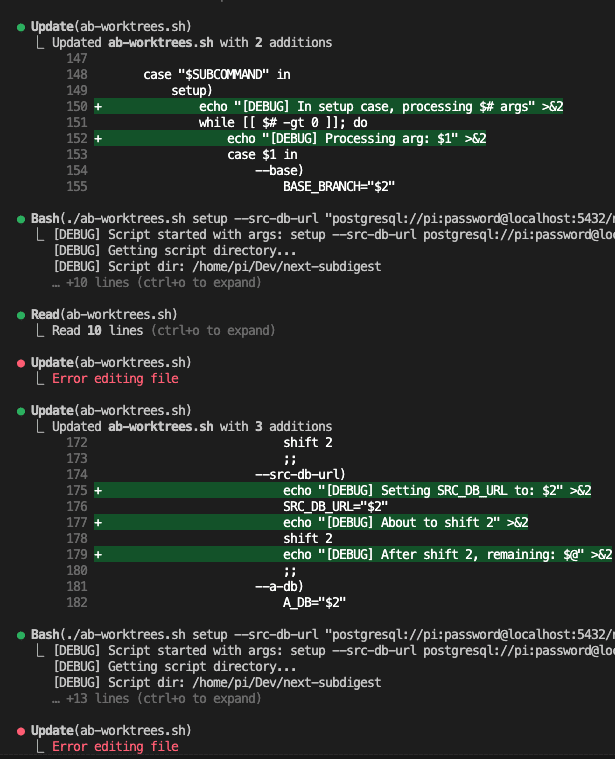
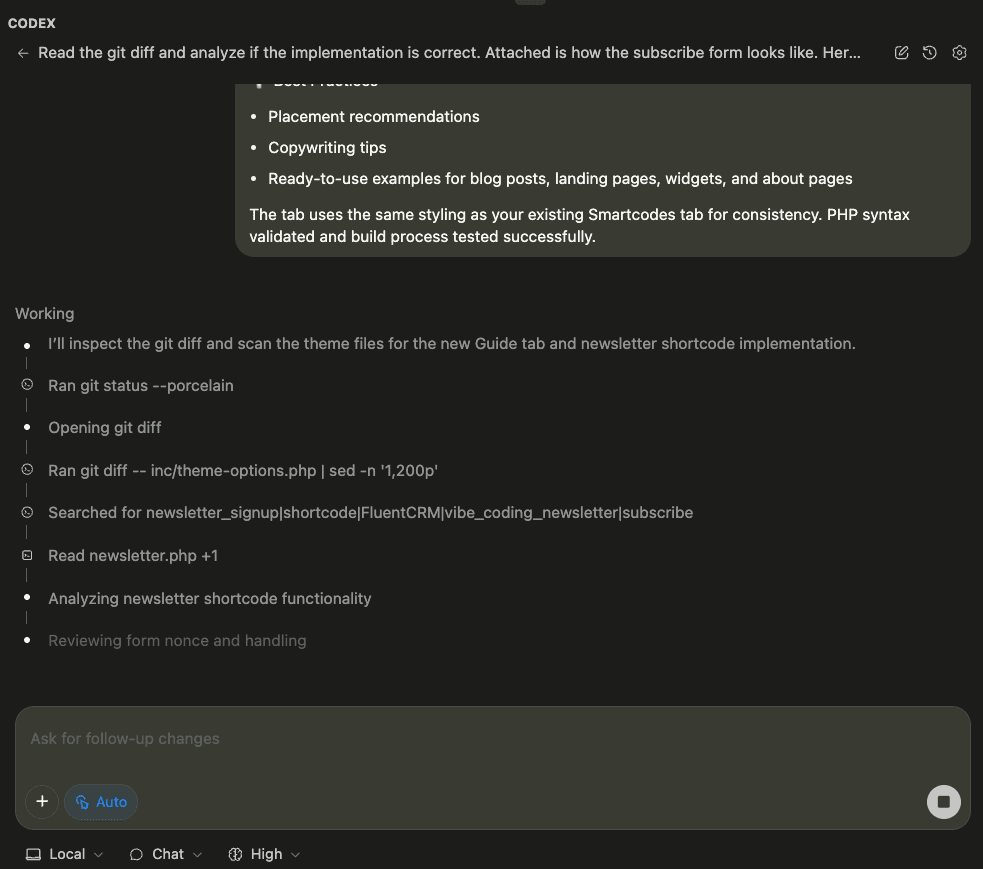
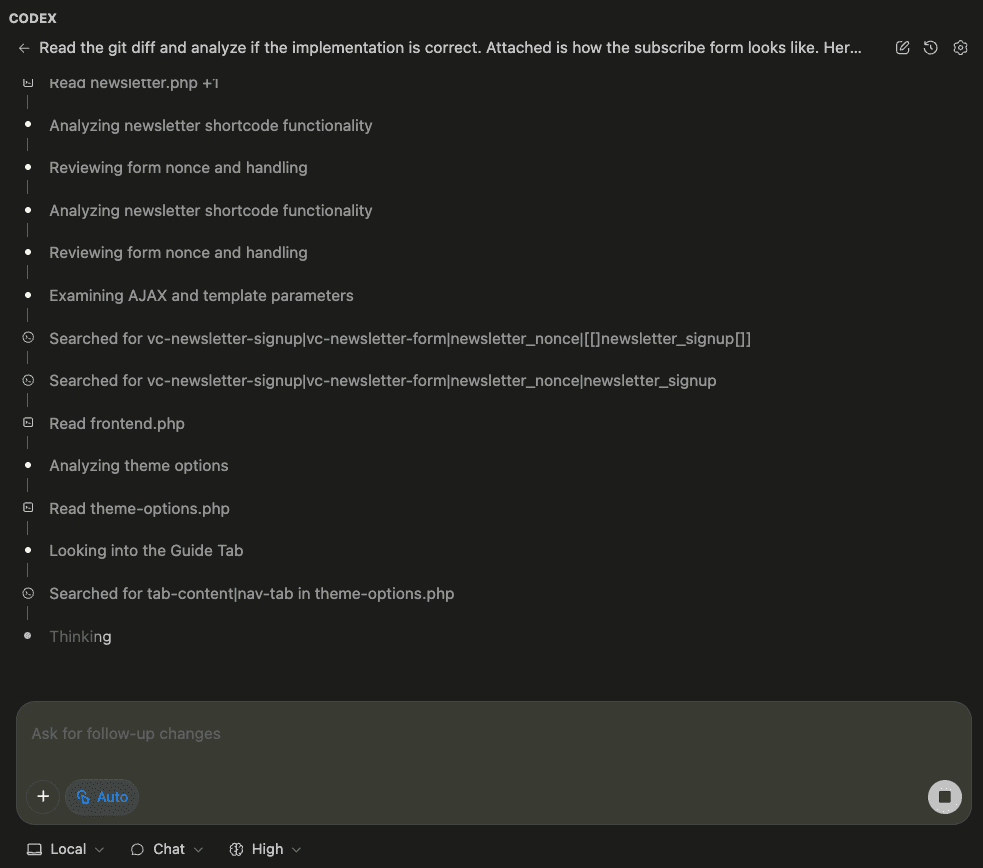
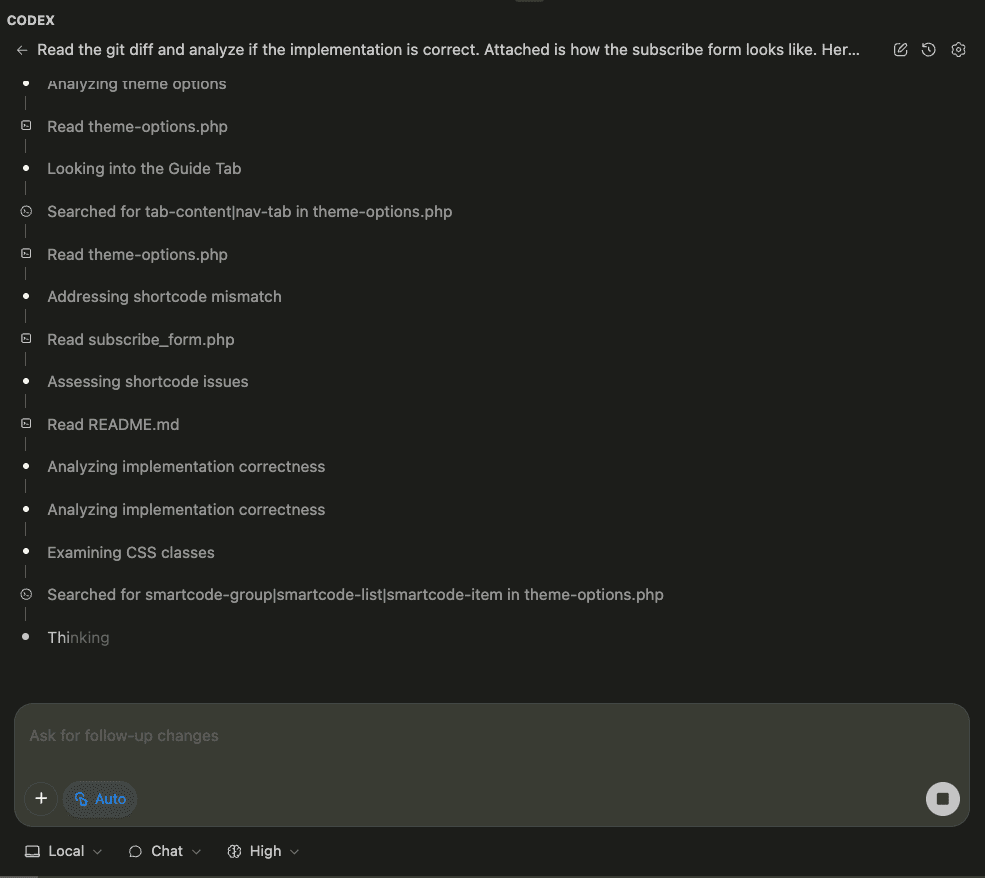
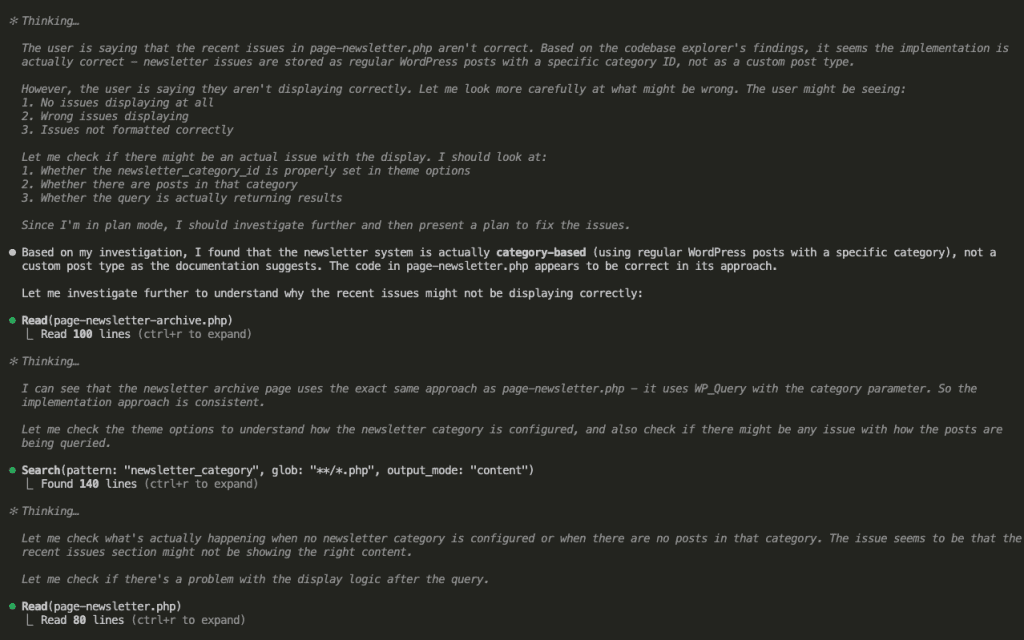
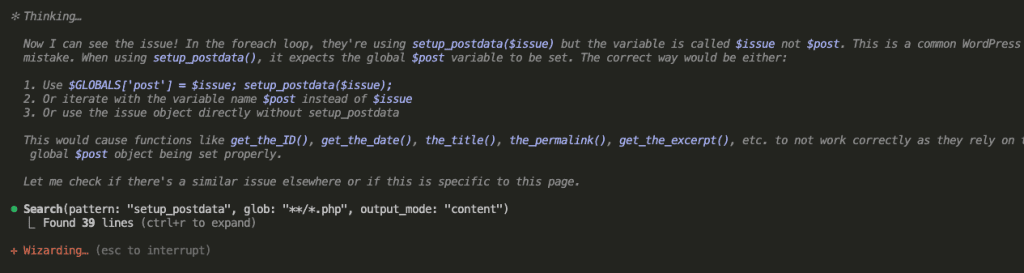
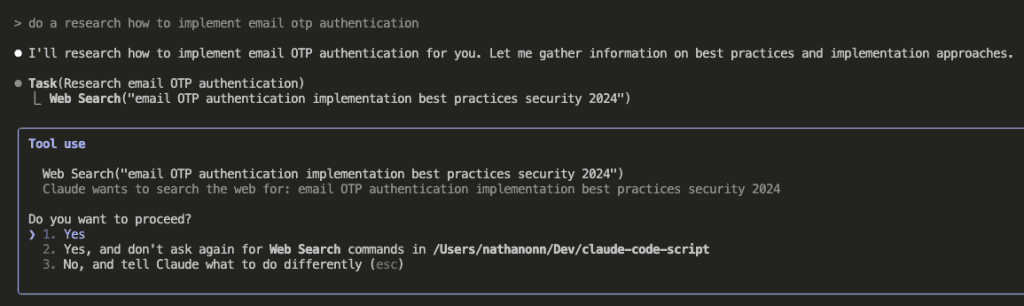
Watch as GPT-5 systematically explores:
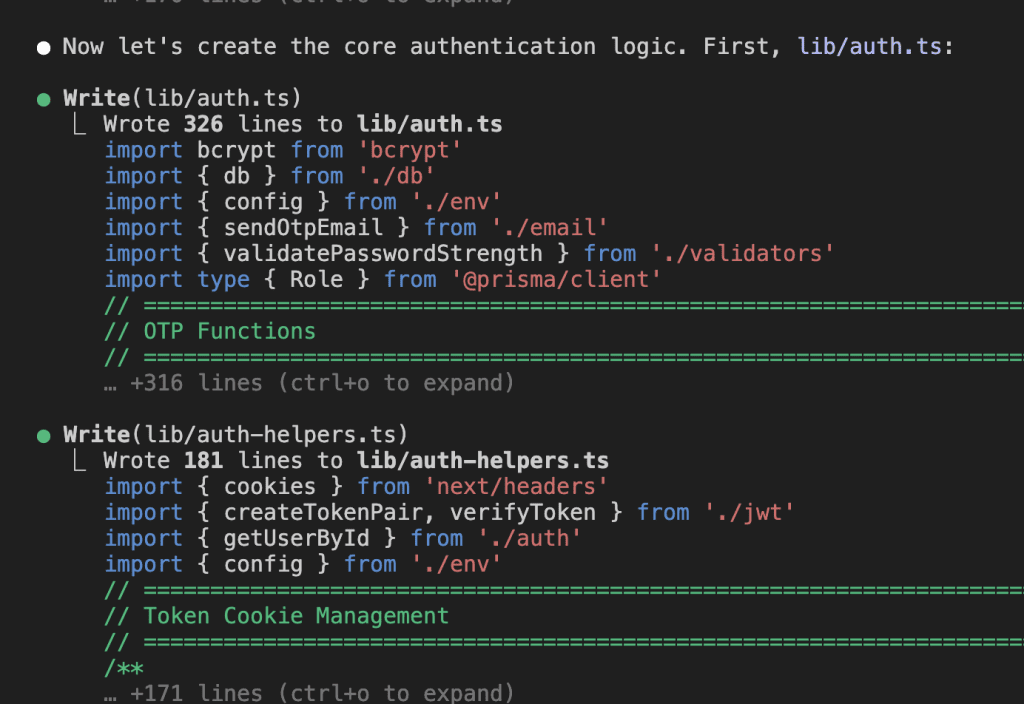
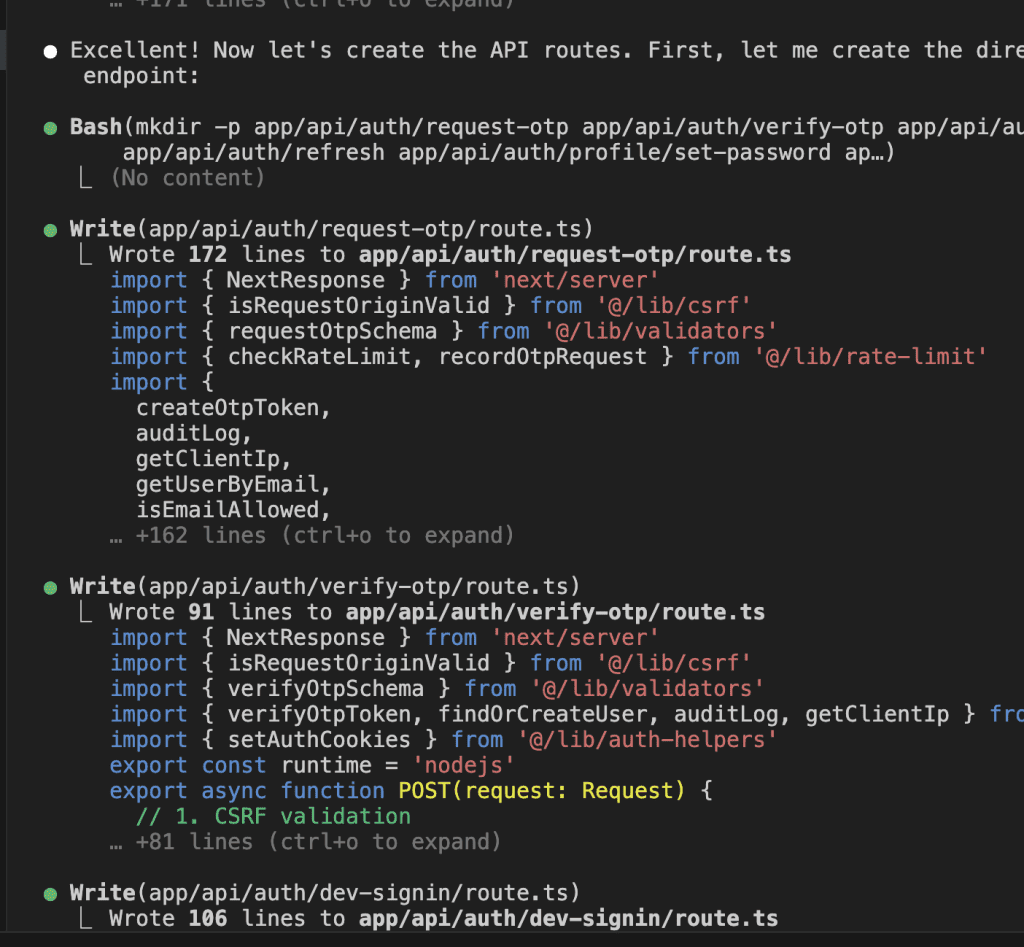
- Authentication routes (
/app/api/auth/**) - Library files (
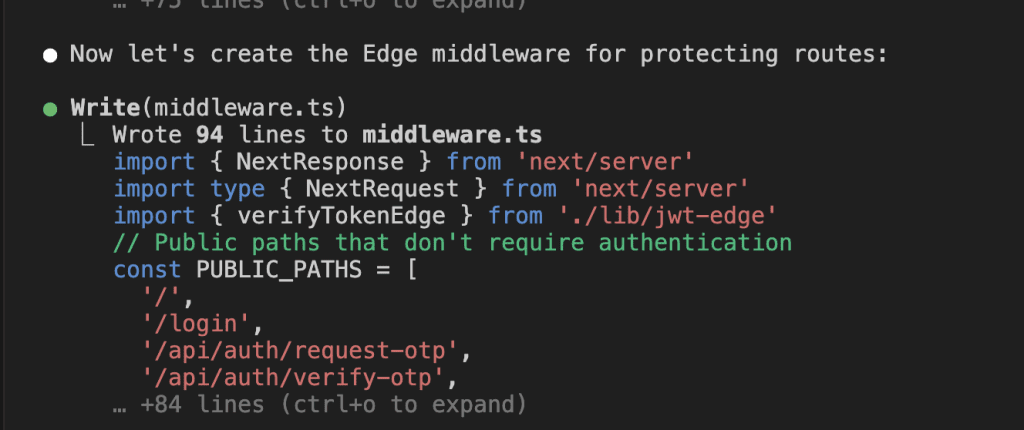
auth.ts,jwt.ts,rate-limit.ts) - Middleware implementation
- Database schema
- Environment variables
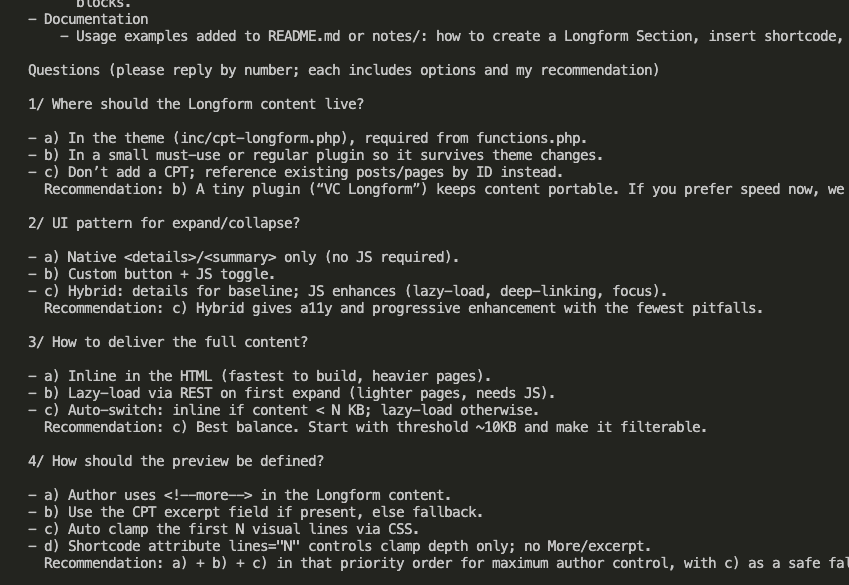
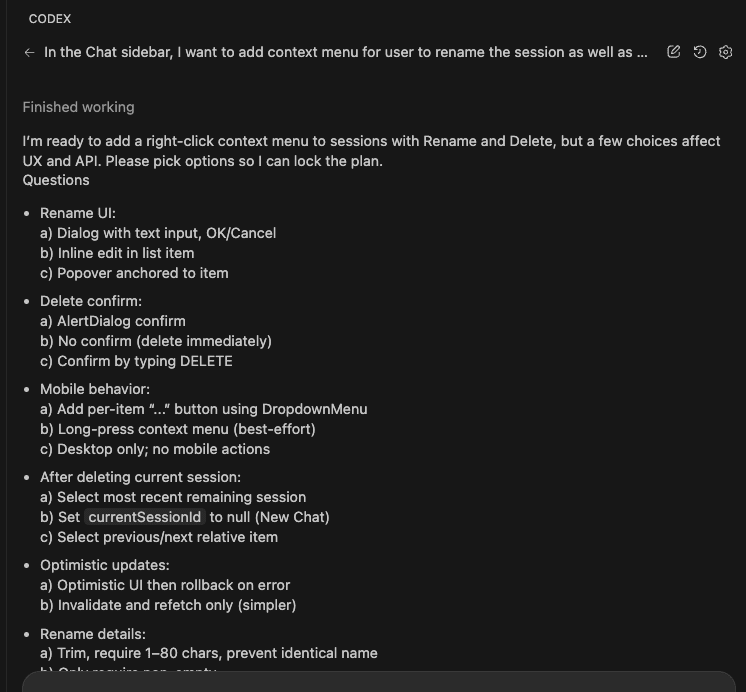
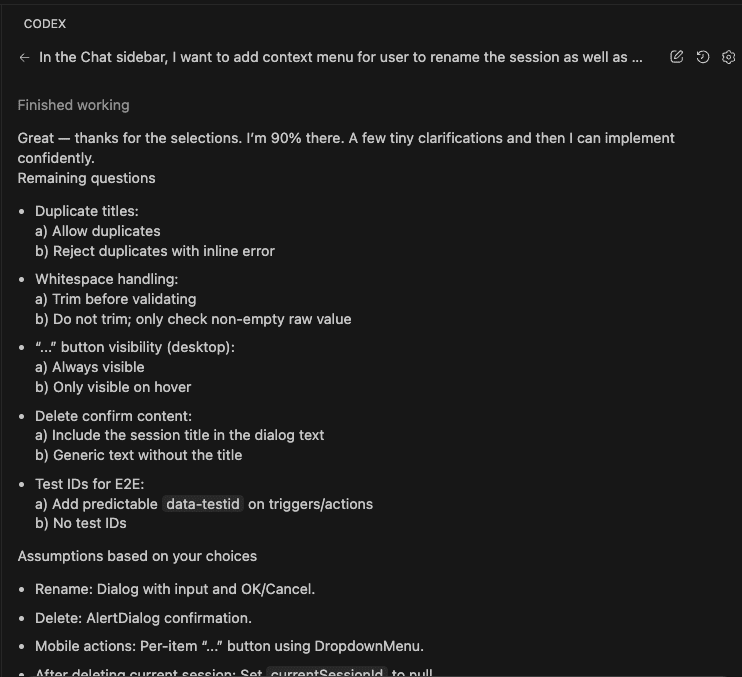
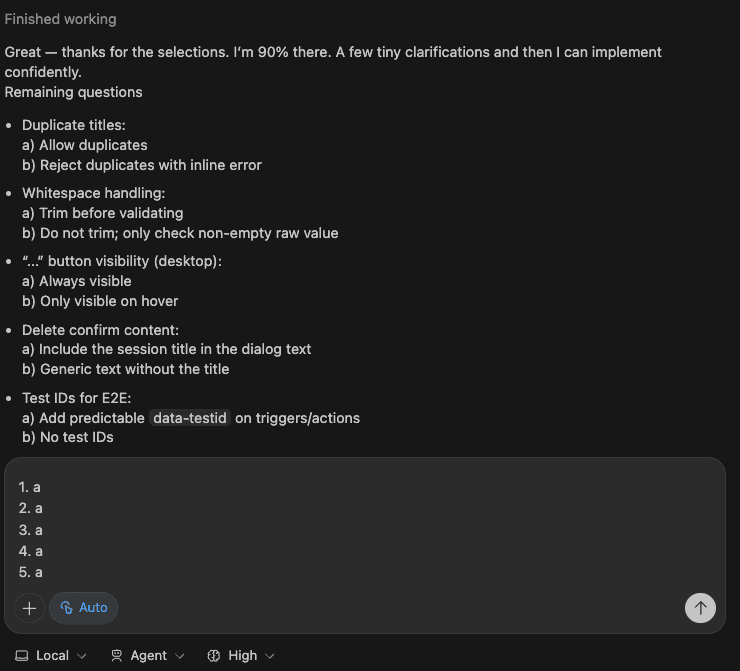
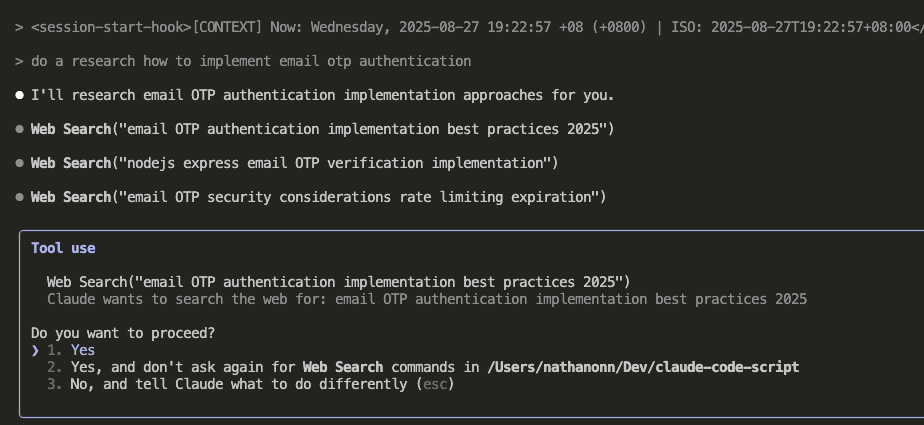
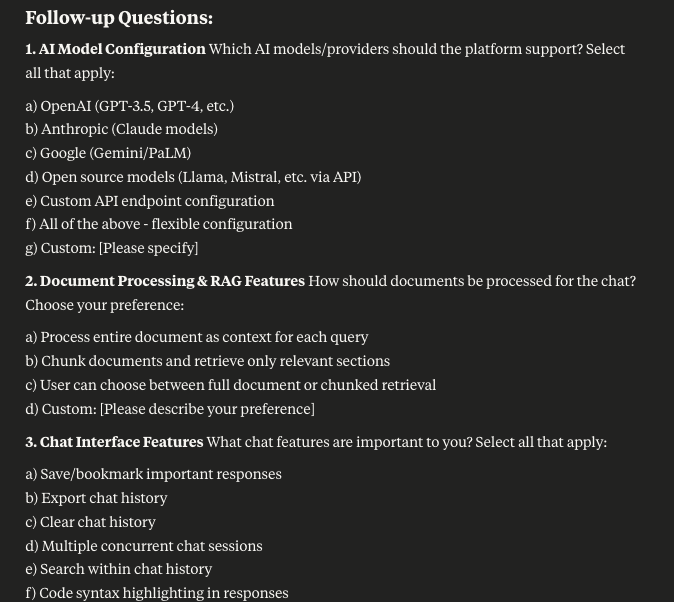
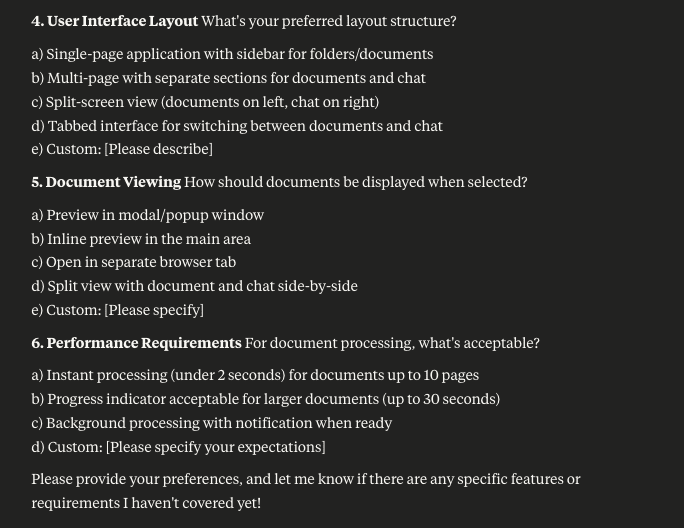
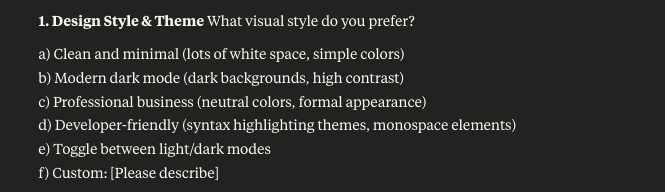
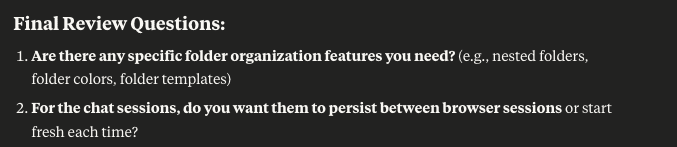
GPT-5 asks targeted questions:
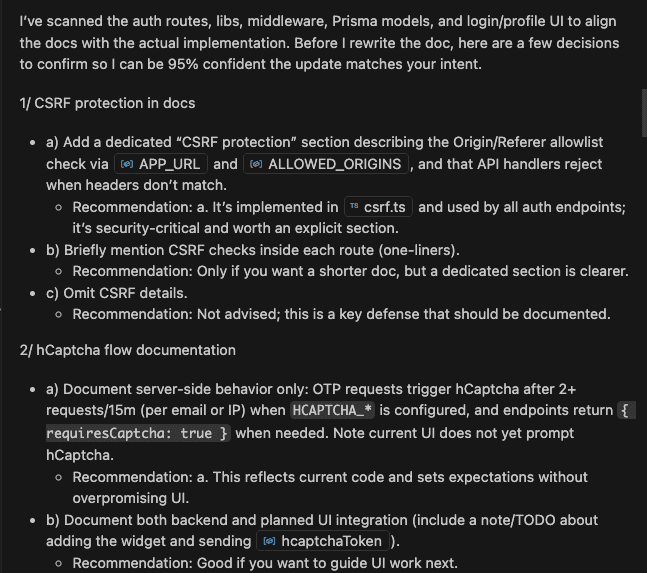
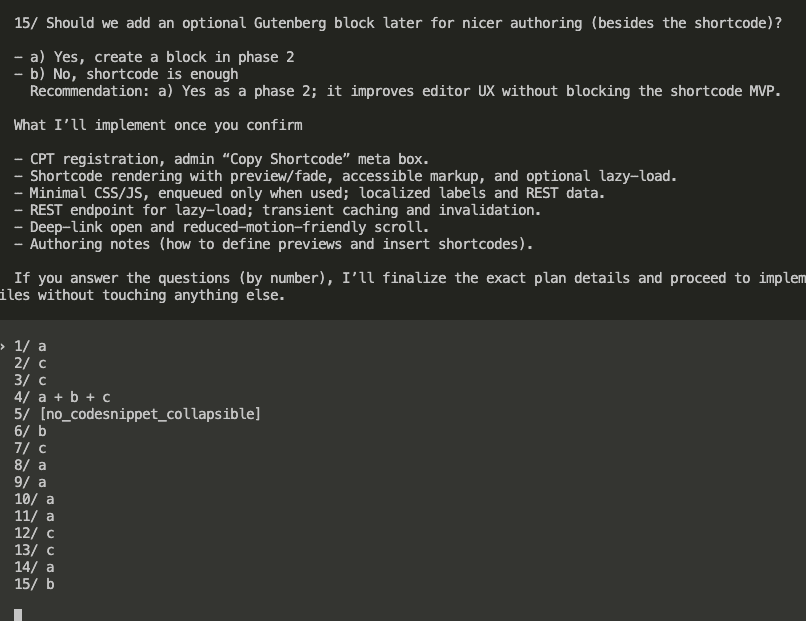
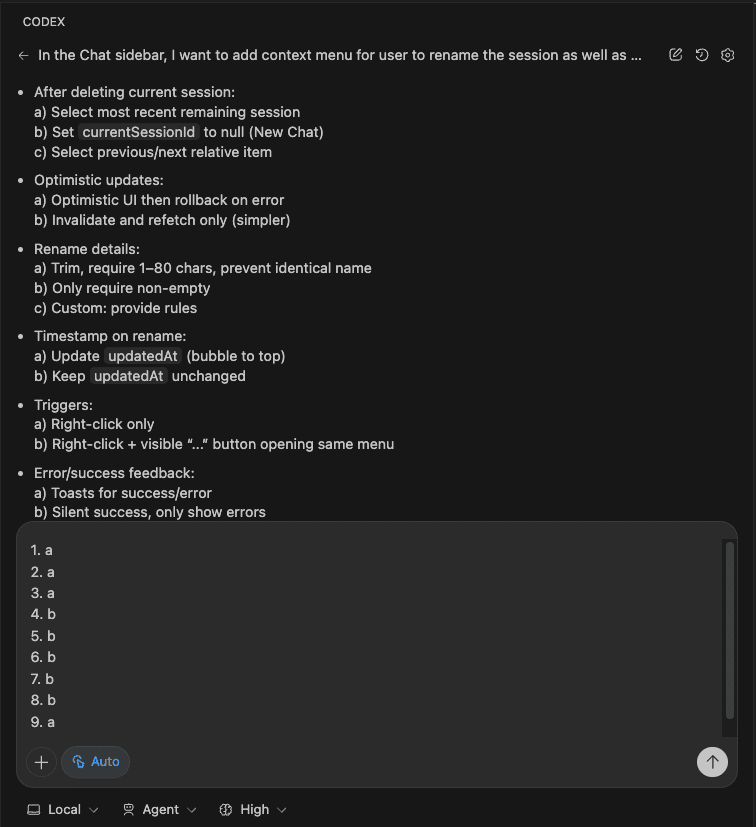
I answer with just the option letters.

No lengthy explanations needed. GPT-5 already understands my intent.
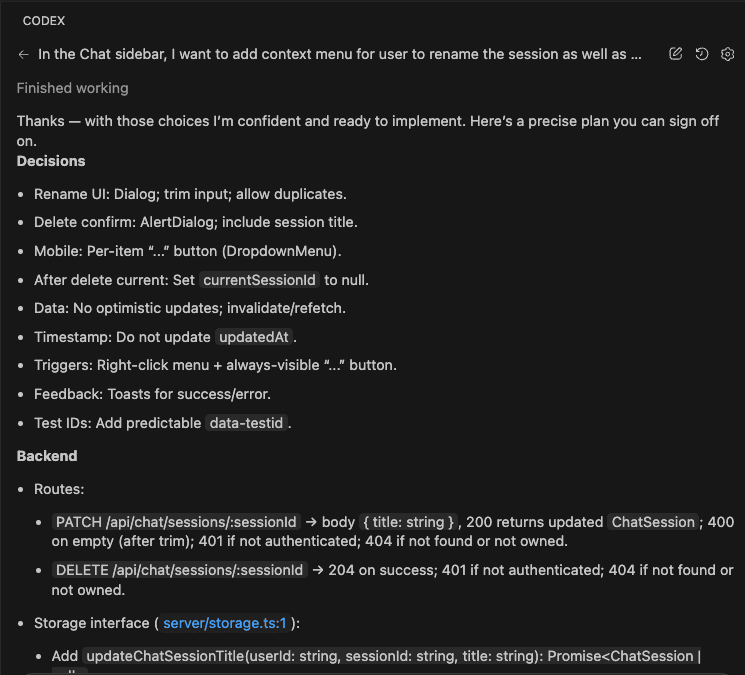
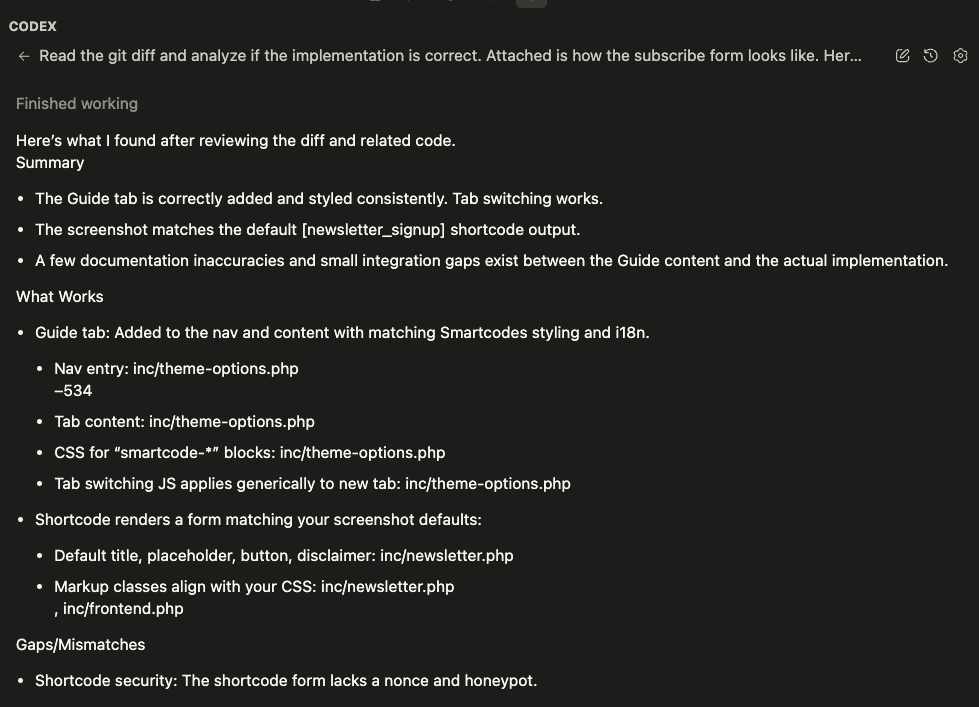
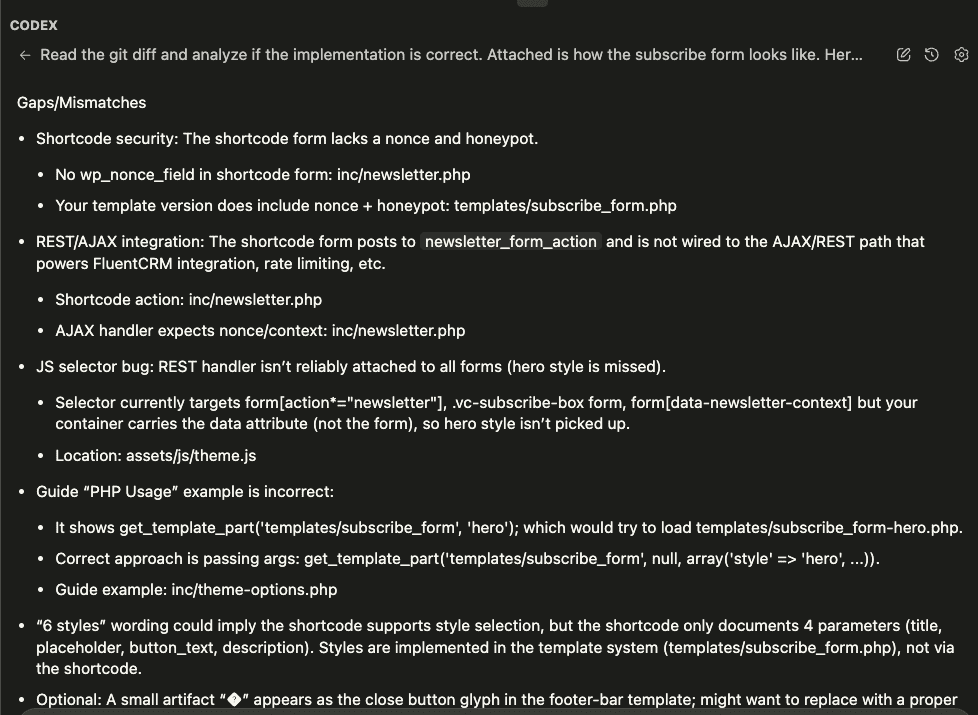
The result?
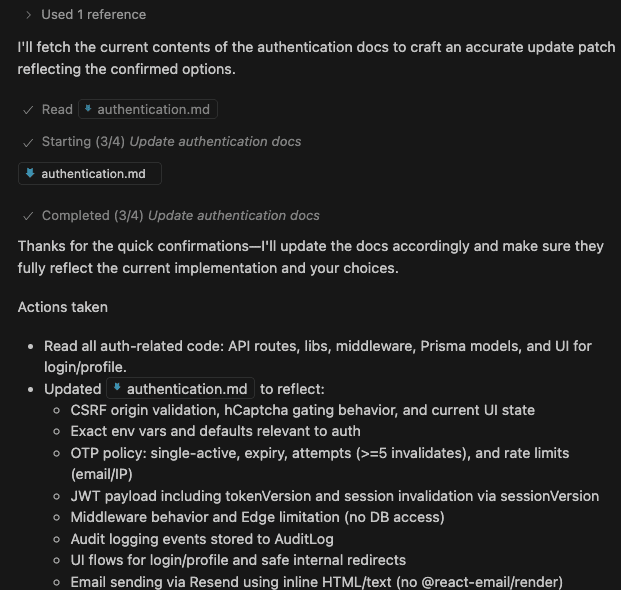
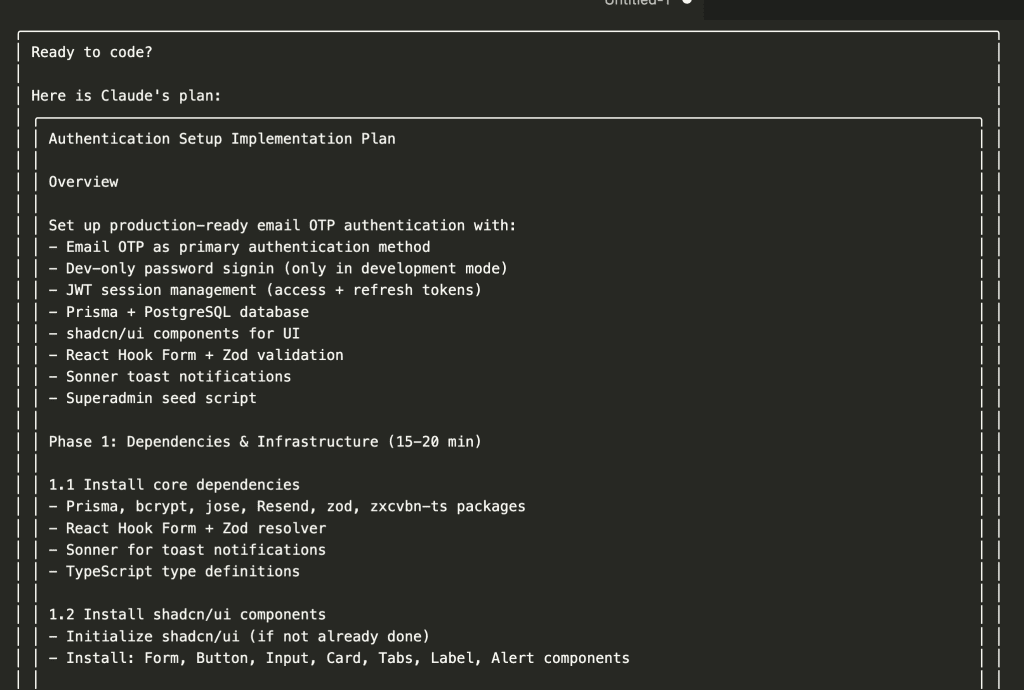
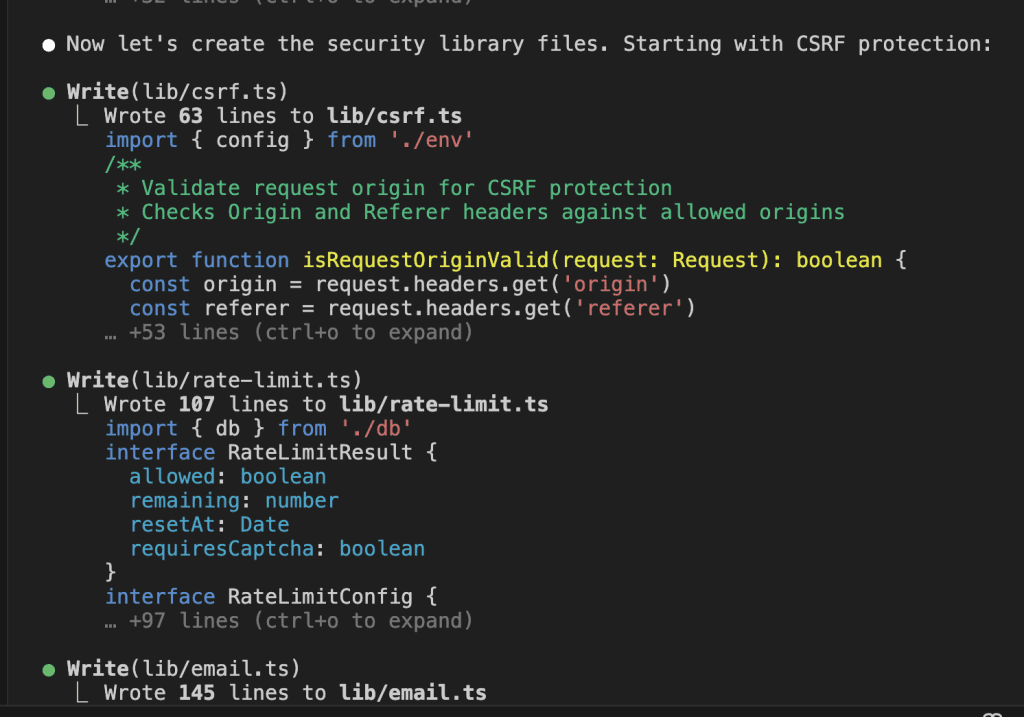
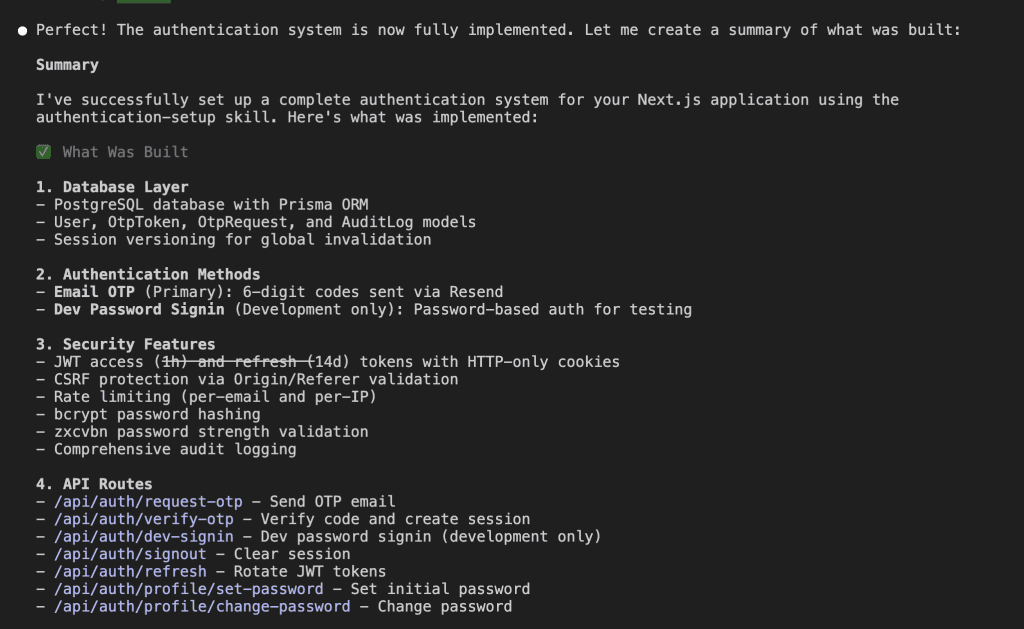
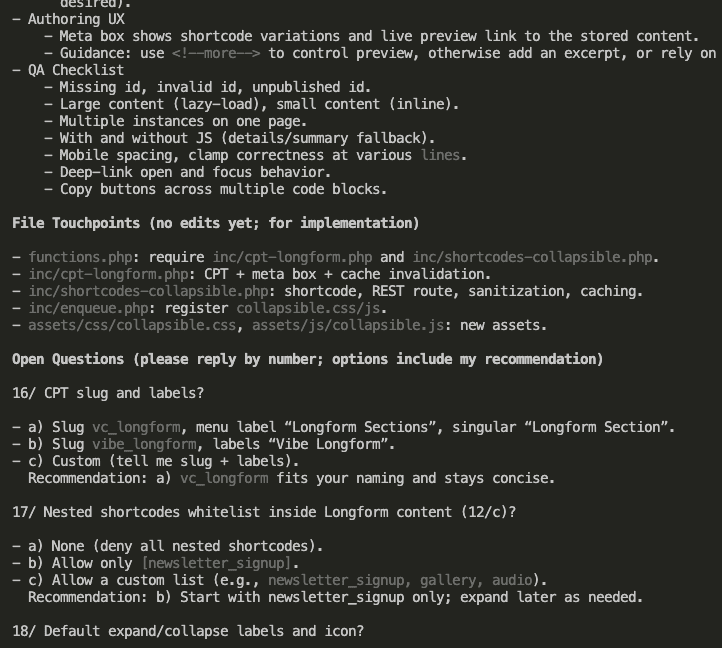
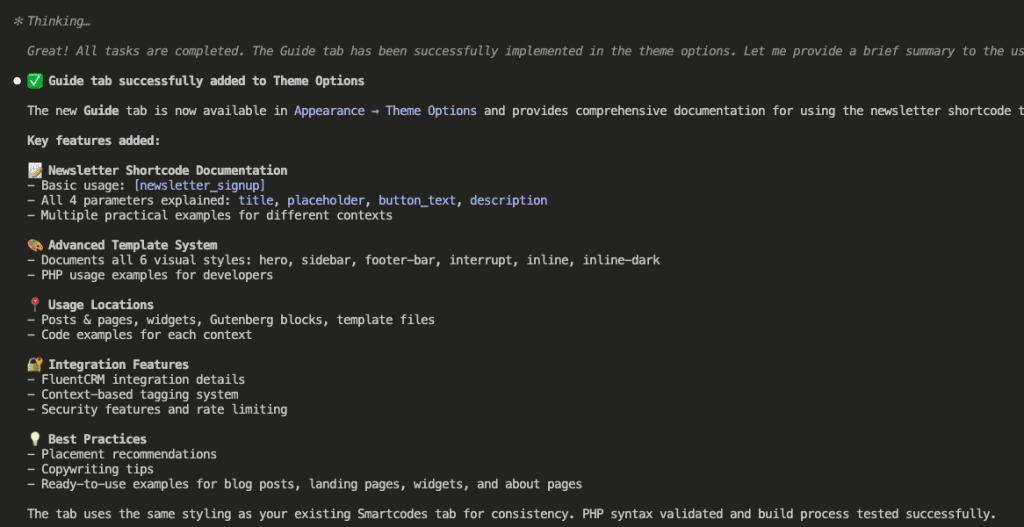
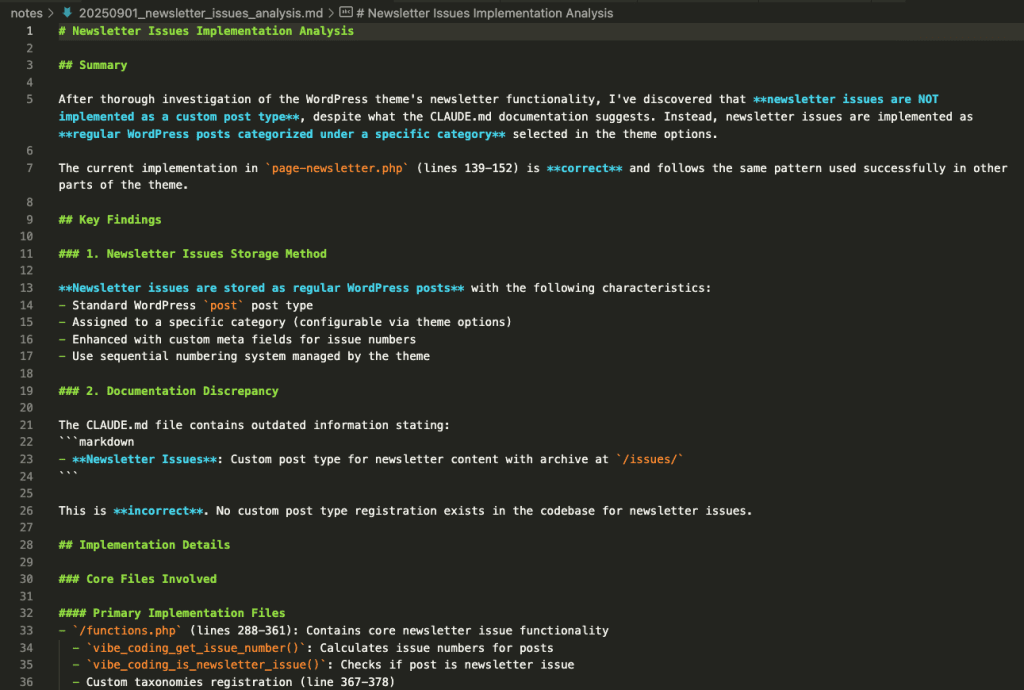
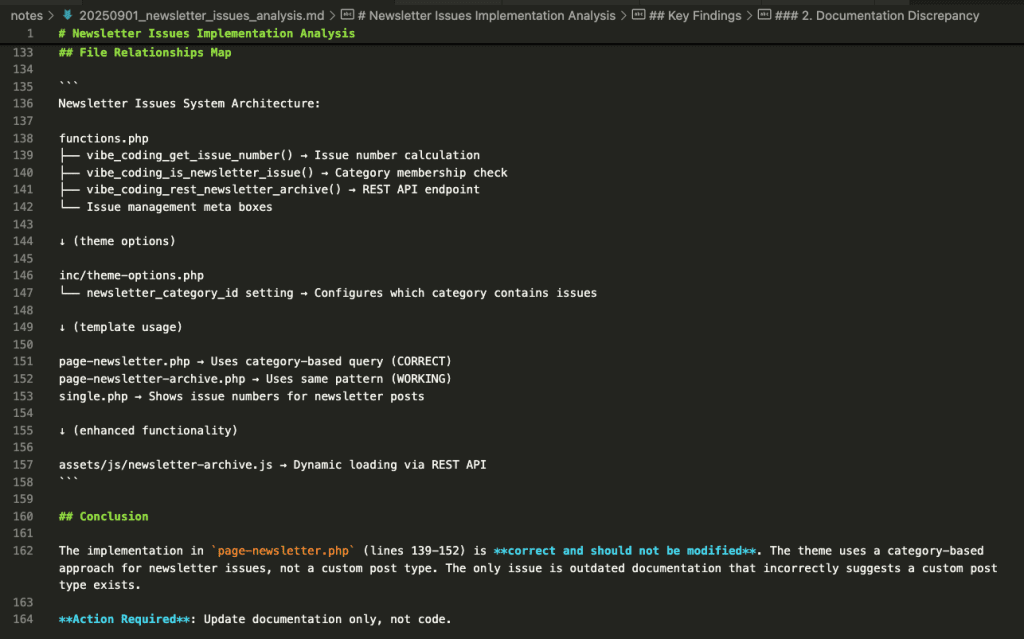
A complete authentication implementation guide covering:
- System architecture
- Security measures (CSRF, rate limiting, audit logging)
- Database schema with relationships
- API endpoints with exact paths
- JWT token strategy with sessionVersion
- Environment variables with defaults
- Migration checklist for new projects
302 lines of detailed documentation. Every decision documented. Every pattern explained.
Time spent: 10 minutes.
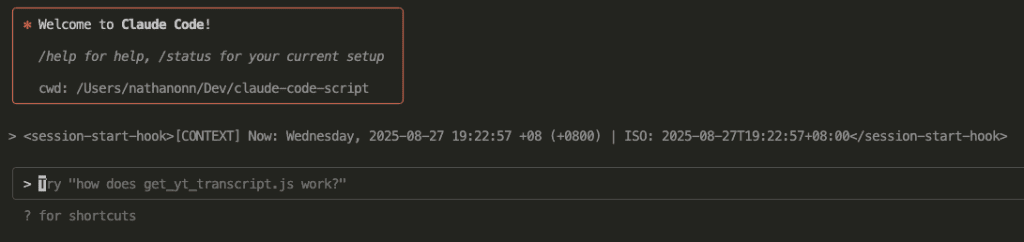
Now, you might notice something different in my screenshots – I’m using GPT-5 in GitHub Copilot instead of my usual Codex.
The reason?
I’d hit my Codex weekly limits when writing this. (Yes, even I burn through those limits when I’m deep in development mode.)
But here’s what I discovered: GPT-5 in GitHub Copilot is an excellent substitute for Codex. In terms of performance – especially when it comes to analyzing codebases – I honestly can’t tell the difference.
Same meticulous analysis.
Same comprehensive documentation.
Same quality output.
.
.
.
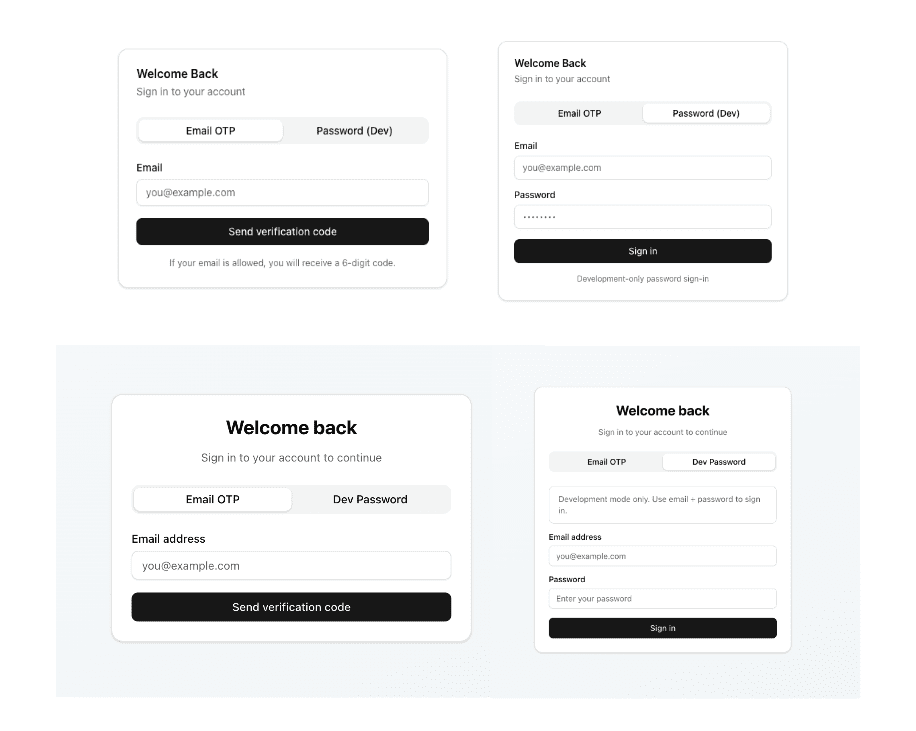
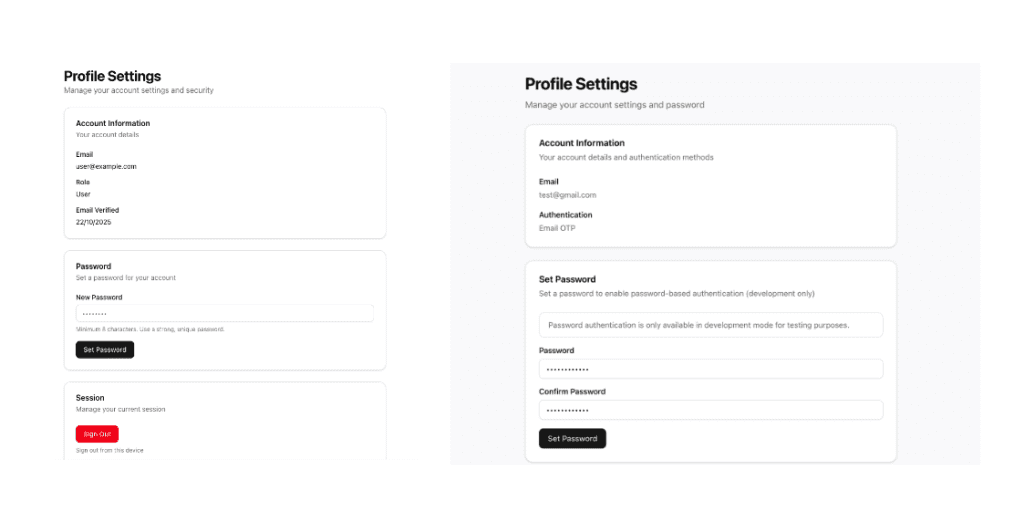
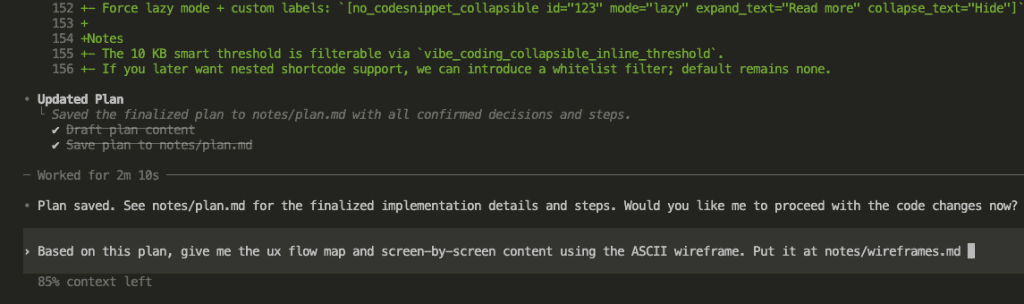
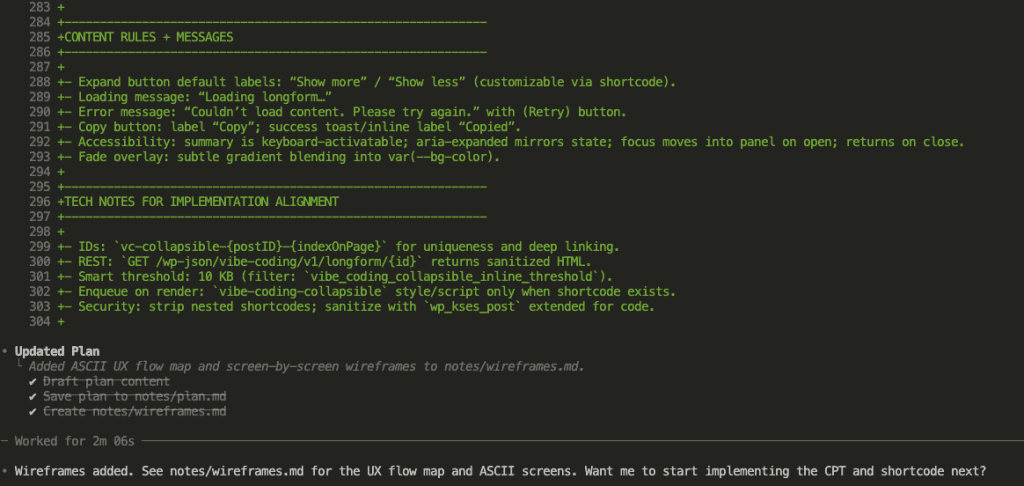
Step 2: Create ASCII Wireframes for the UX Flow (5 Minutes)
Here’s where most skill creators stop. They have the backend documentation.
But Claude Skills need to understand the FULL implementation – including the UI.
This is where ASCII Wireframes become your secret weapon.
I ask GPT-5:
Why ASCII instead of HTML mockups?
HTML mockup for login page: ~500 lines, ~15,000 tokens ASCII wireframe for login page: ~50 lines, ~1,500 tokens
Same information. 90% less tokens.
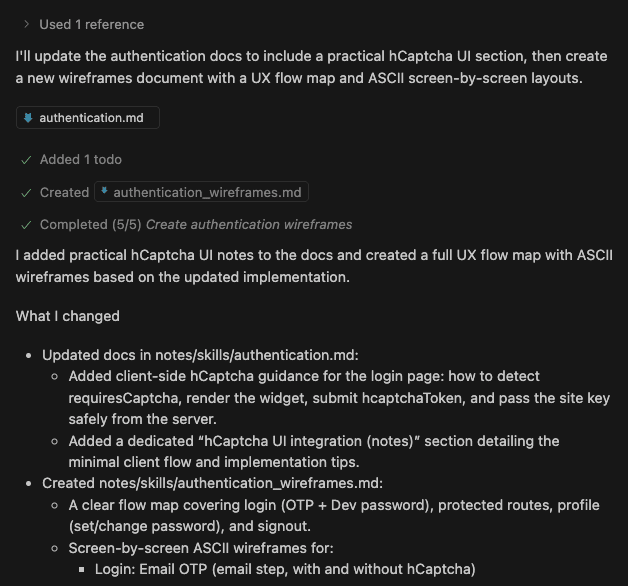
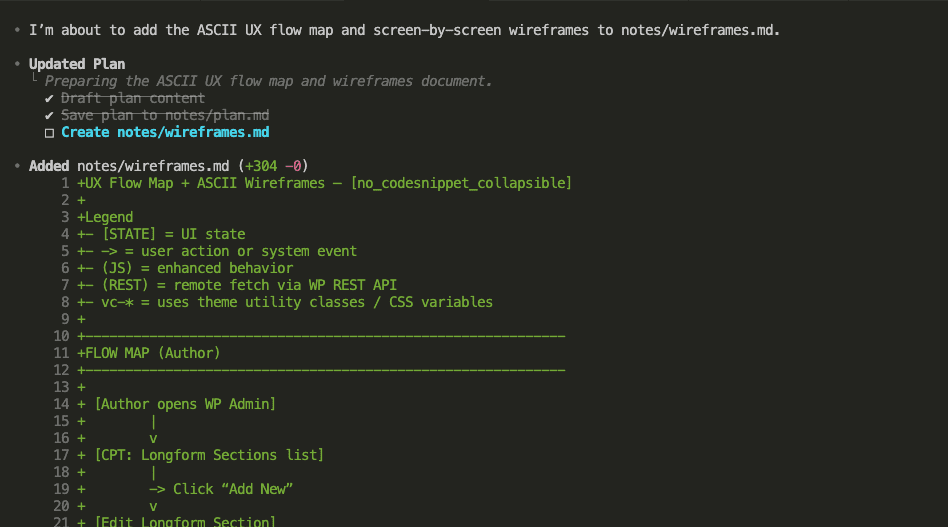
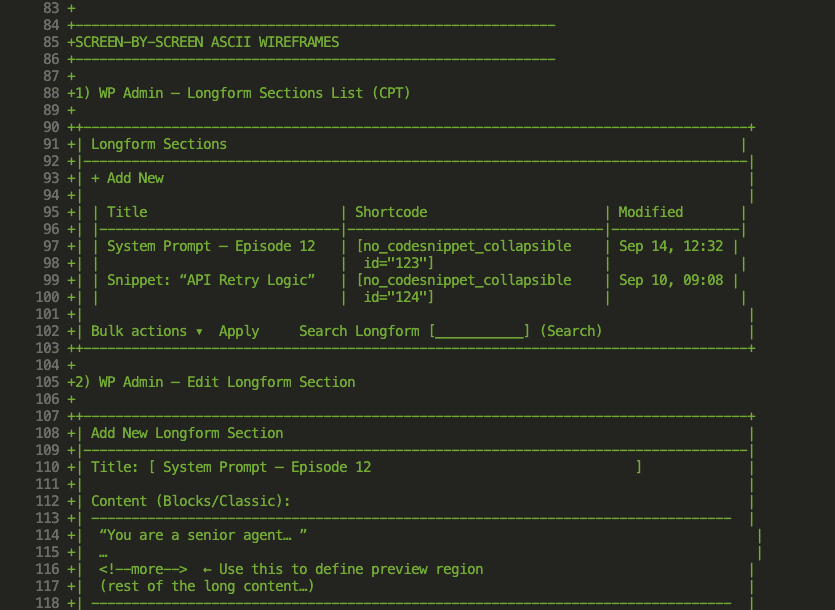
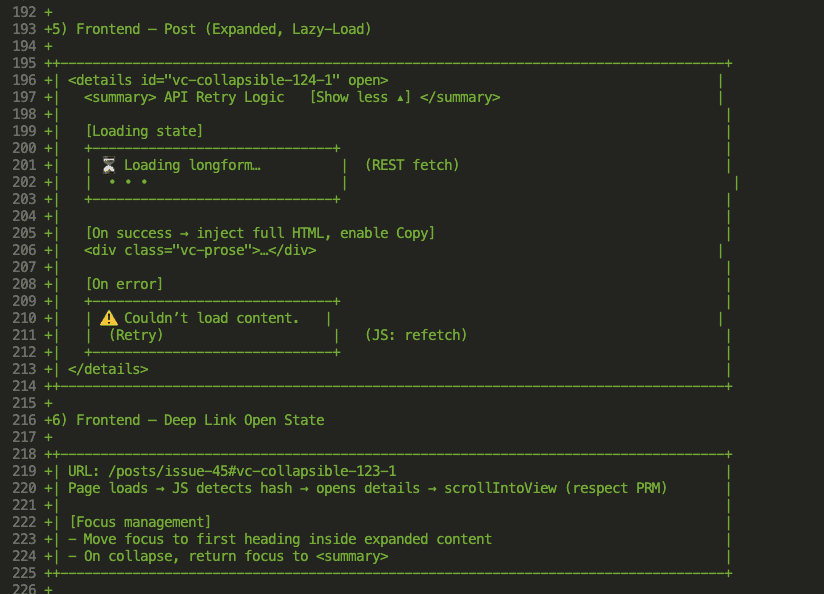
GPT-5 creates wireframes for every screen:
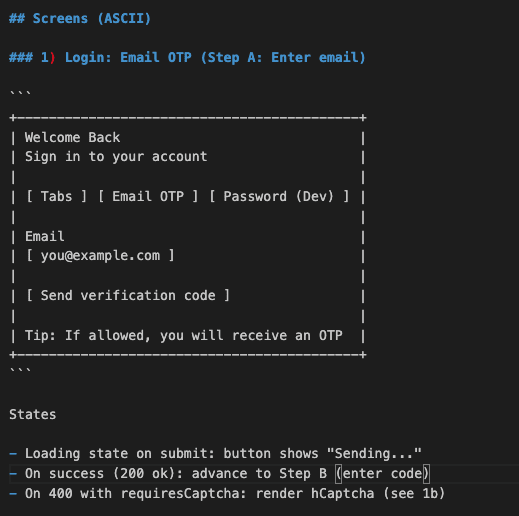
Every interaction mapped. Every flow documented. Claude will know EXACTLY what UI to build.
Total documentation time: 15 minutes.
.
.
.
Step 3: Transform Documentation Into a Claude Skill (5 Minutes)
Now we have comprehensive documentation and wireframes. Time to turn them into a Claude Skill.
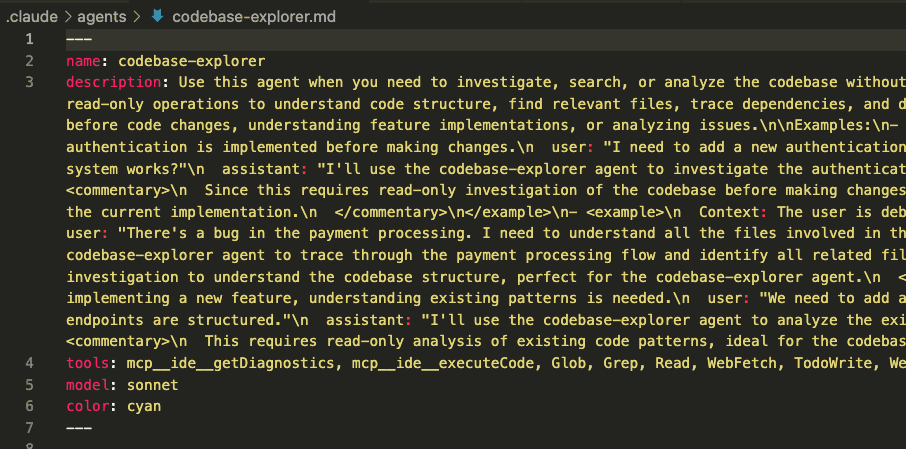
First, you need the skill-creator skill itself. Get it from Anthropic’s skills repository.
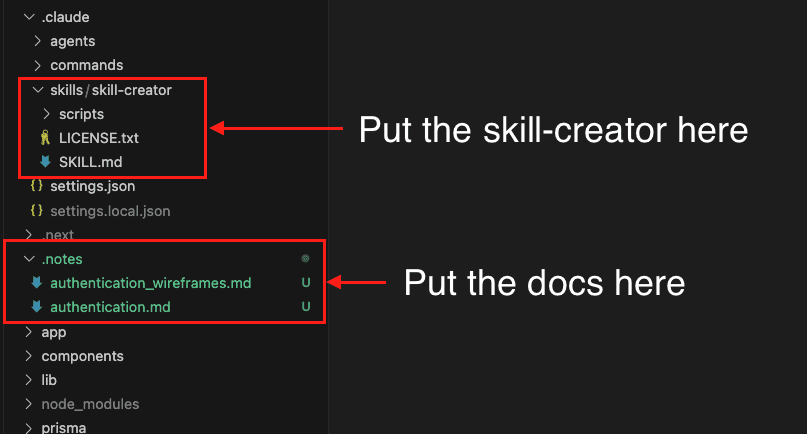
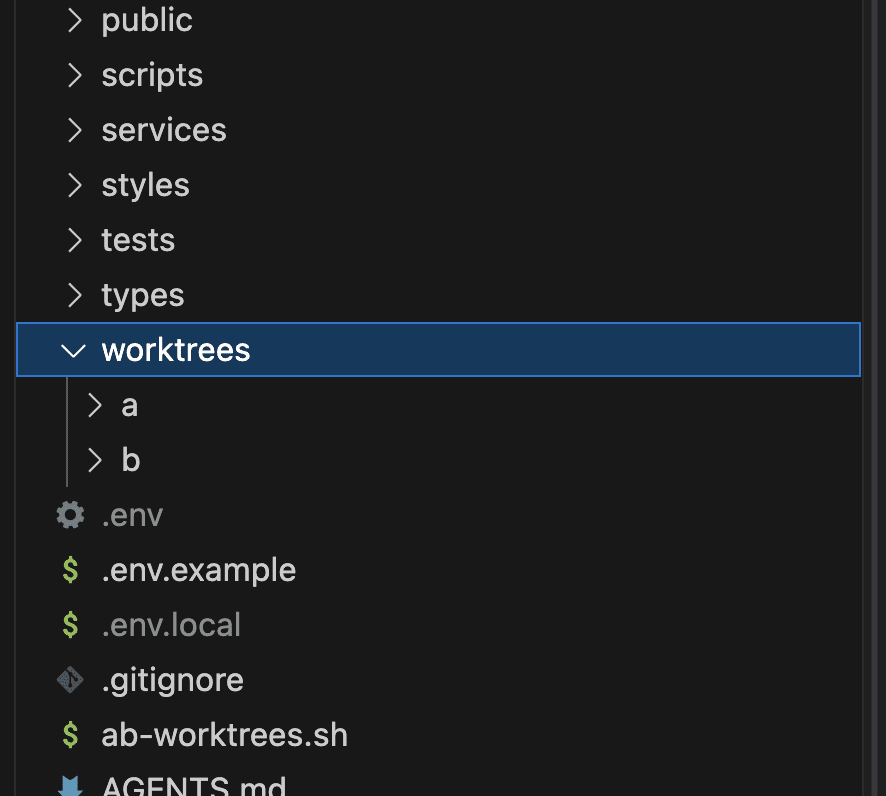
My project structure:
.claude/
  skills/
    skill-creator/     # The skill that creates skills
notes/
  authentication.md            # Our documentation
  authentication_wireframes.md # Our wireframes
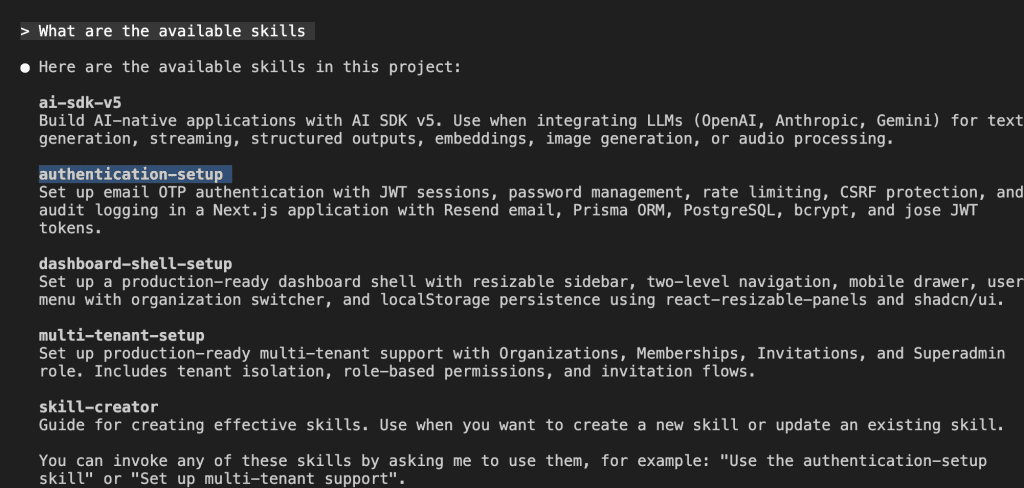
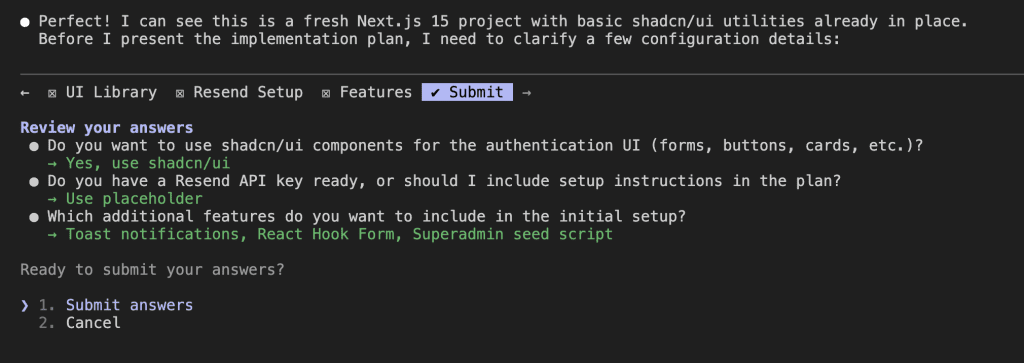
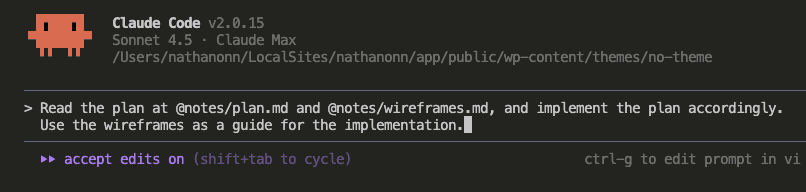
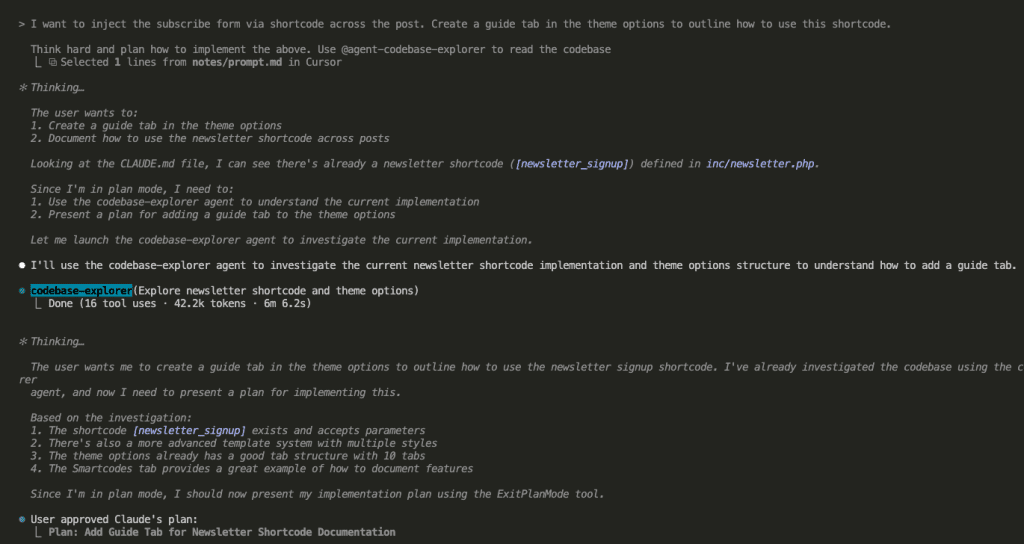
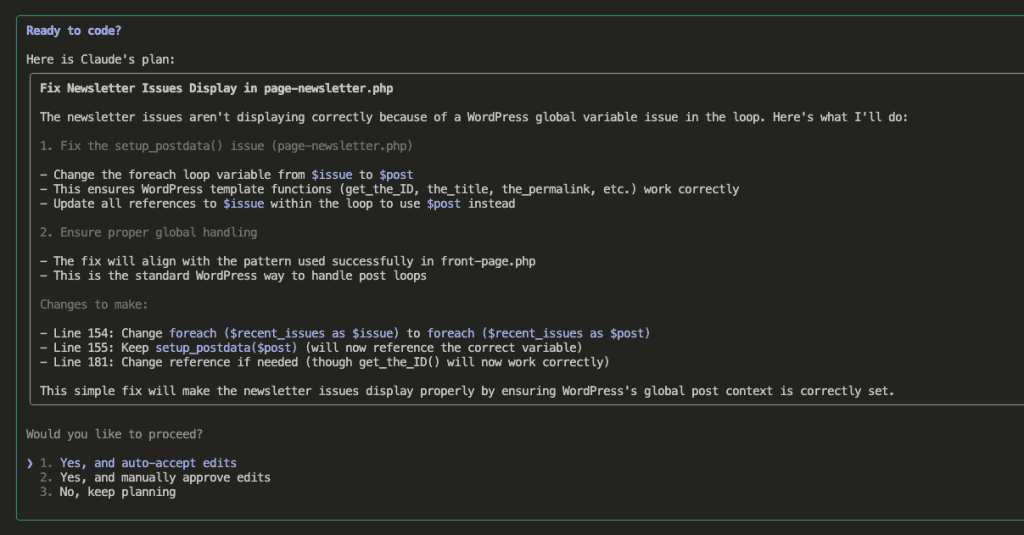
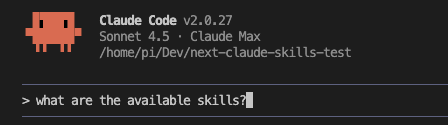
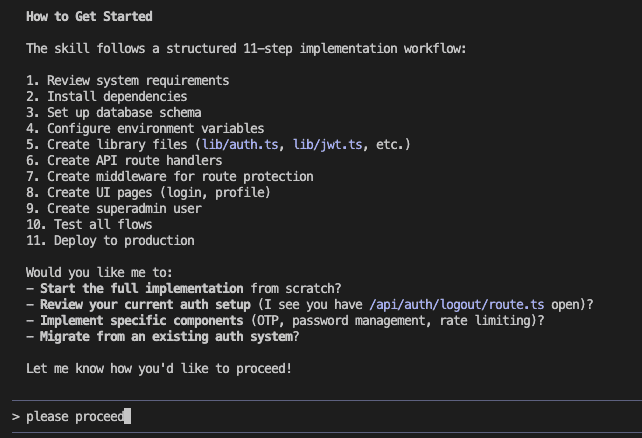
Start a new Claude Code session and ask:
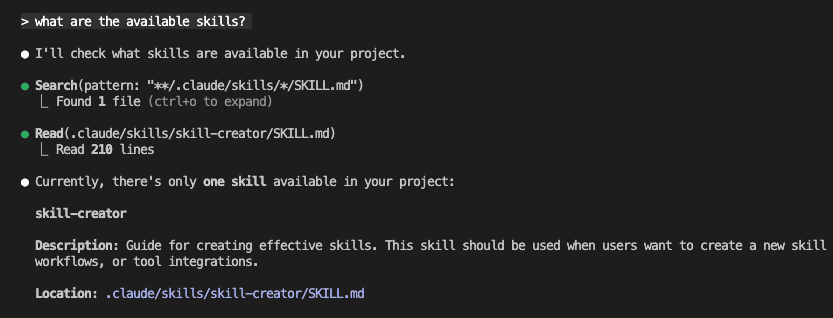
Claude shows the available skills:
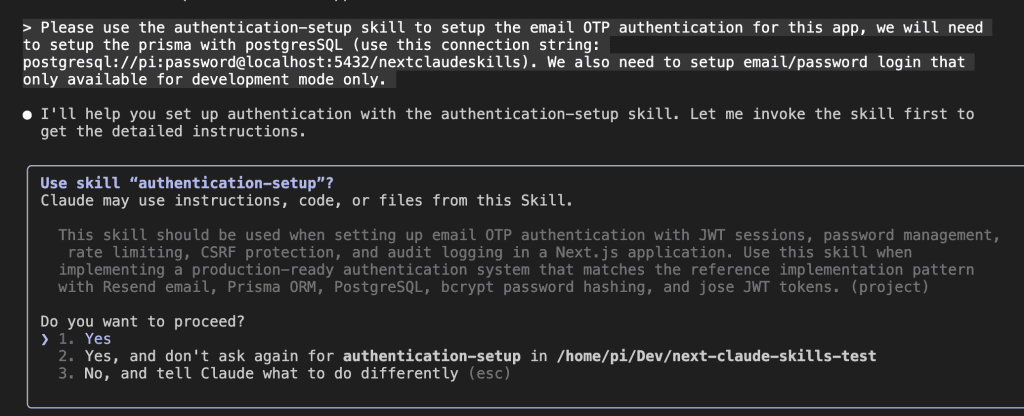
Now the magic moment:

Please use the skill-creator skill to create a new skill with the skill-creator that shows
how to set up authentication exactly like this app does. Please refer to the documentation
@.notes/authentication.md and wireframes @.notes/authentication_wireframes.md.
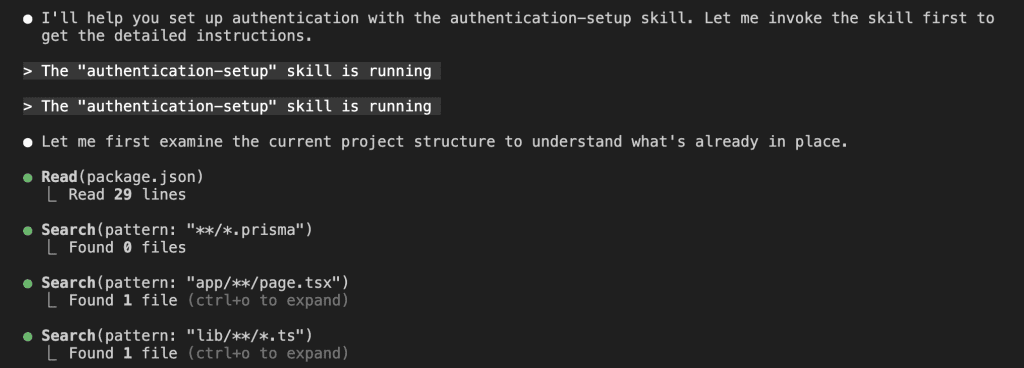
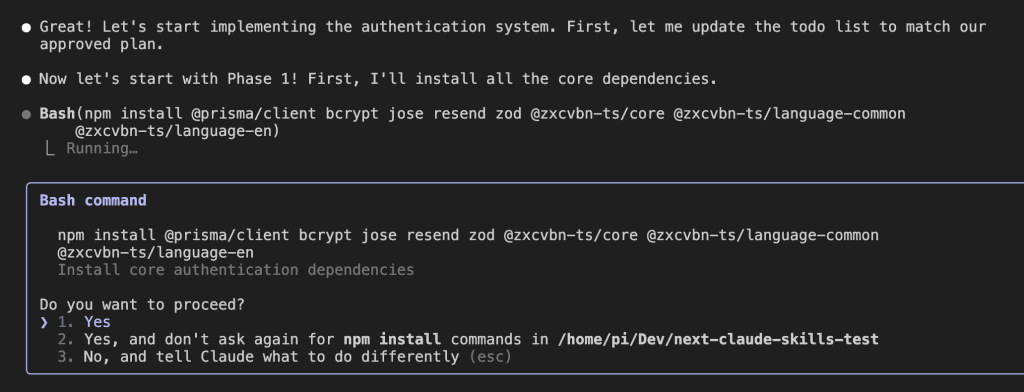
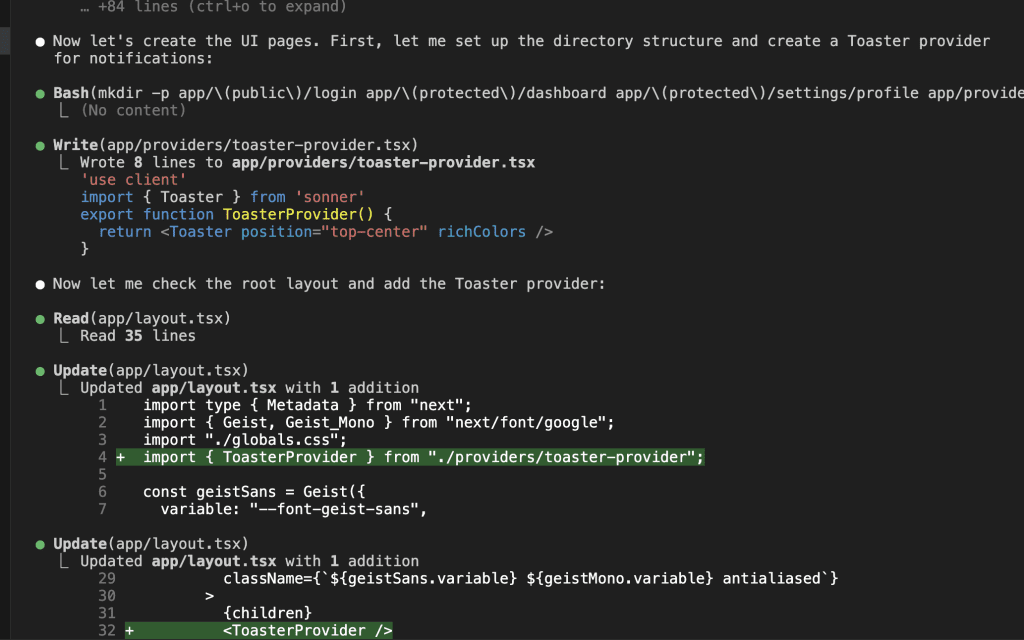
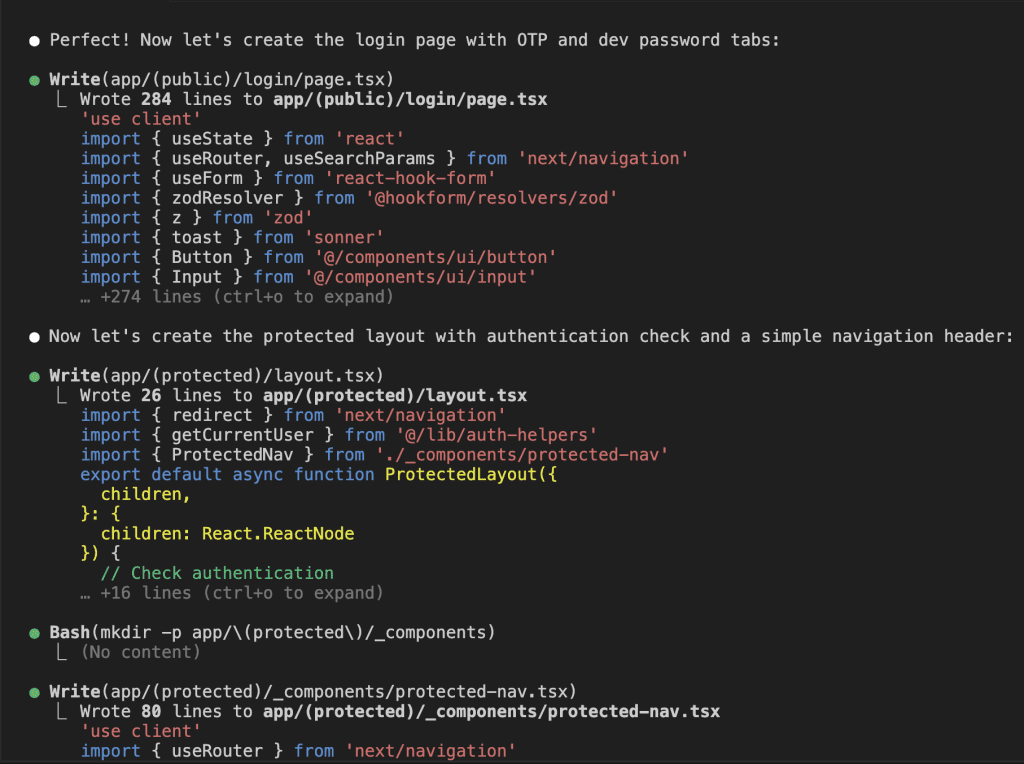
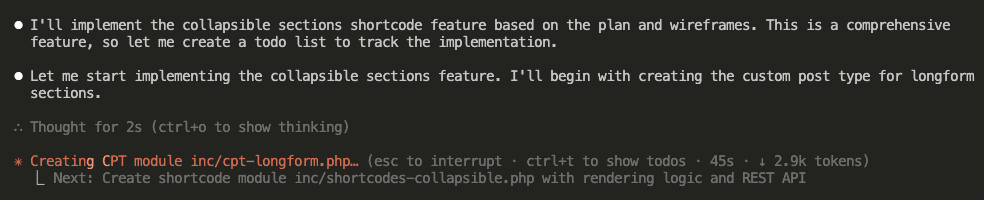
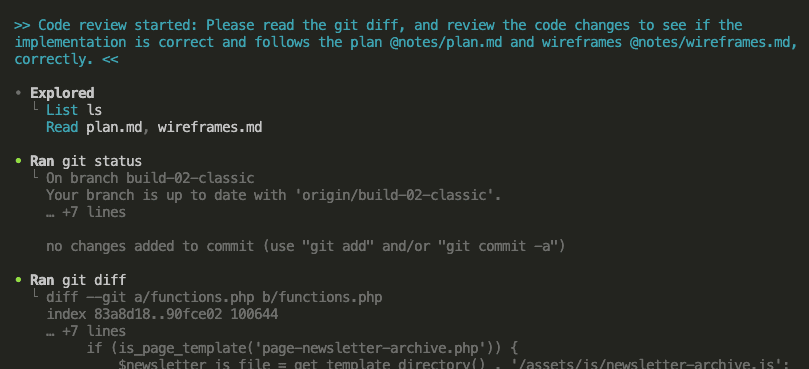
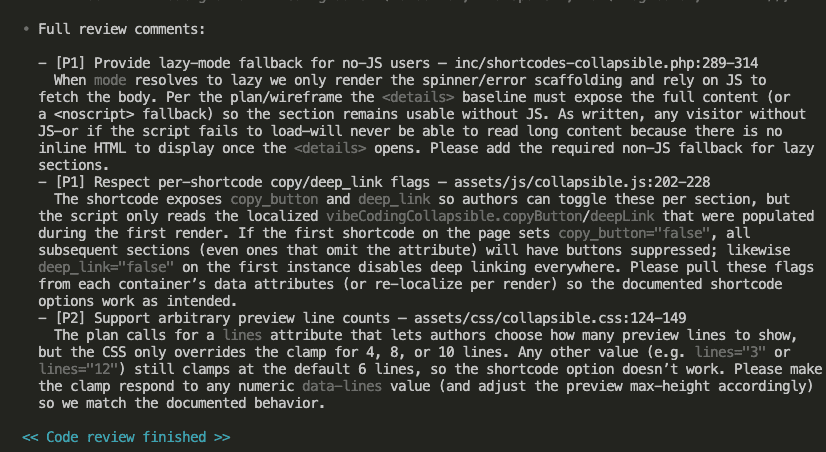
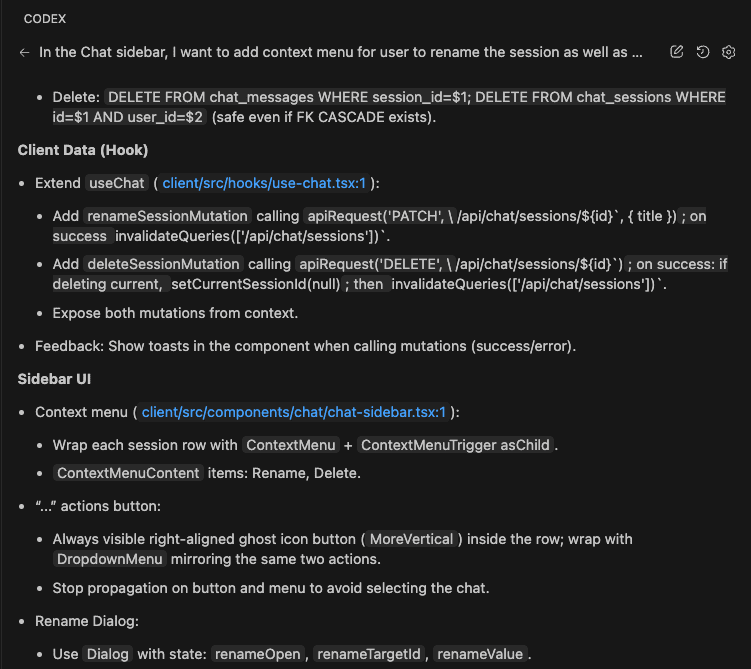
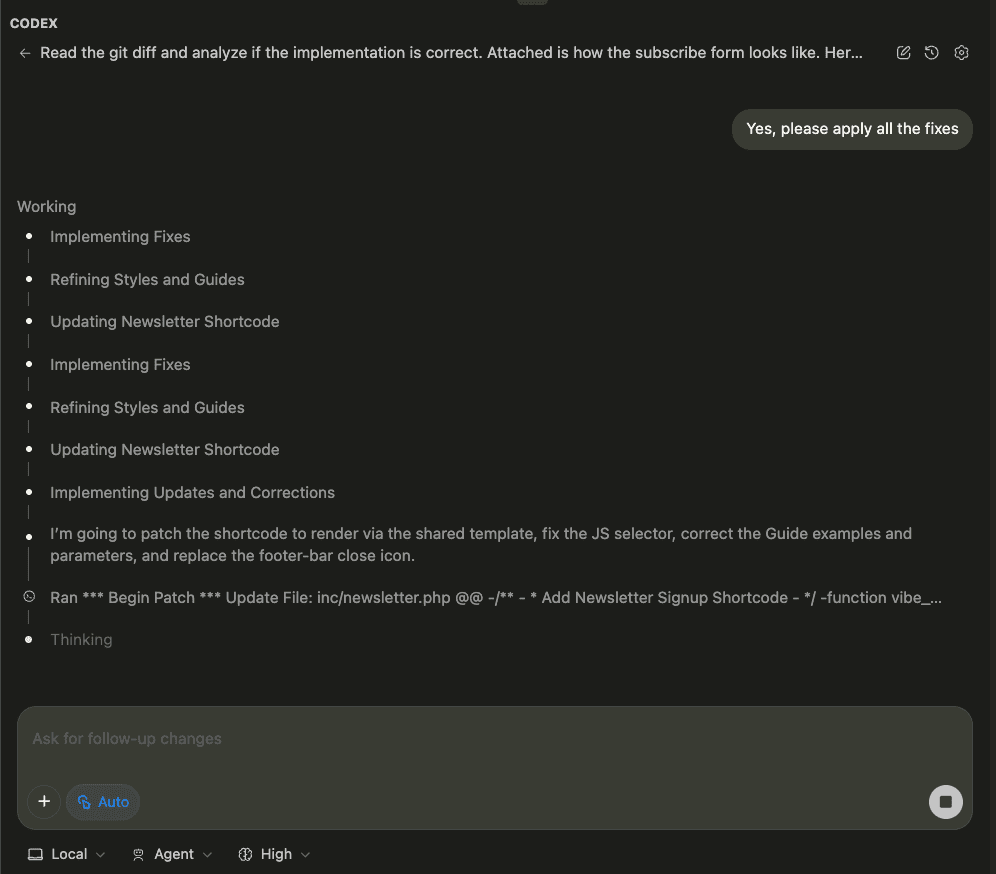
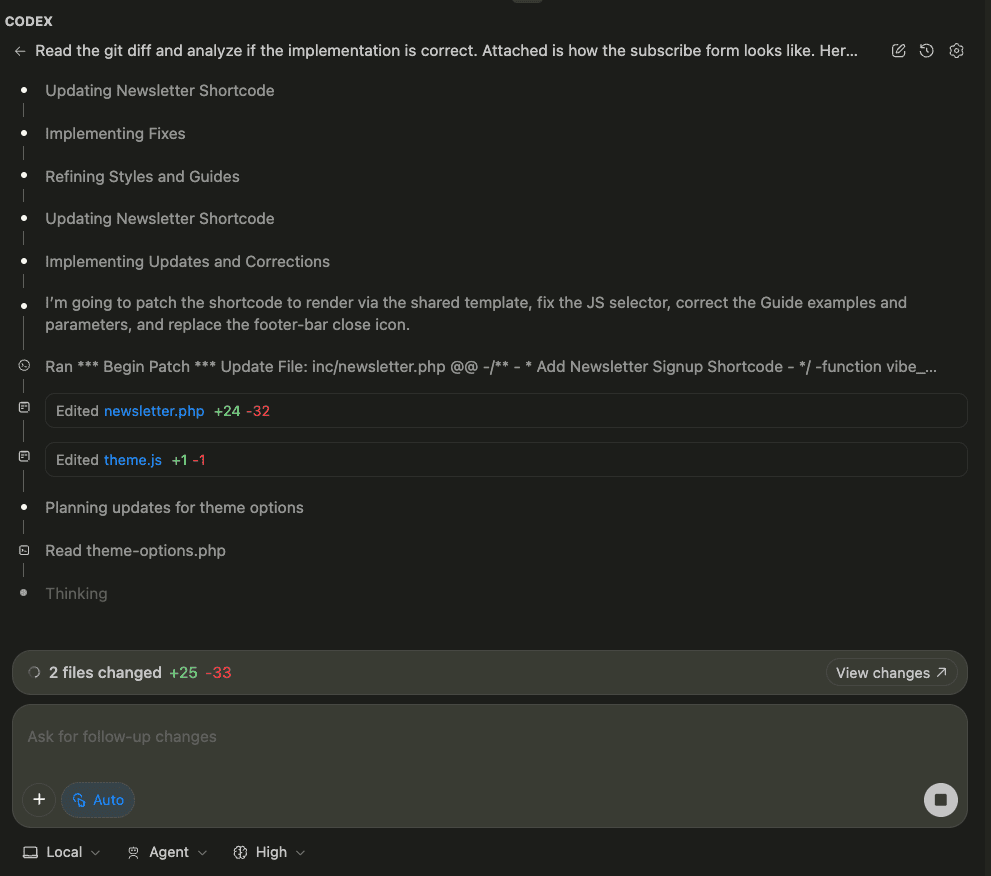
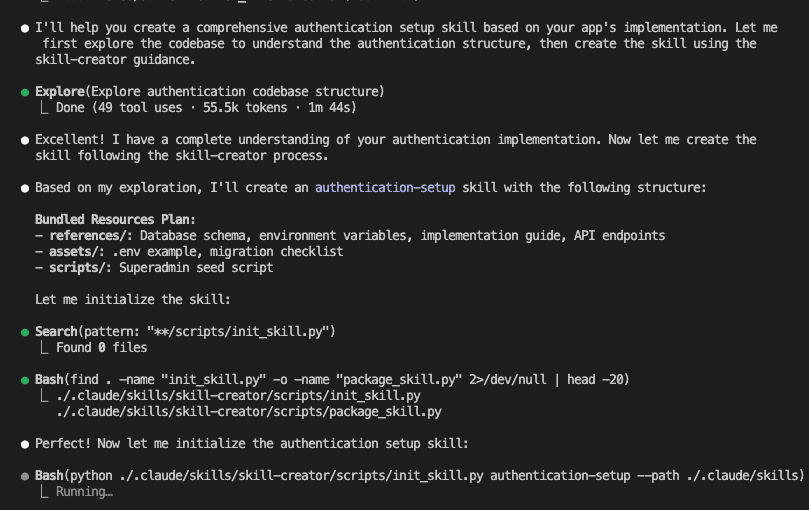
Watch as Claude:
- Reads the skill-creator instructions
- Explores your authentication codebase
- Analyzes your documentation
- Studies the wireframes
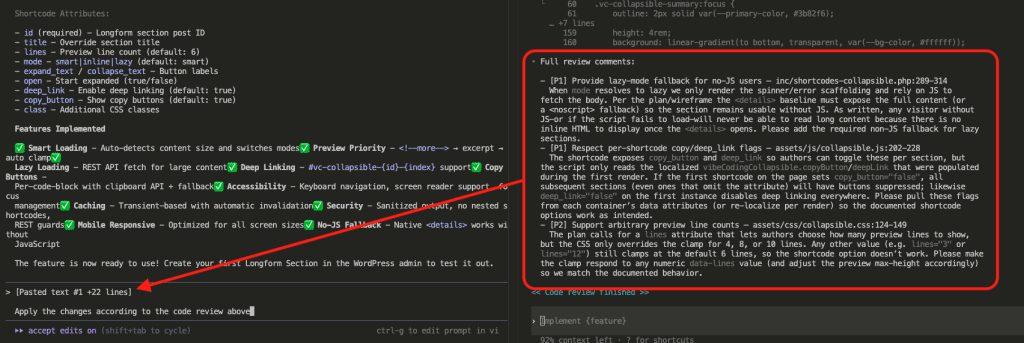
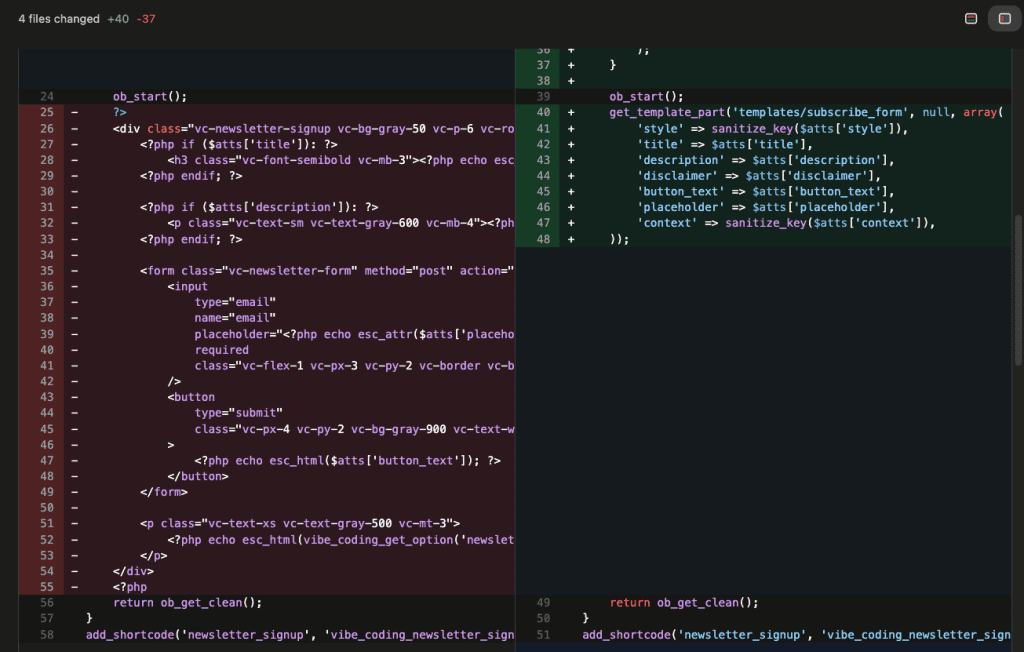
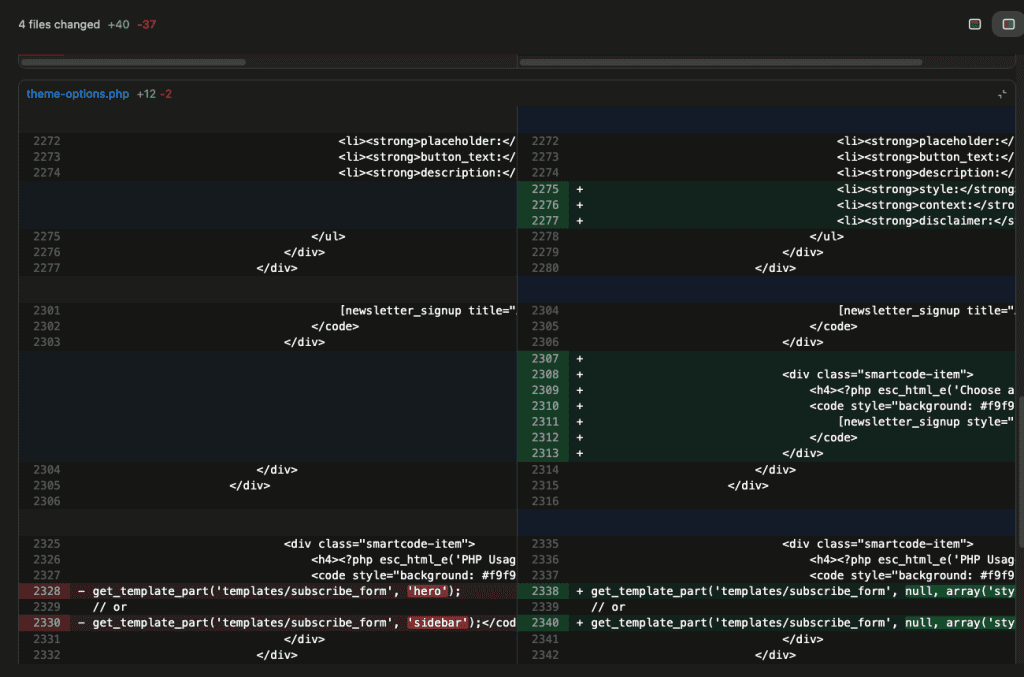
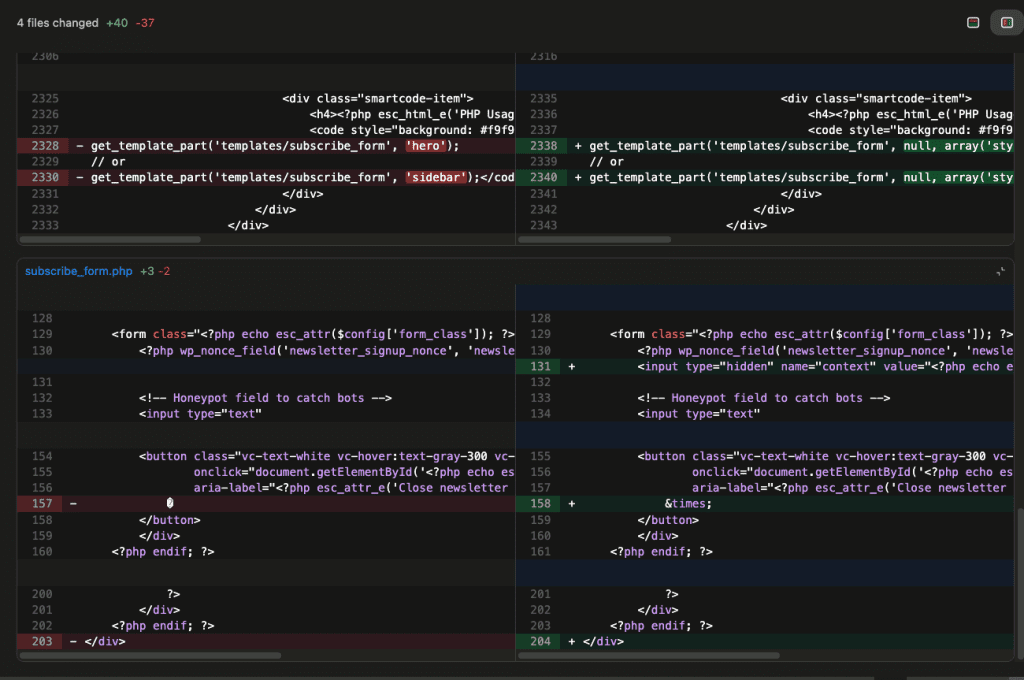
It’s not just copying files.
It’s understanding your implementation and transforming it into teachable instructions.
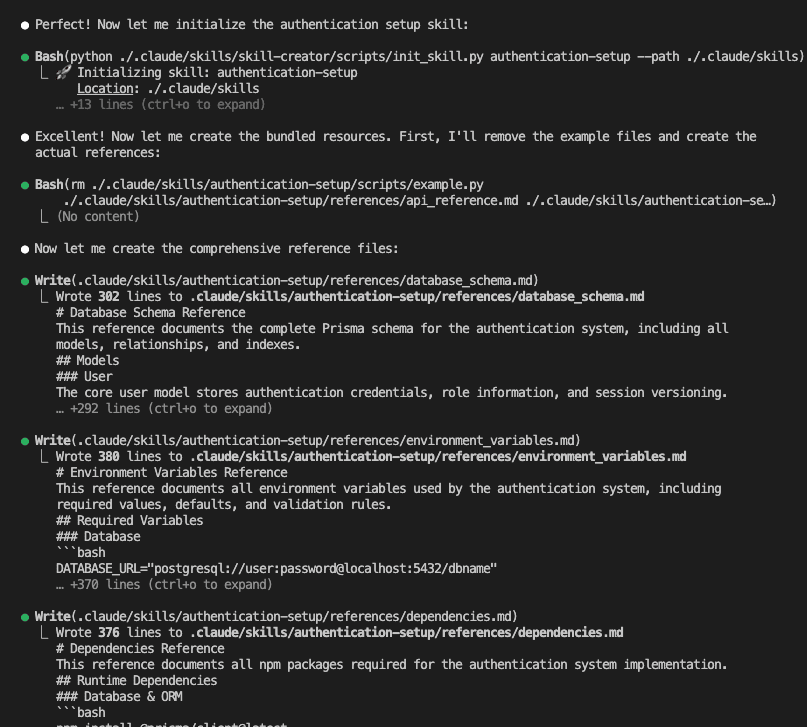
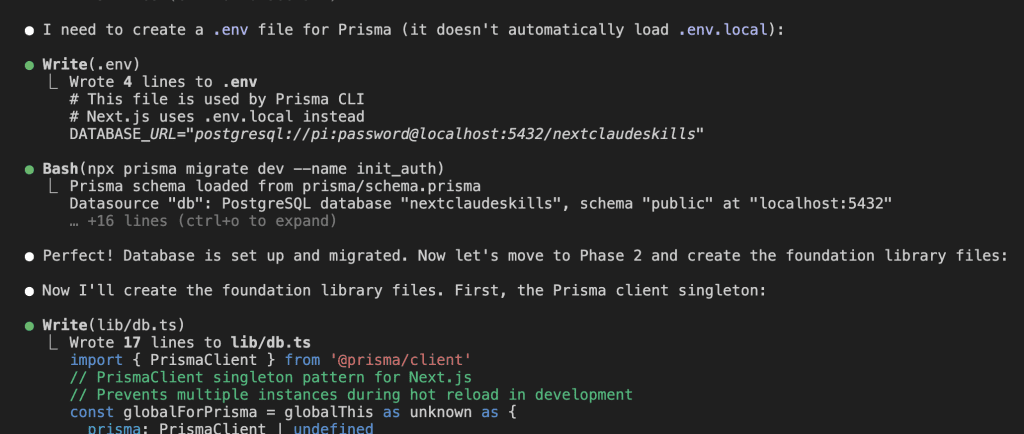
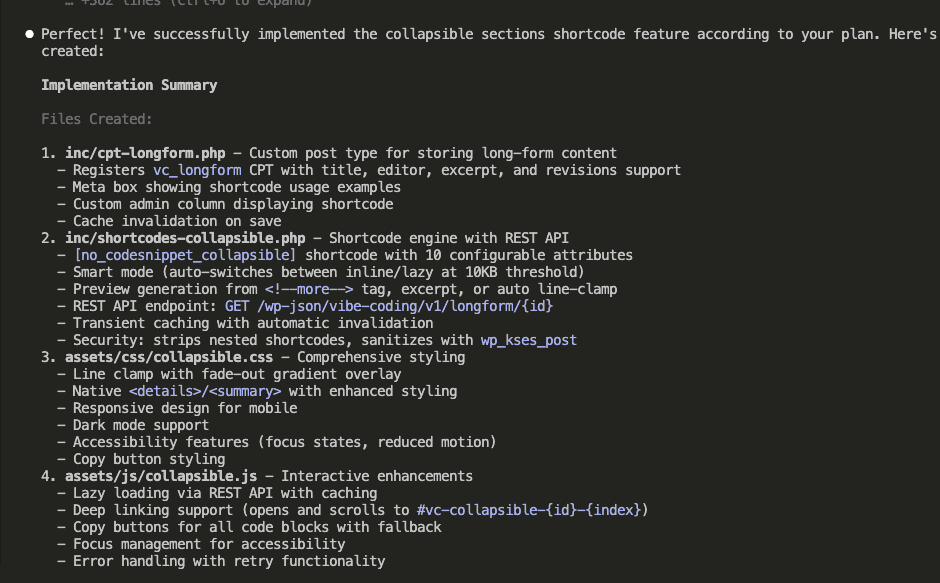
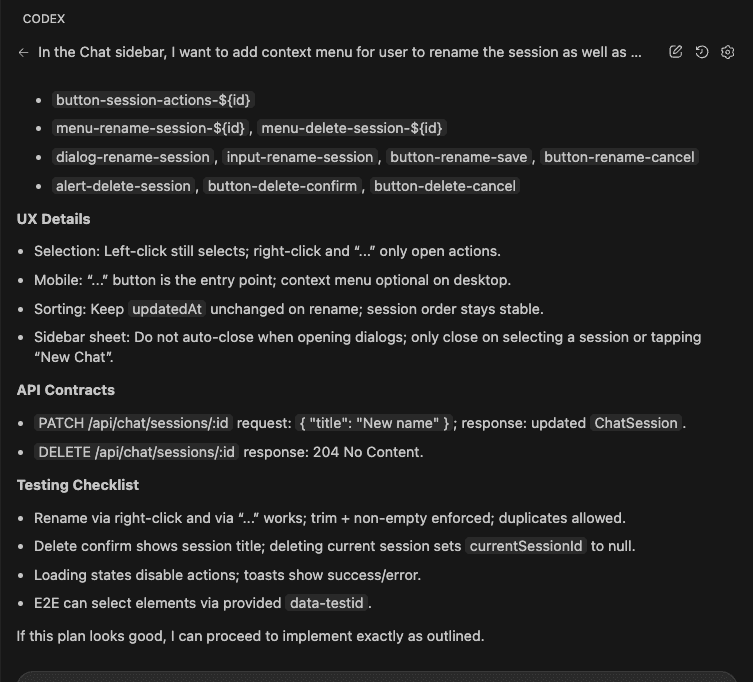
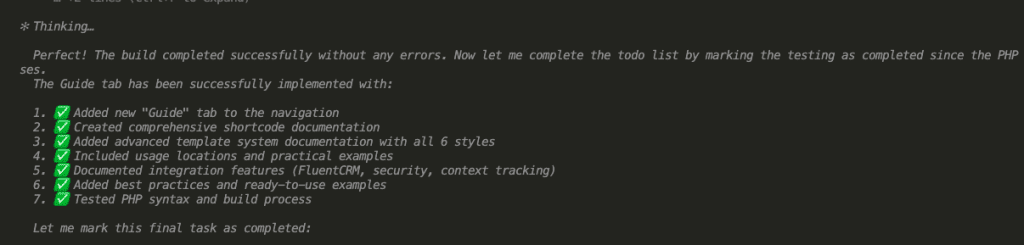
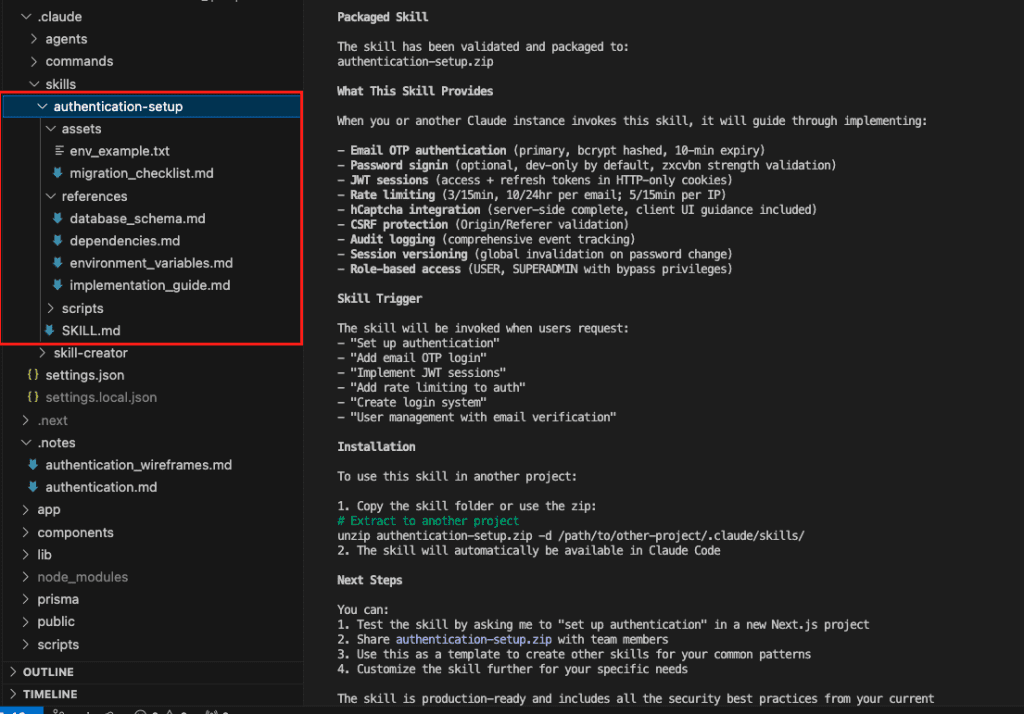
Claude creates a complete skill structure:
authentication-setup/
  ├── SKILL.md                    # Main skill instructions
  ├── scripts/                    # Initialization scripts
  ├── references/                 # Your documentation
  │   ├── database_schema.md      # Prisma schema reference
  │   ├── environment_variables.md # Required env vars
  │   ├── dependencies.md         # NPM packages needed
  │   └── implementation_guide.md # Step-by-step guide
  └── assets/                     # Templates and examples
      └── migration_checklist.md  # Deployment checklist
Key insight: The skill doesn’t contain your actual code files. It contains instructions for recreating your patterns.
Claude packages everything into authentication-setup.zip:
Time to create skill: 5 minutes.
.
.
.
Step 4: Deploy Your Skill to Another Project (2 Minutes)
This is where the payoff happens.
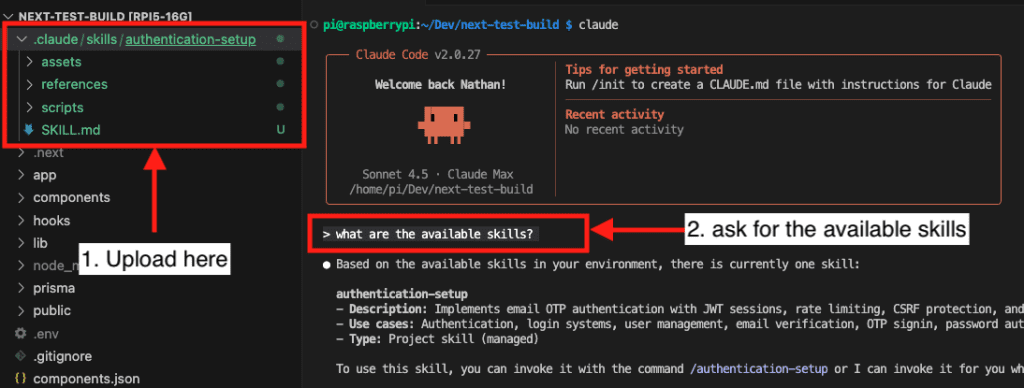
Take your authentication-setup.zip and extract it to any project:
new-project/
  .claude/
    skills/
      authentication-setup/  # Your skill goes here
Start Claude Code in the new project. Type:

Claude immediately recognizes the skill:
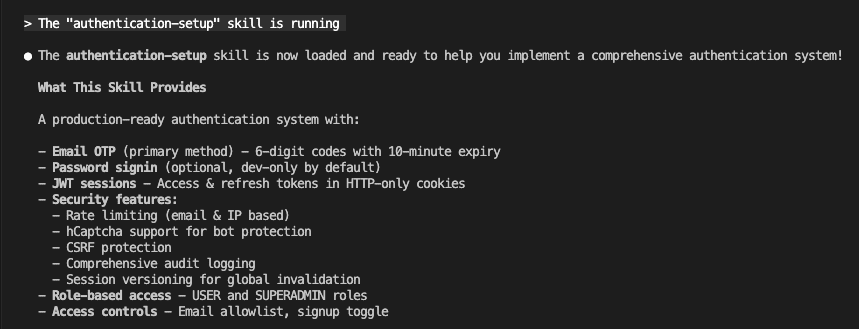
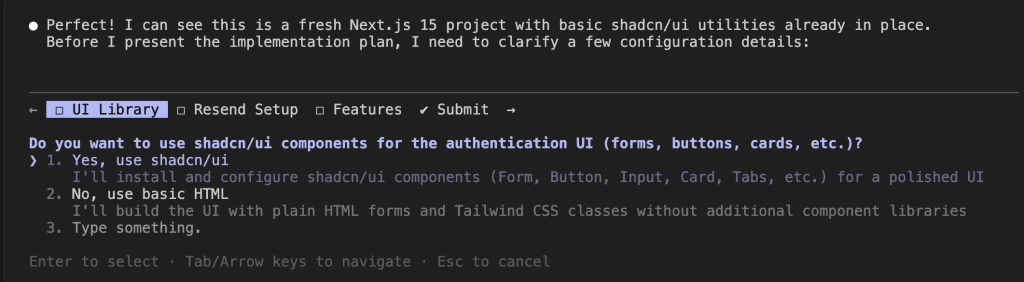
Claude doesn’t just copy files. It:
- Analyzes your current project structure
- Adapts to your existing patterns
- Integrates with your current code
- Maintains your architectural decisions
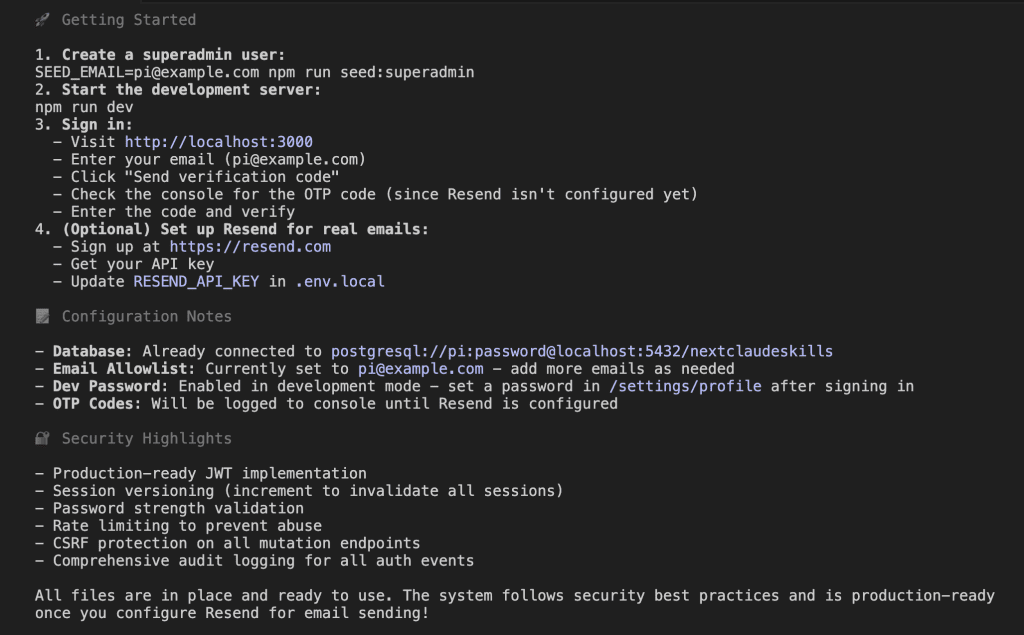
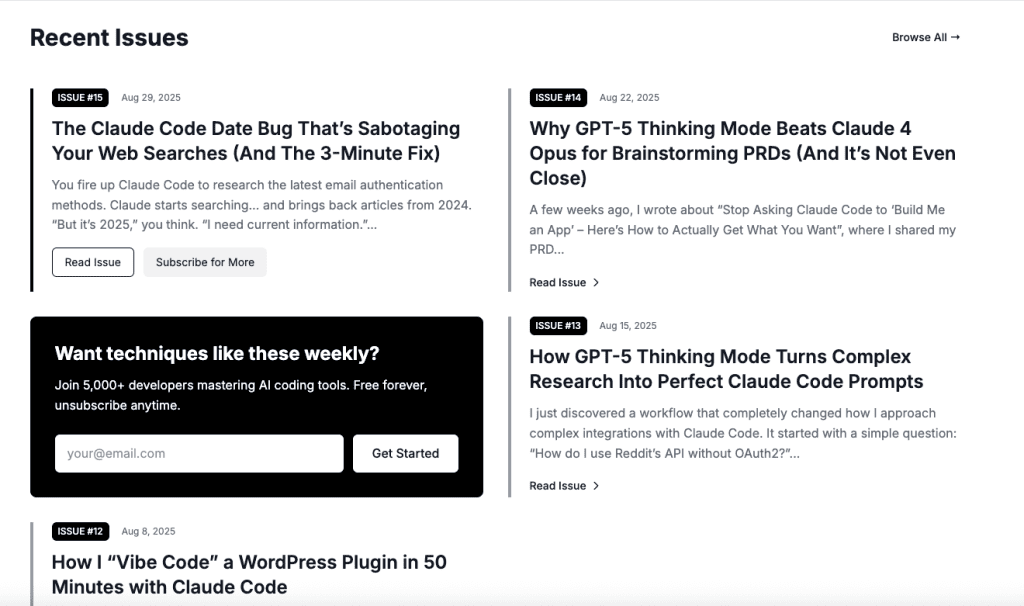
Your exact authentication system. In a completely new project. In under 10 minutes.
.
.
.
The Power of Compound Knowledge
Think about what just happened.
You took months of refinement, every bug fix, every security improvement, every UX enhancement…
And packaged it into 20 minutes of documentation work.
Now that skill can be deployed to:
- Every new project you start
- Every team member’s workspace
- Every client implementation
- Every prototype that needs auth
The math is staggering:
1 skill × 10 projects = 10 hours saved 10 skills × 10 projects = 100 hours saved Your entire toolkit as skills = Career-changing productivity
But here’s what nobody talks about…
.
.
.
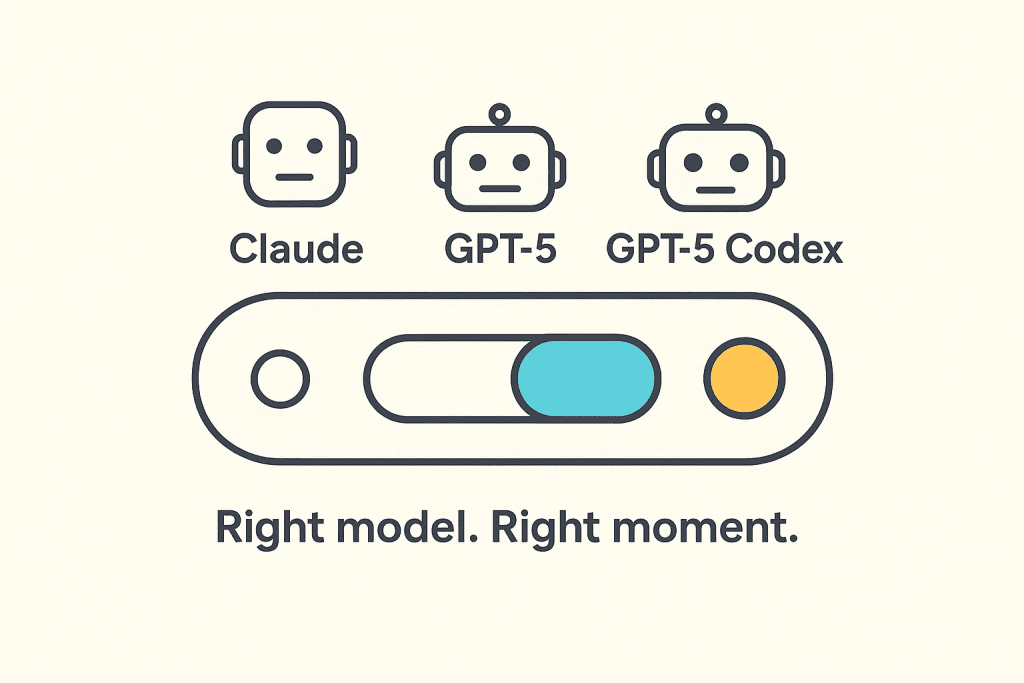
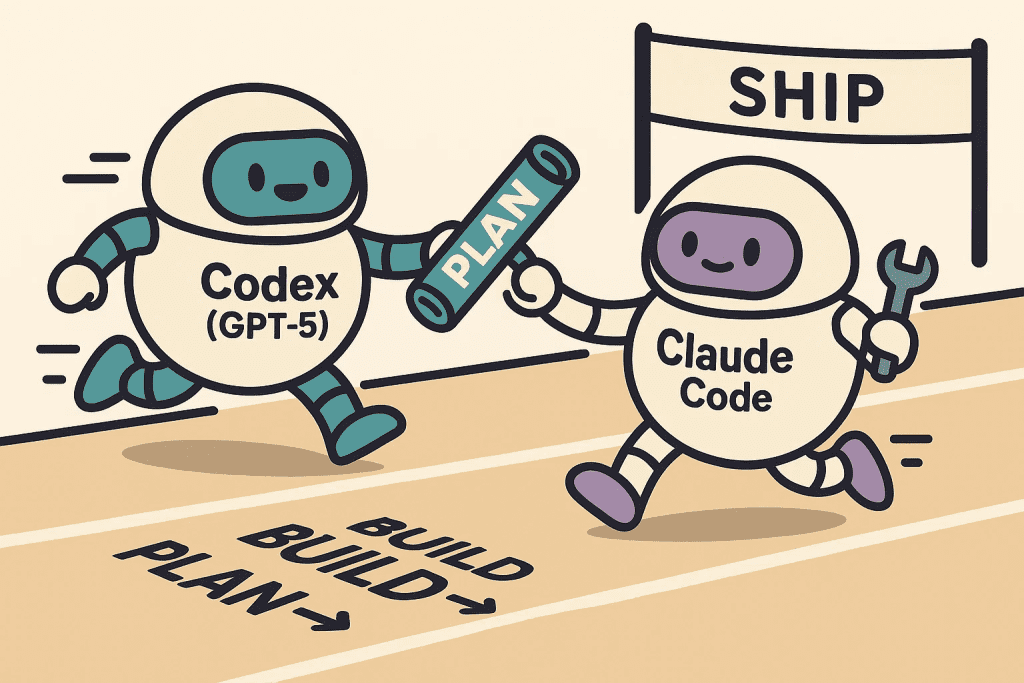
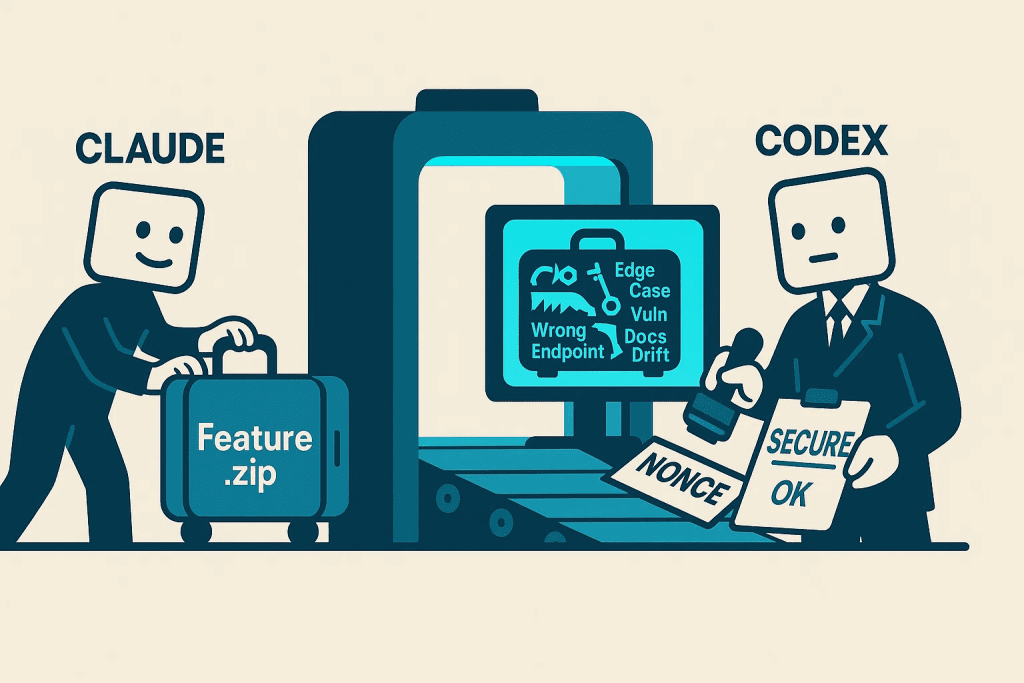
Why GPT-5 + Claude Skills Is The Ultimate Combo
Using GPT-5 to document for Claude Skills isn’t random. It’s strategic.
GPT-5’s superpower: Meticulous analysis and comprehensive documentation
Claude’s superpower: Following detailed instructions perfectly
When you combine them:
- GPT-5 extracts every pattern and decision from your code
- Claude Skills preserves that knowledge permanently
- Claude Code implements it flawlessly every time
It’s like having a senior architect (GPT-5) document your best practices, then having infinite junior developers (Claude Code instances) who can implement those practices perfectly.
No knowledge loss.
No pattern drift.
No “I think I did it differently last time.”
.
.
.
Common Mistakes to Avoid
Mistake #1: Skipping the Documentation Phase
“I’ll just copy my code files into the skill.”
Wrong.
Skills need context, not just code.
Without documentation, Claude won’t understand your architectural decisions.
Mistake #2: Forgetting the UI Wireframes
Backend-only skills create Frankenstein features.
Same logic, completely different UI.
Always include wireframes.
Mistake #3: Not Testing in a Clean Project
Always test your skill in a fresh project.
That’s where you’ll discover missing dependencies or assumptions.
.
.
.
Your Skills Library Starts Today
Here’s your action plan:
1. Identify Your Most Reused Feature
What do you build in every project?
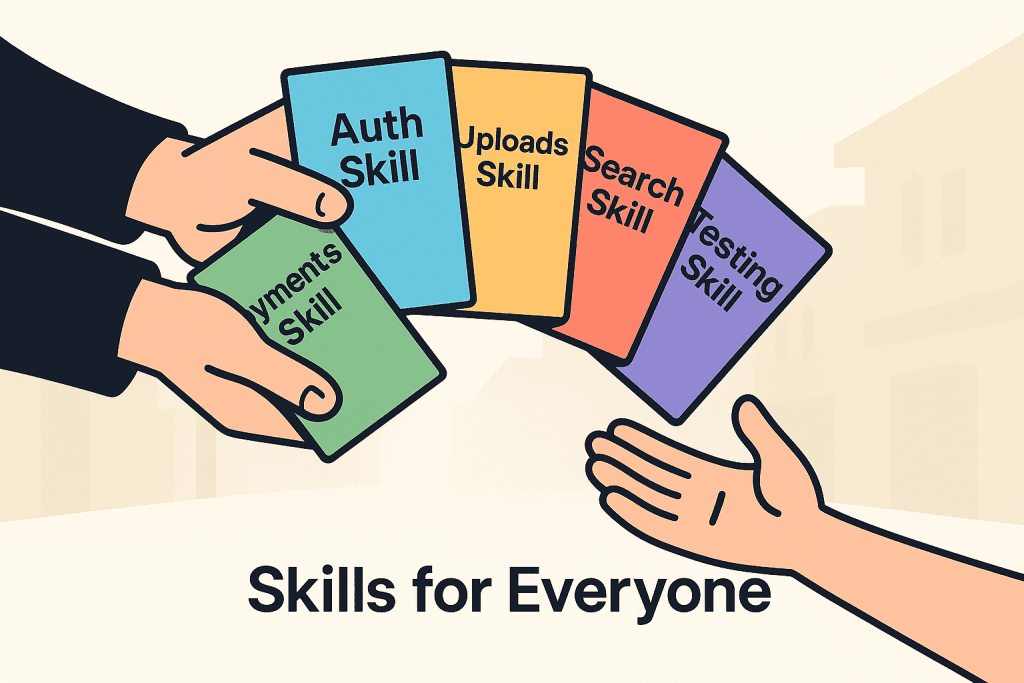
- Authentication system?
- Admin dashboard?
- Payment integration?
- File upload handling?
2. Document It With GPT-5 (15 minutes)
Use my exact prompt. Let GPT-5 extract every pattern.
3. Create ASCII Wireframes (5 minutes)
Map the UI flow. Every screen. Every interaction.
4. Generate The Skill (5 minutes)
Use skill-creator. Let Claude package your knowledge.
5. Test In a New Project
Deploy it. Use it. Refine it.
6. Repeat For Your Next Feature
Build your library one skill at a time.
.
.
.
The Compound Effect Nobody Sees Coming
Every skill you create makes the next project easier.
But here’s what really happens:
Month 1: You create 3 skills (auth, payments, dashboard) Month 2: You create 5 more (file upload, search, notifications…) Month 3: You realize you can build entire apps in hours
By month 6?
You’re not coding anymore. You’re orchestrating.
- “Use authentication-setup skill.”
- “Use payment-processing skill.”
- “Use admin-dashboard skill.”
Complete applications assembled from your battle-tested components.
Each implementation identical to your best work.
No quality degradation.
No pattern drift.
No forgotten edge cases.
This isn’t the future of development. It’s available right now.
.
.
.
Part 3 Preview: Teaching Claude Any Library
Next week, I’ll show you something even more powerful.
How to create Claude Skills that teach Claude to perfectly integrate ANY library or SDK into your apps.
Imagine:
- “Use the stripe-integration skill” → Your exact Stripe patterns
- “Use the websocket-setup skill” → Your real-time architecture
- “Use the testing-harness skill” → Your testing methodology
Not generic implementations. YOUR implementations.
But for now…
Open that project with your best authentication system.
Document it with GPT-5.
Turn it into a skill.
Watch as 10 minutes of work today saves you 10 hours next month.
What feature will you turn into a Claude Skill first?
Stop rebuilding.
Start packaging.
Now.
P.S. – Since creating my authentication-setup skill two weeks ago, I’ve deployed it to 6 different projects. Total time saved: 14 hours. Total consistency: 100%. Every deployment identical to my best implementation. That’s the power of turning your code into Claude Skills.
P.P.S. – The skill-creator skill itself is open source. You can find it at github.com/anthropics/skills. But the real magic? It’s in the skills YOU create from YOUR battle-tested code.